
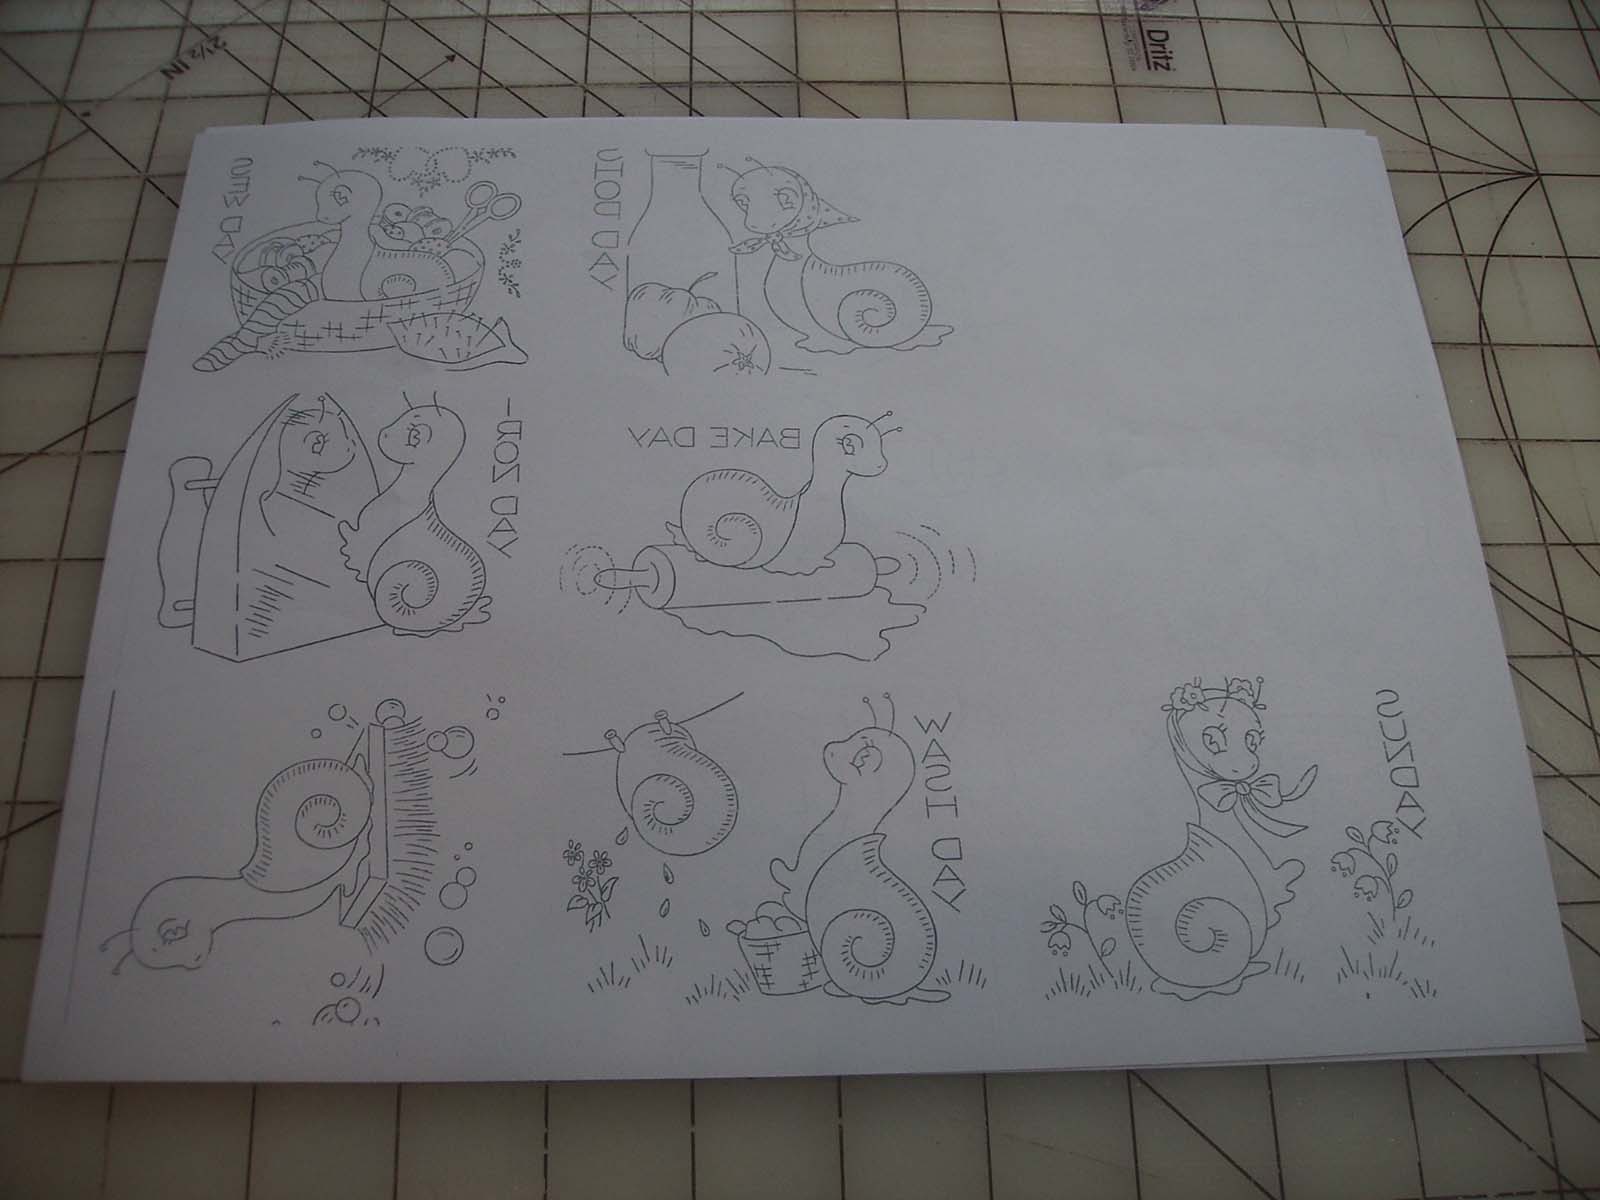
If you are new to the Snail Trail, “The Snails” are part of a master plan found in Part 1. 😉
*Find Small Snail Purse/Bag with Vintage Snail Embroidery Part 1 (Click Here)
—————————————————————————-
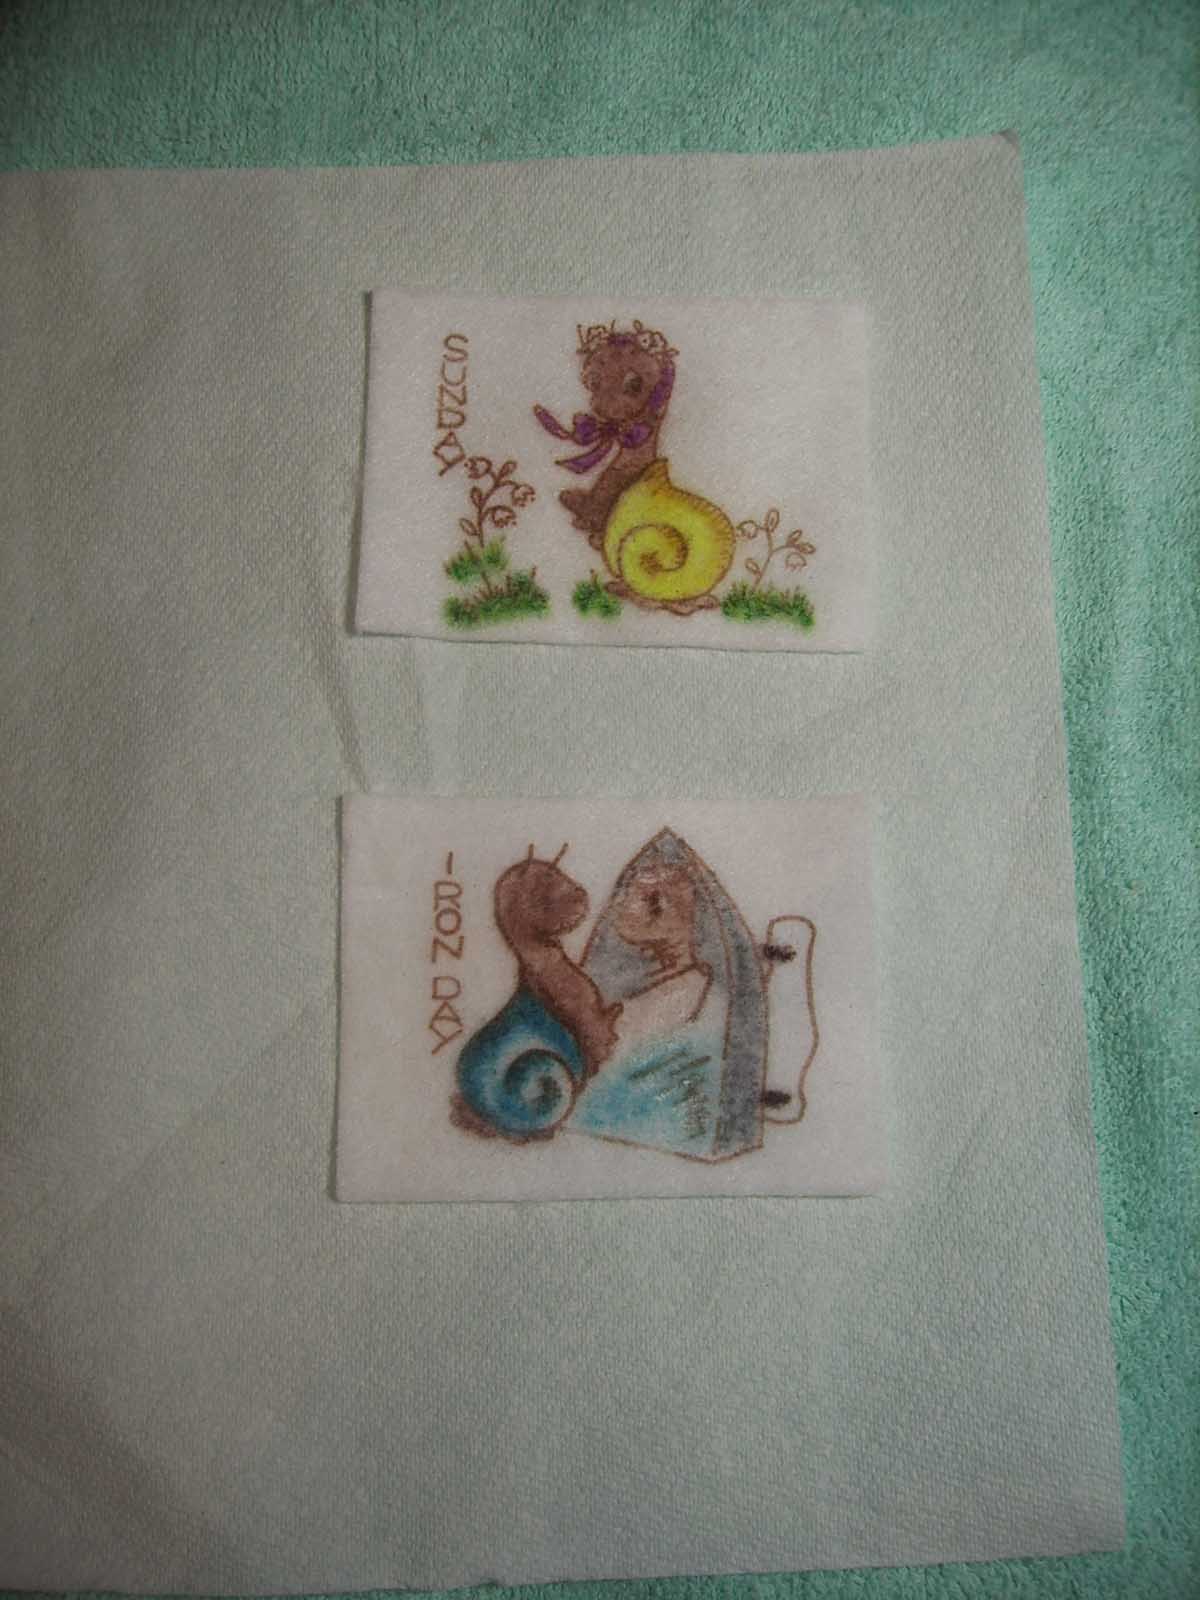
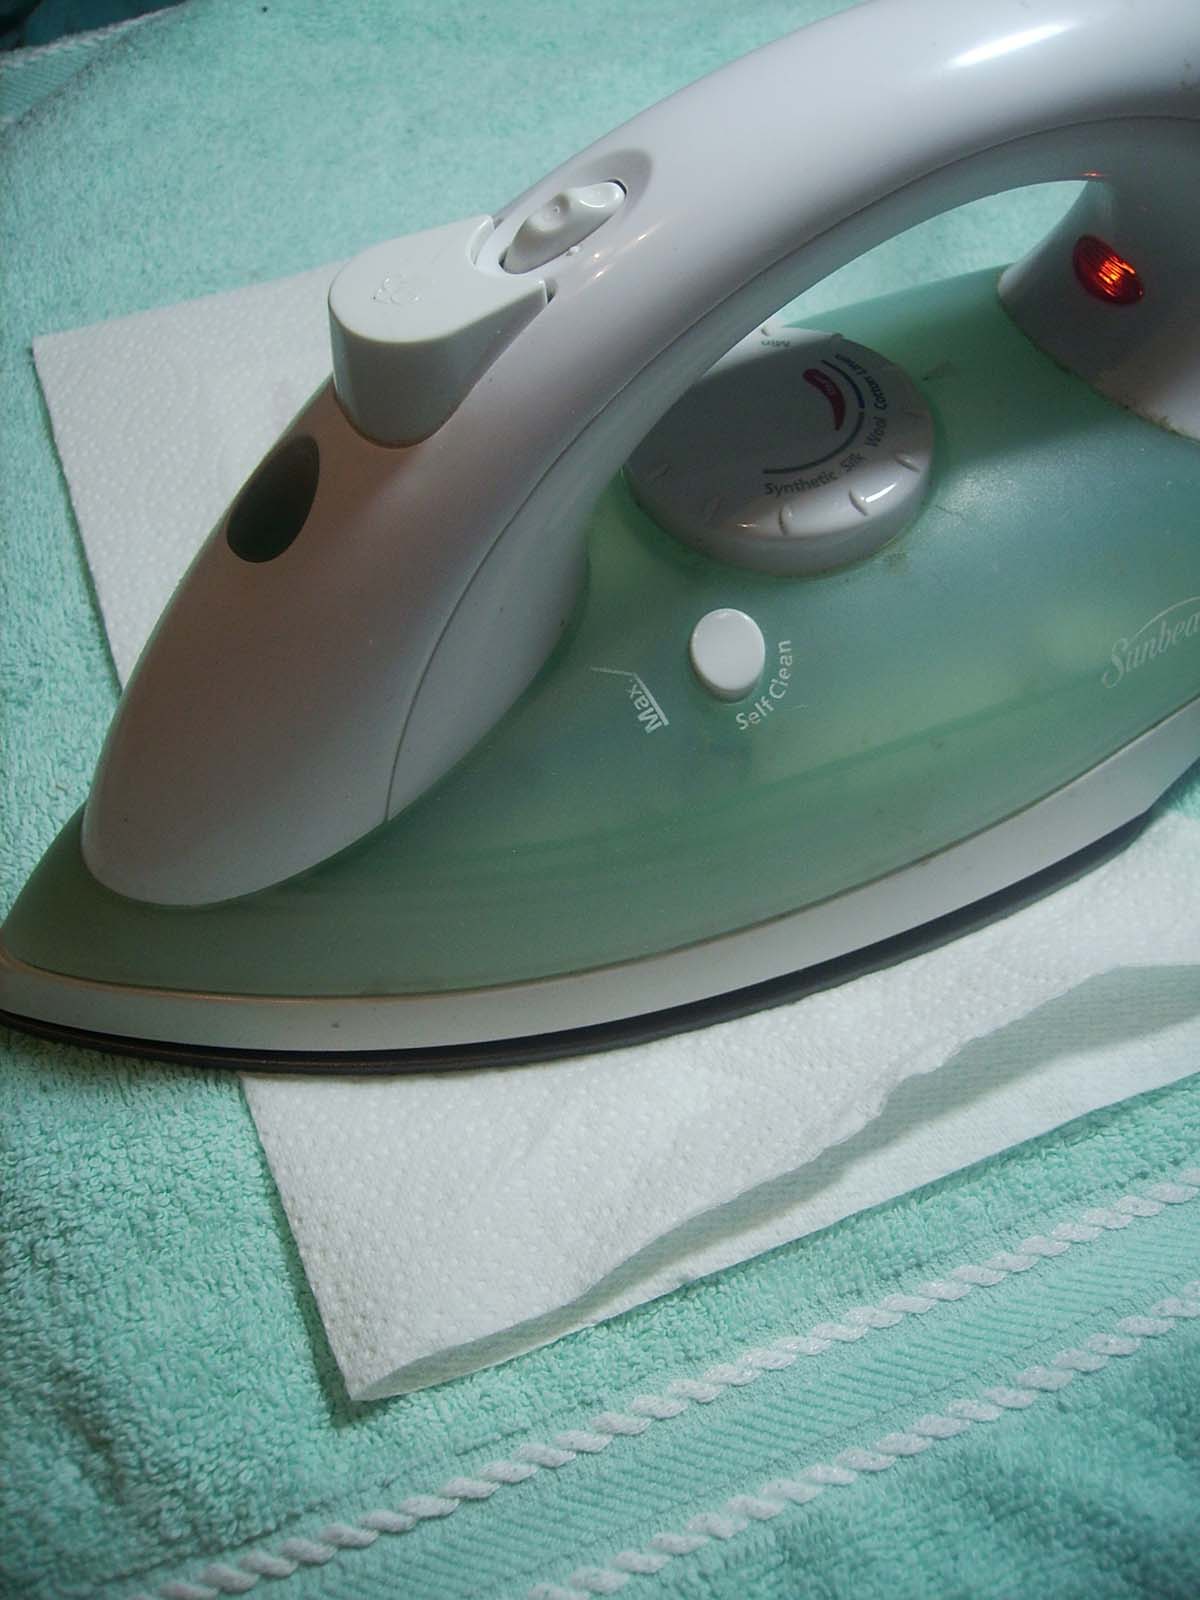
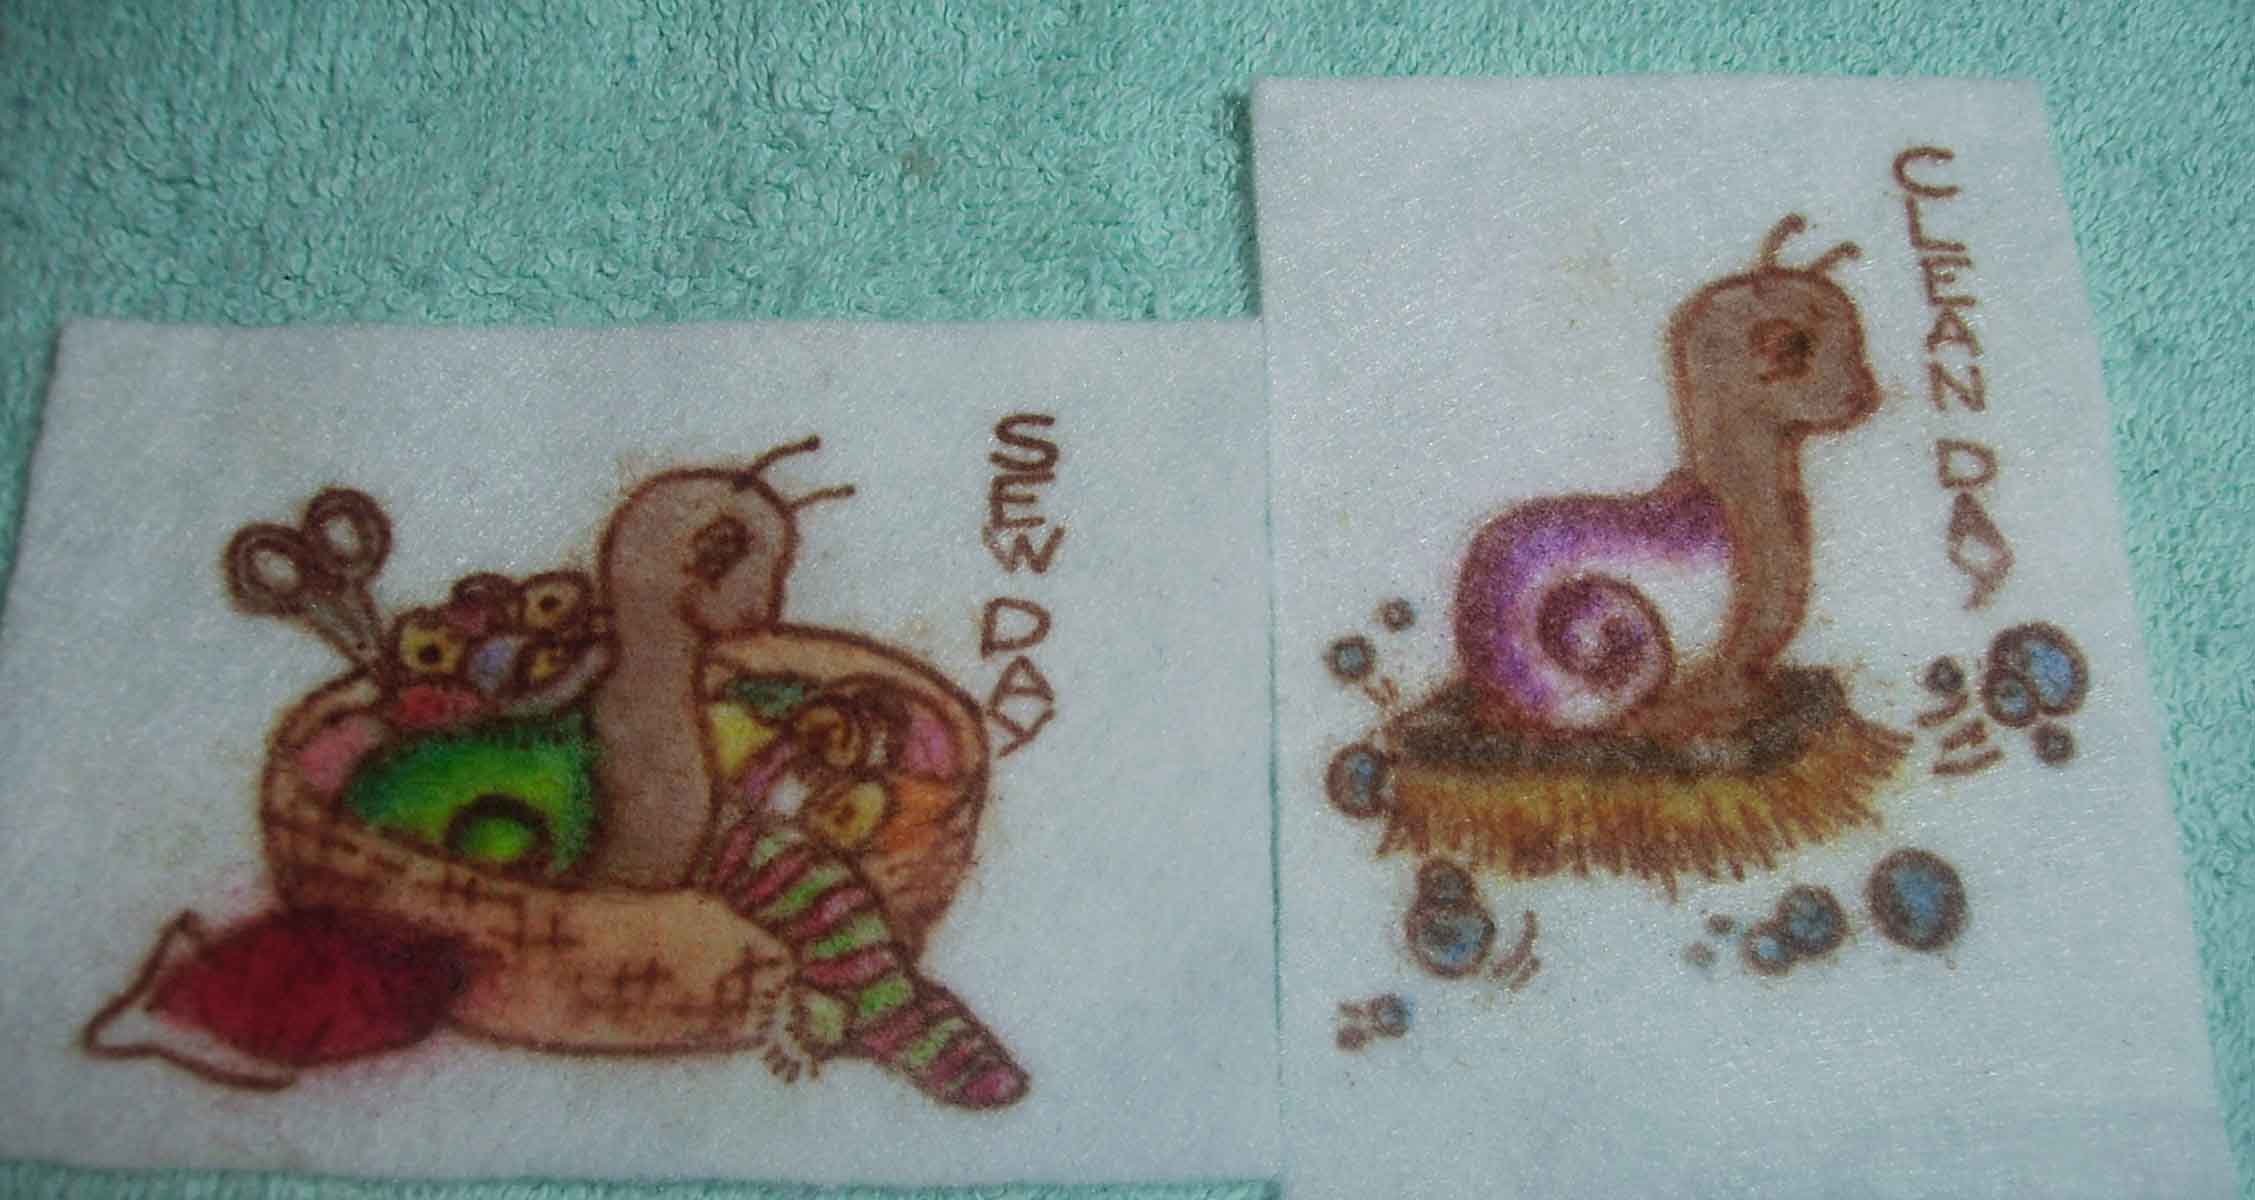
“Iron Day”

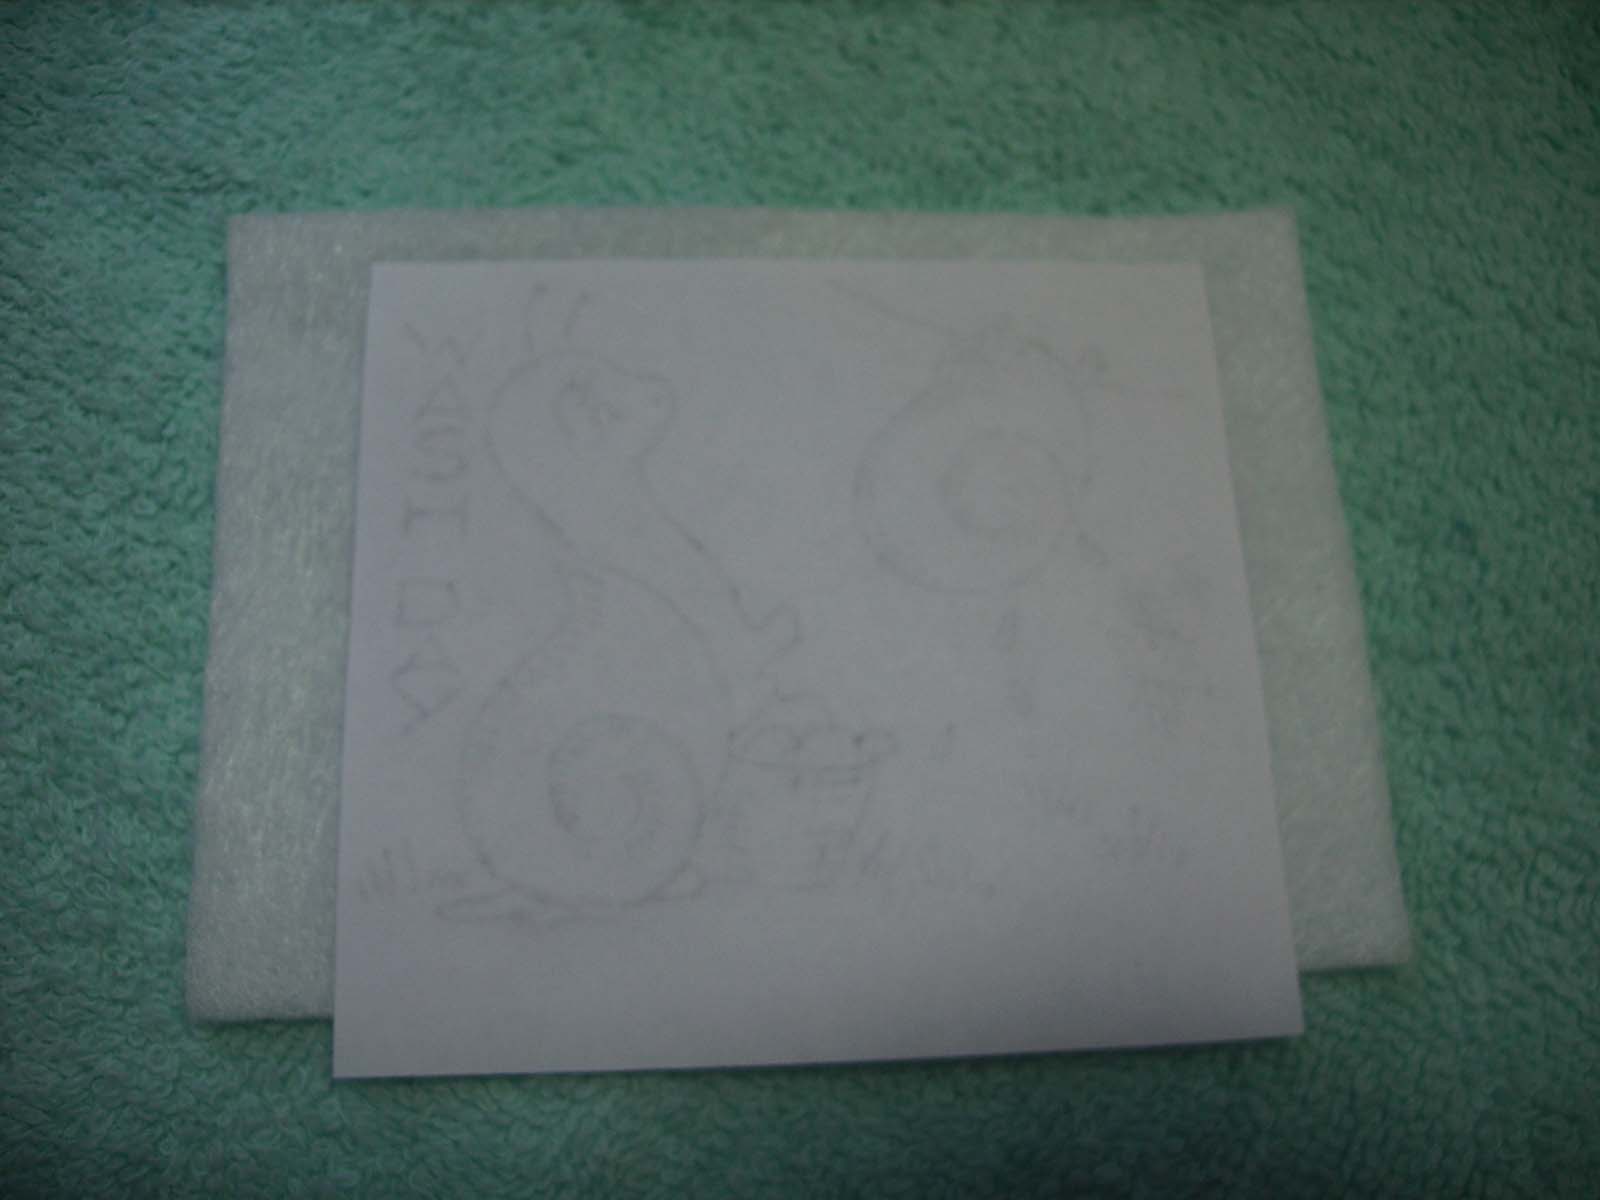
DMC floss just wasn’t quite bright enough for these little shells, so the floss you see is Anchor floss to match the bright shell colors. Here’s the little snail checking out his cute little self!

The reflection marks are stitched with one strand of silvery grey floss and one strand of iridescent Krienik thread, mixed. Use lighter tone of colors than used in the main image for the for the reflection image.

Here is the main image. There is a mix of both the blue and teal thread together to outline the shell. Use just the teal thread to accent the shell. The entire piece uses stem stitch, split back stitch, back stitch, French knots, straight stitch, and satin stitch.

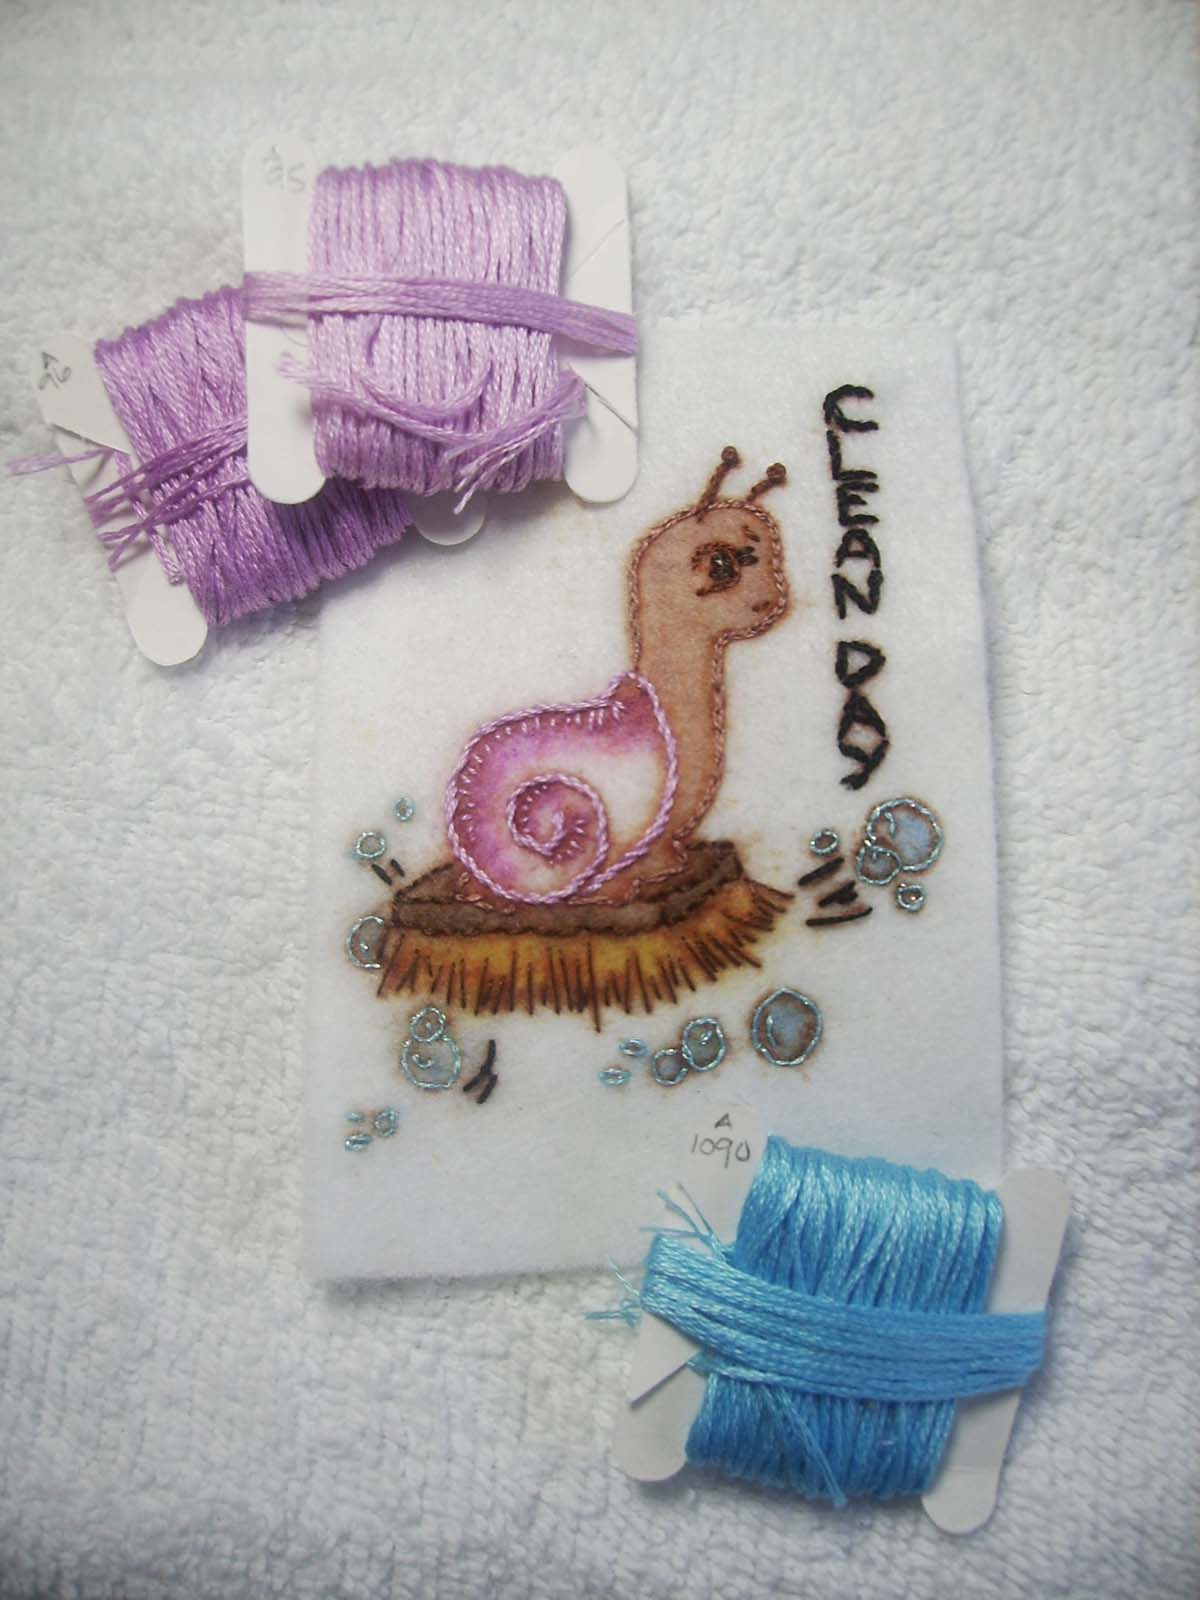
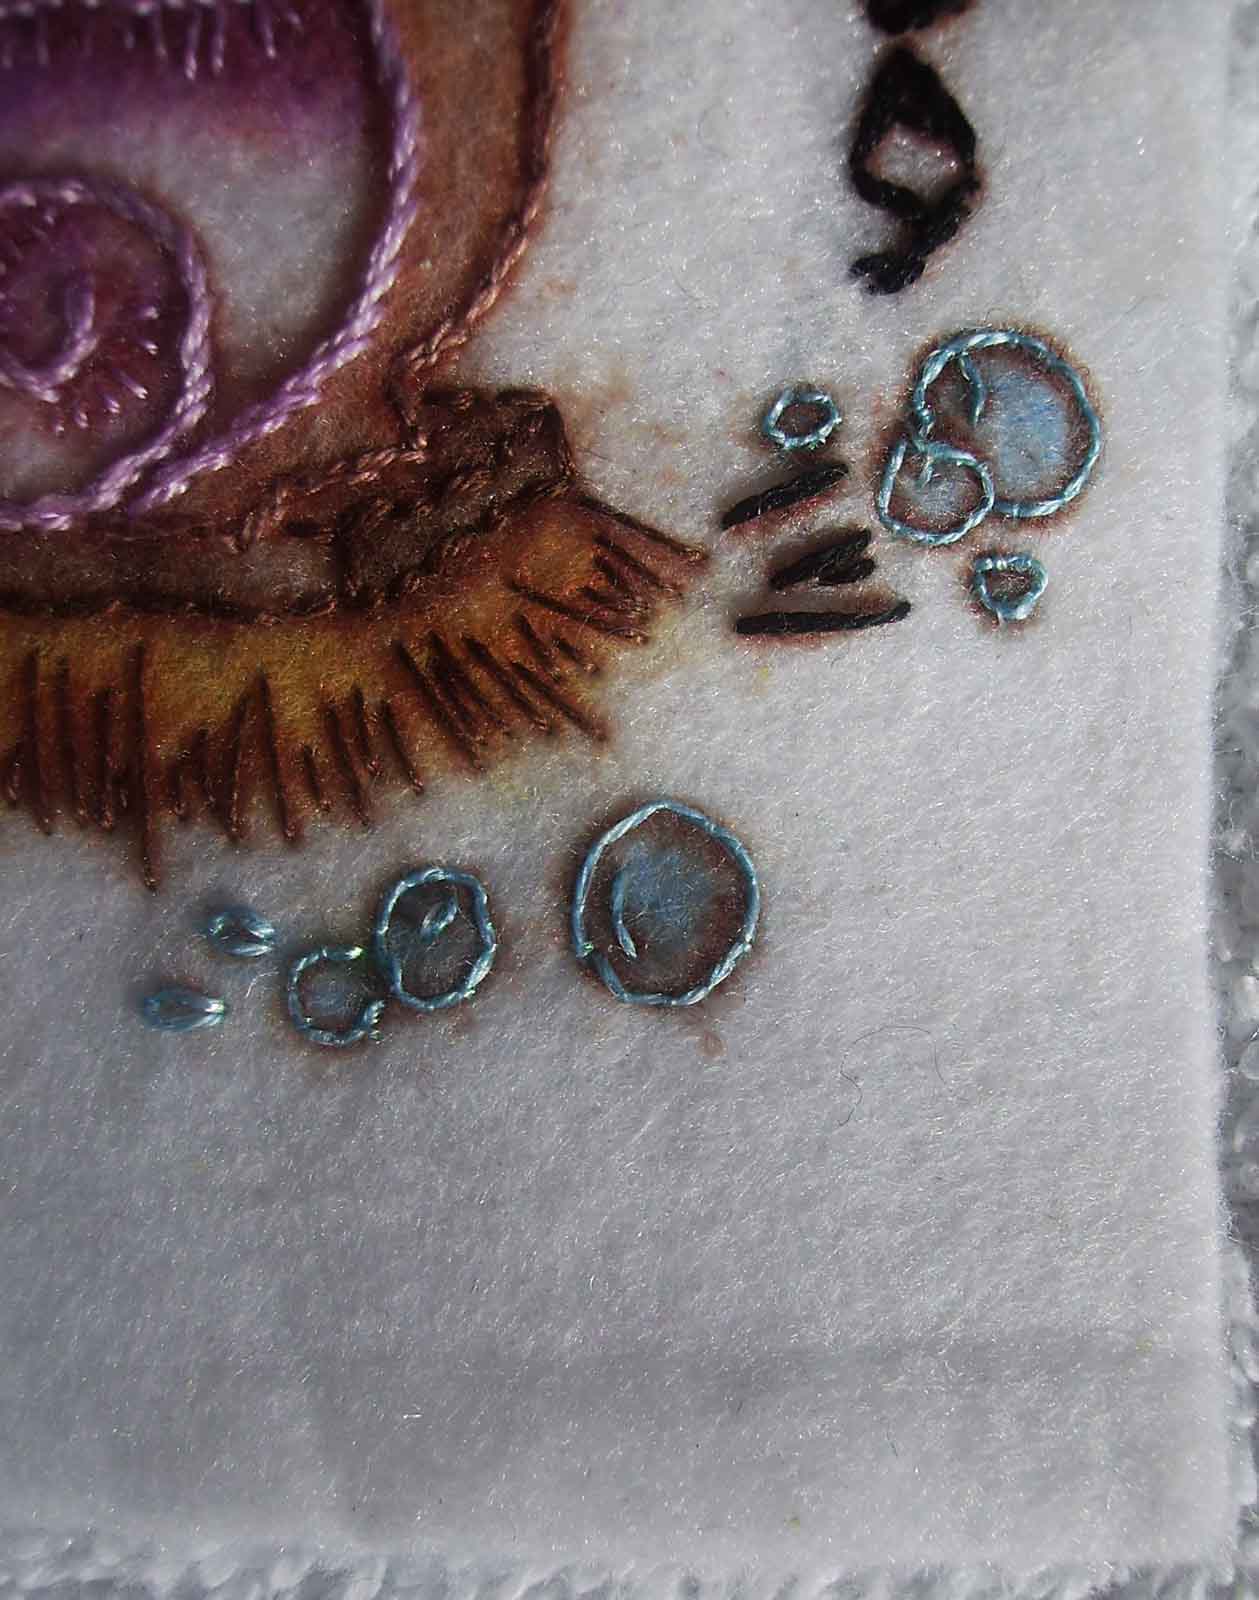
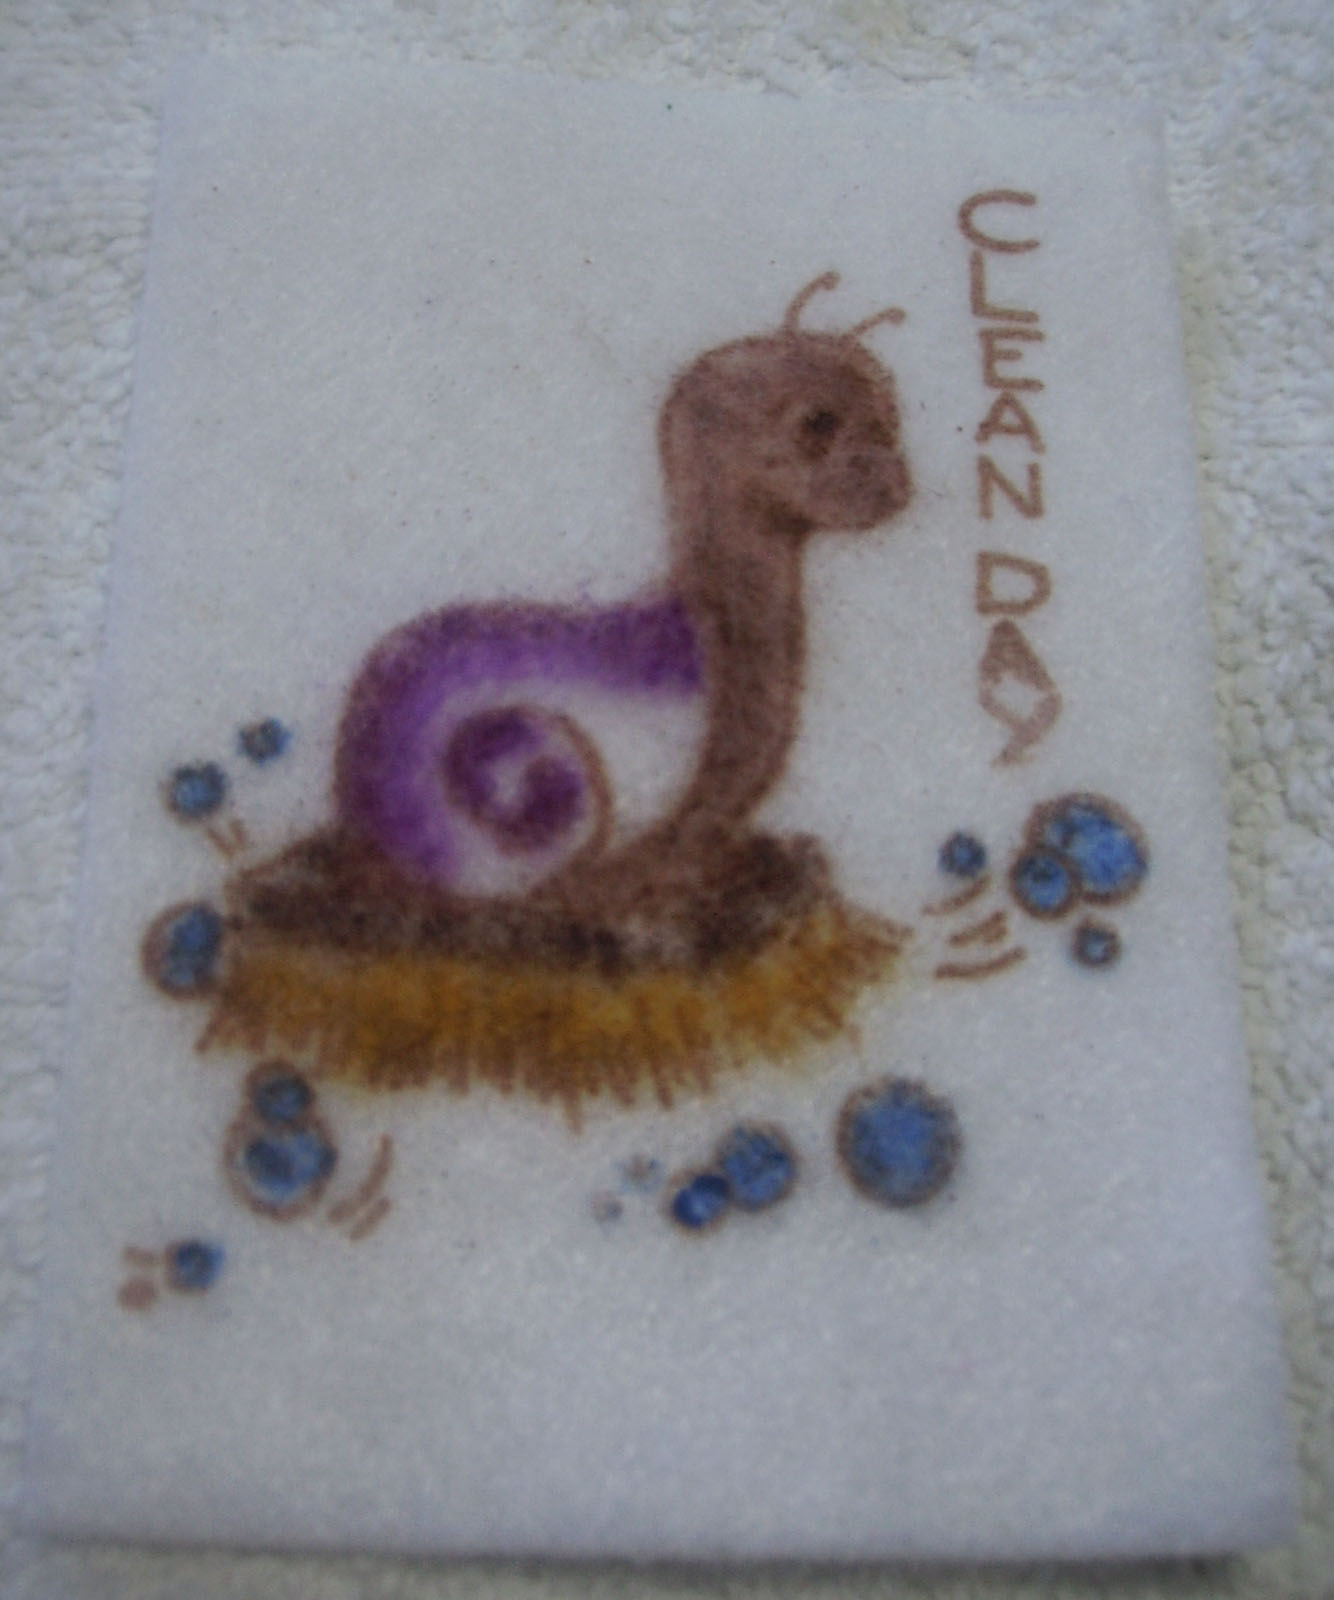
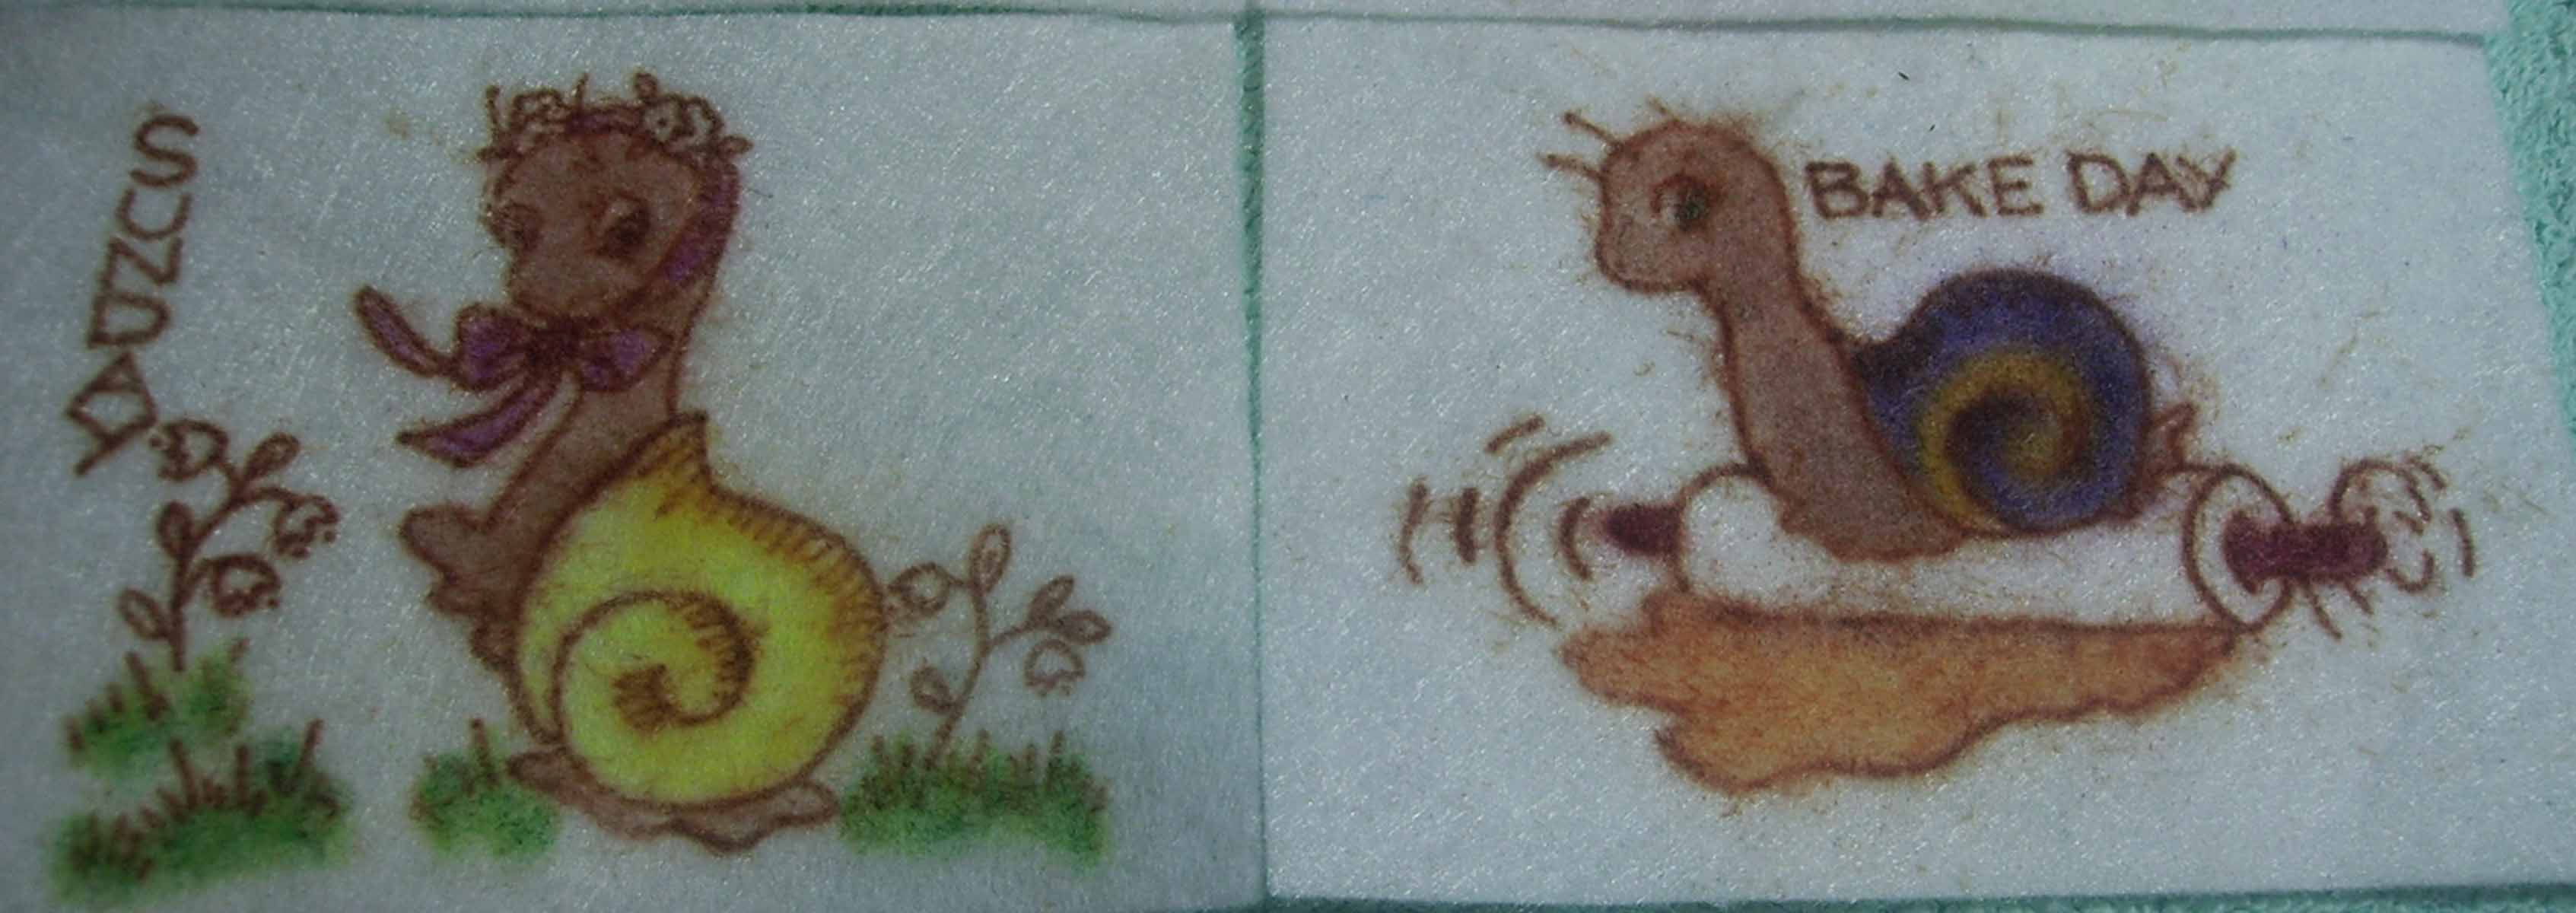
Yesterday, the “Clean Day” snail was made with a little “bling”. It used a blue iridescent Krienik thread mixed with the blue for the soap bubbles.
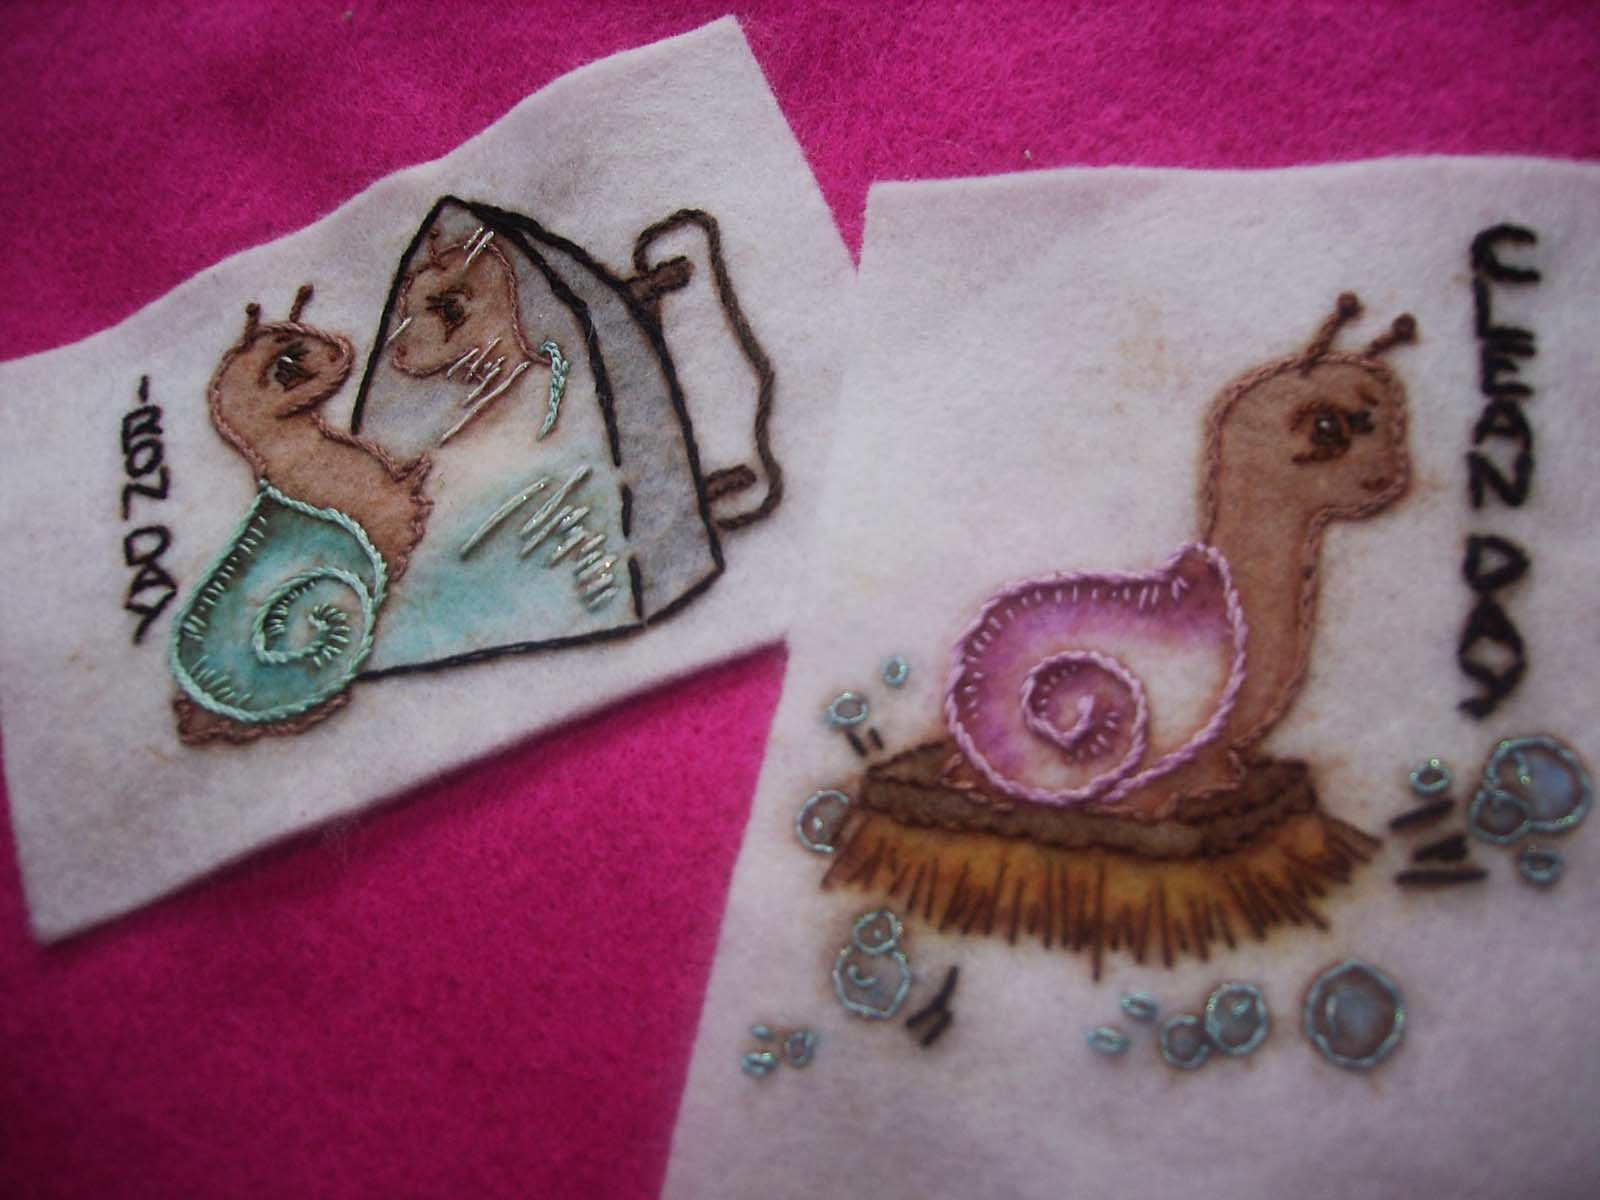
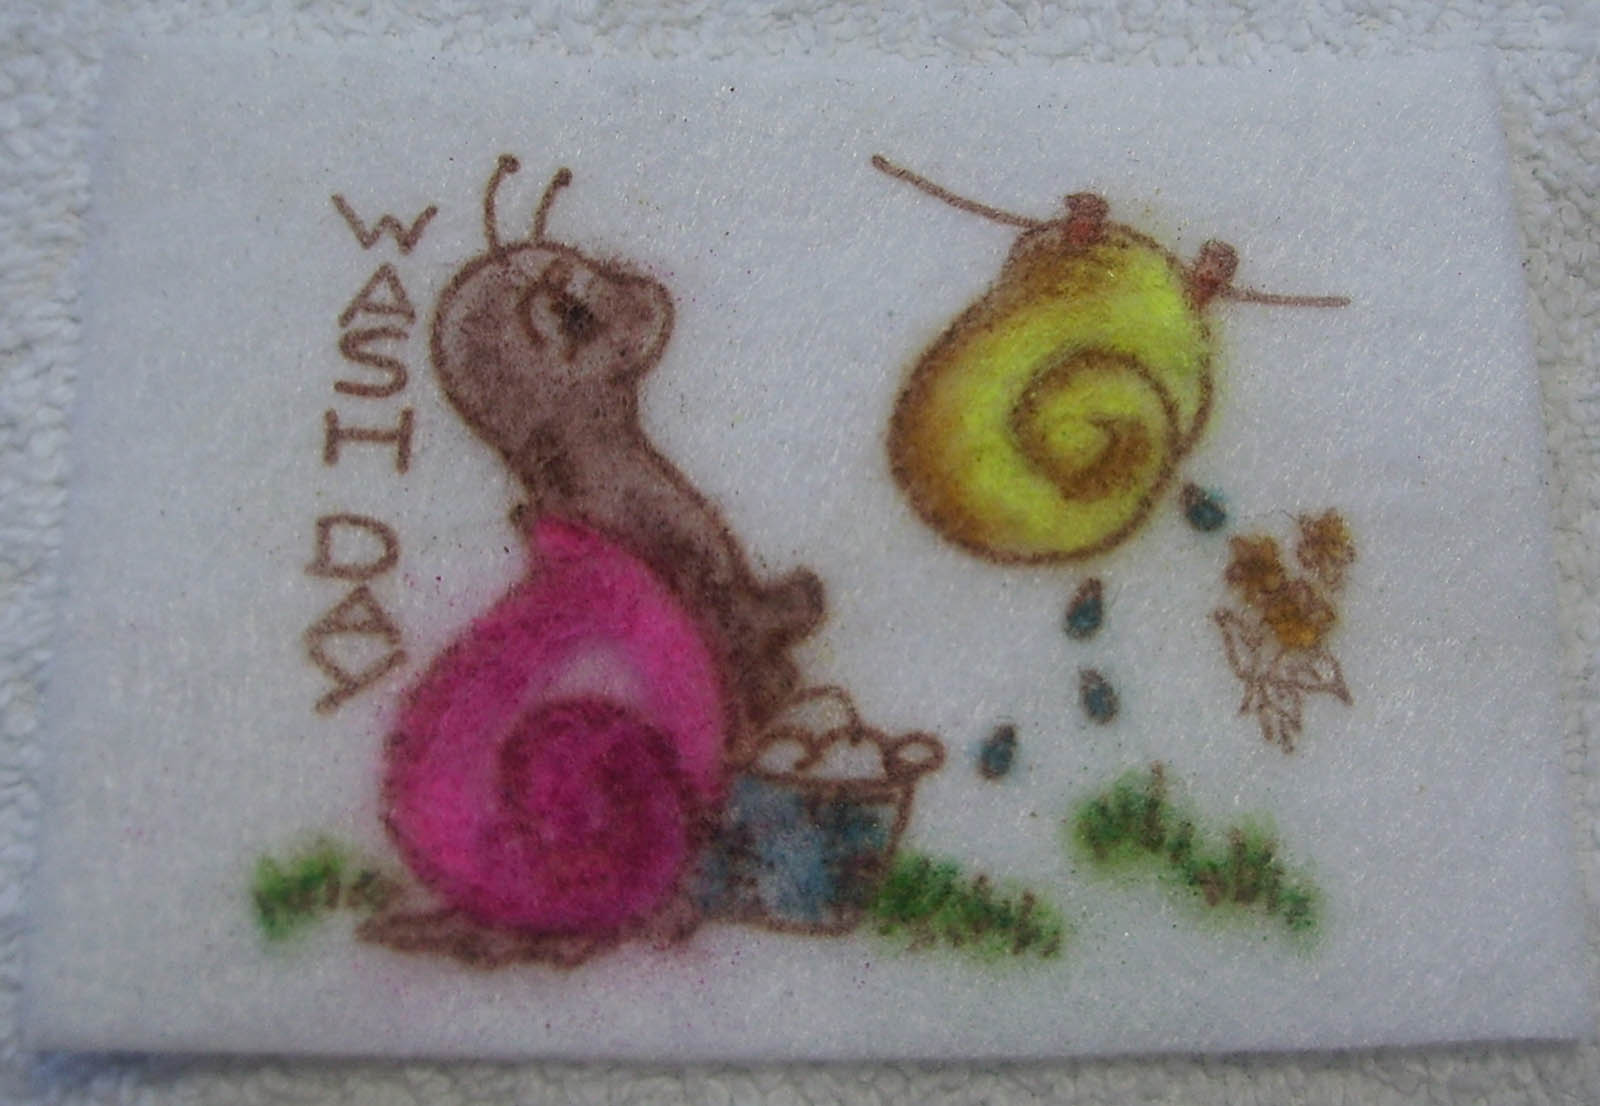
Here is yesterday’s “Clean Day” snail with the “Iron Day” snail on white…and…

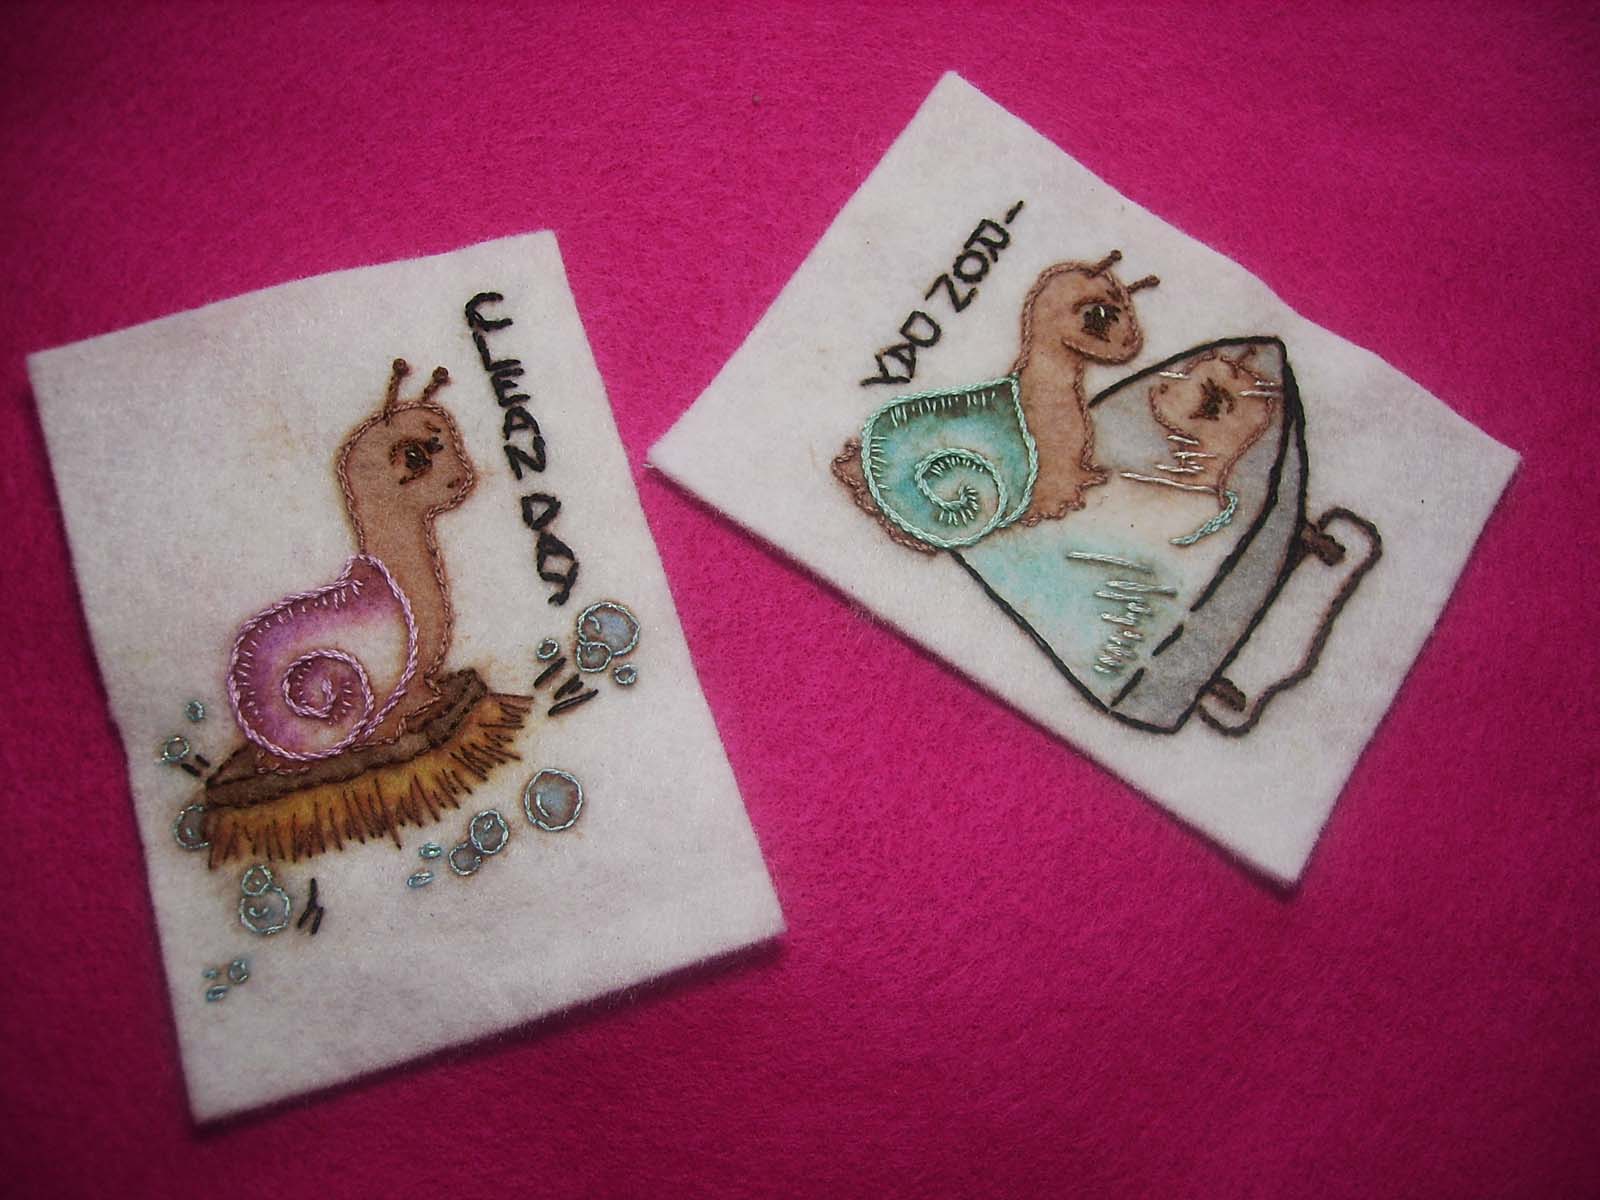
here is yesterday’s “Clean Day” snail with the “Iron Day” snail on the pink background that they are destined for. They are going to be most bright, cheery and fun!
Your life needs fun. Go ahead, have some fun!
———–Helpful Information———
Find Small Snail Purse/Bag with Vintage Snail Embroidery Part 1 (Click Here)
Find Small Snail Purse/Bag with Vintage Snail Embroidery Part 2 (Click Here)
Find Small Snail Purse/Bag with Vintage Snail Embroidery Part 3 (Click Here)
Find Small Snail Purse/Bag with Vintage Snail Embroidery Part 4 (Click Here)
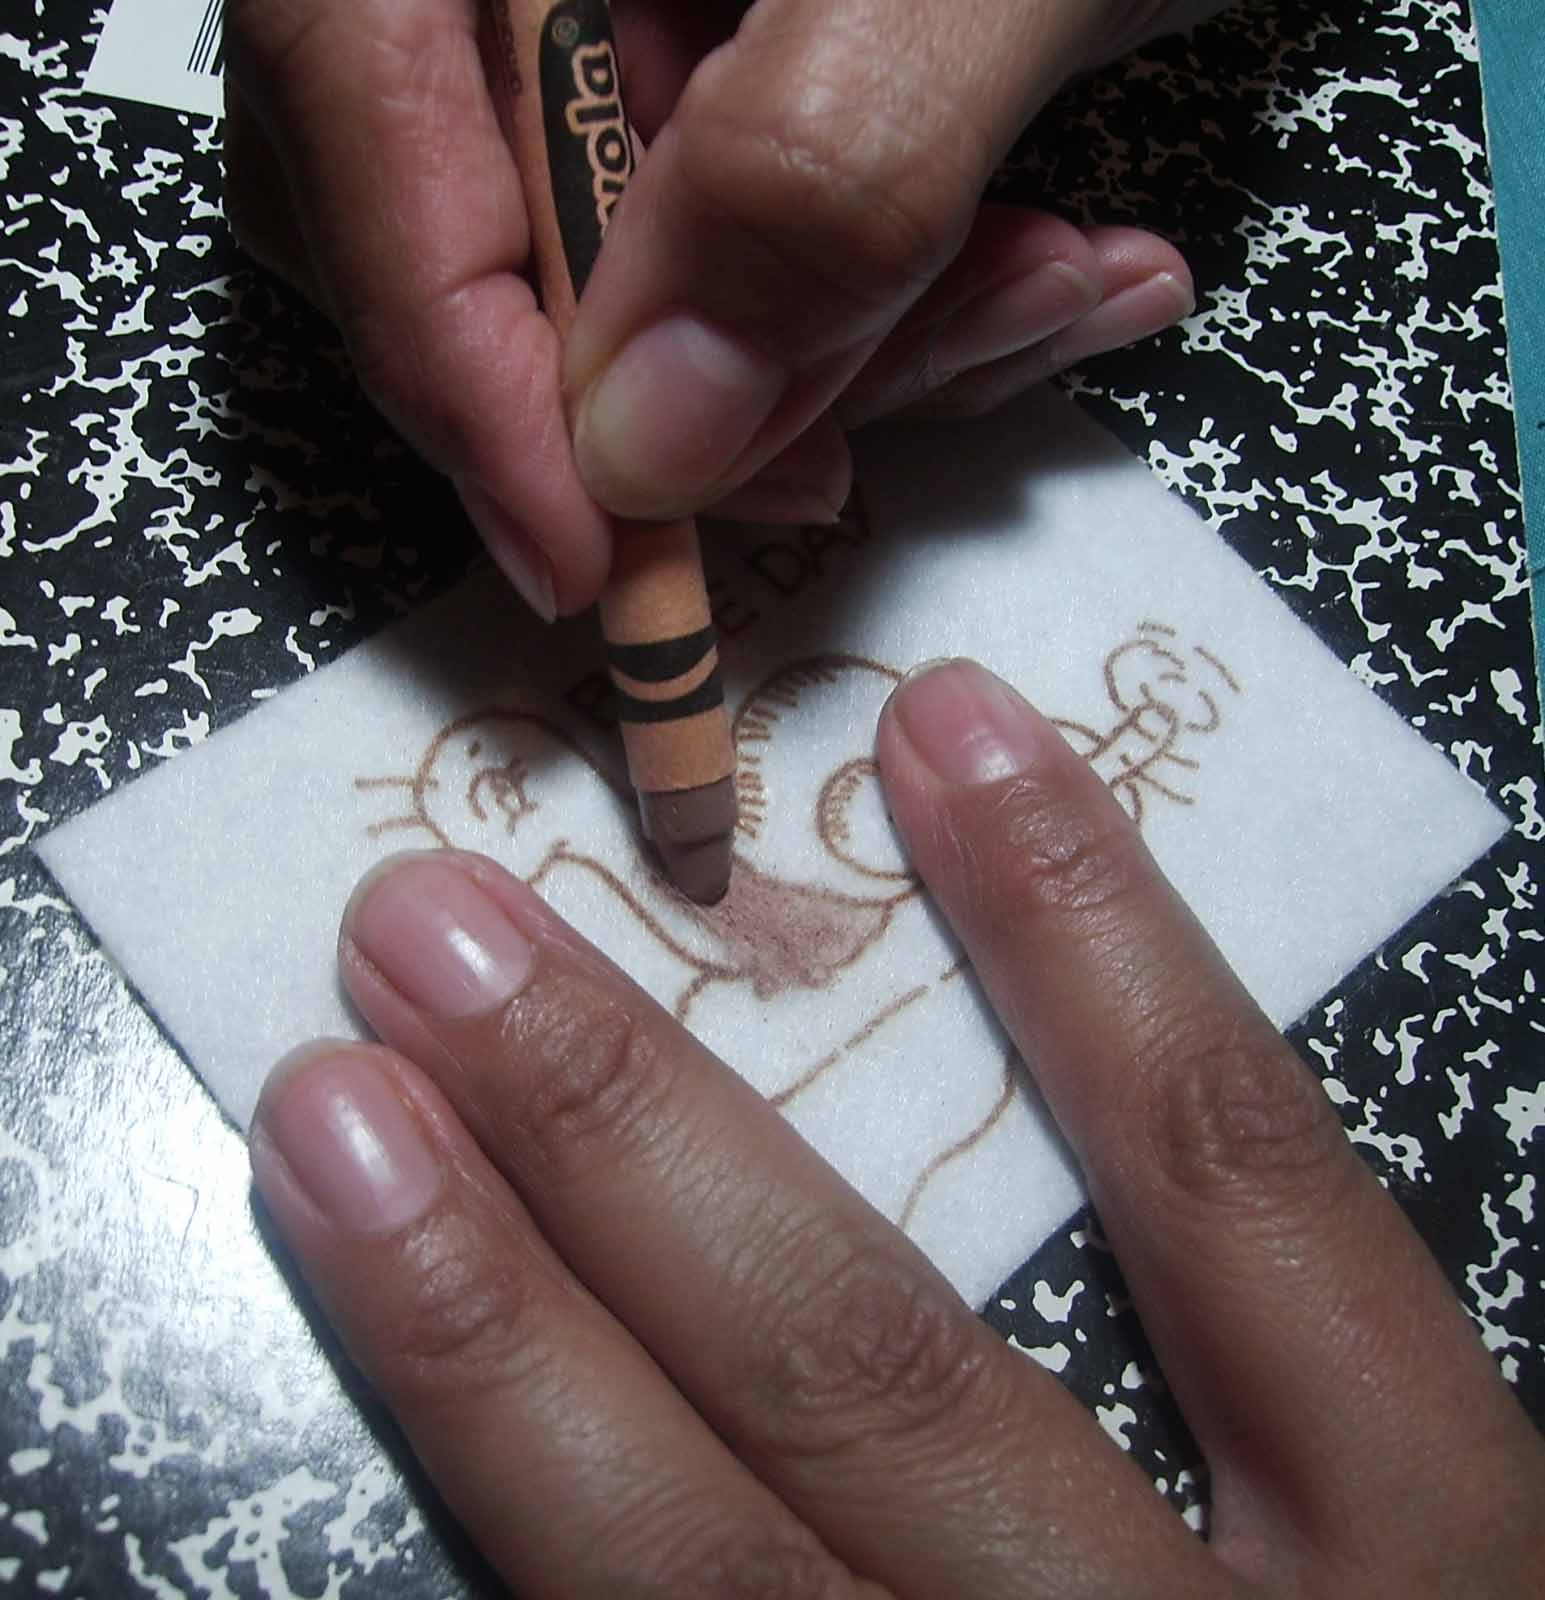
Find My “Tinting Fabric with Crayon” Tutorial (Click Here)
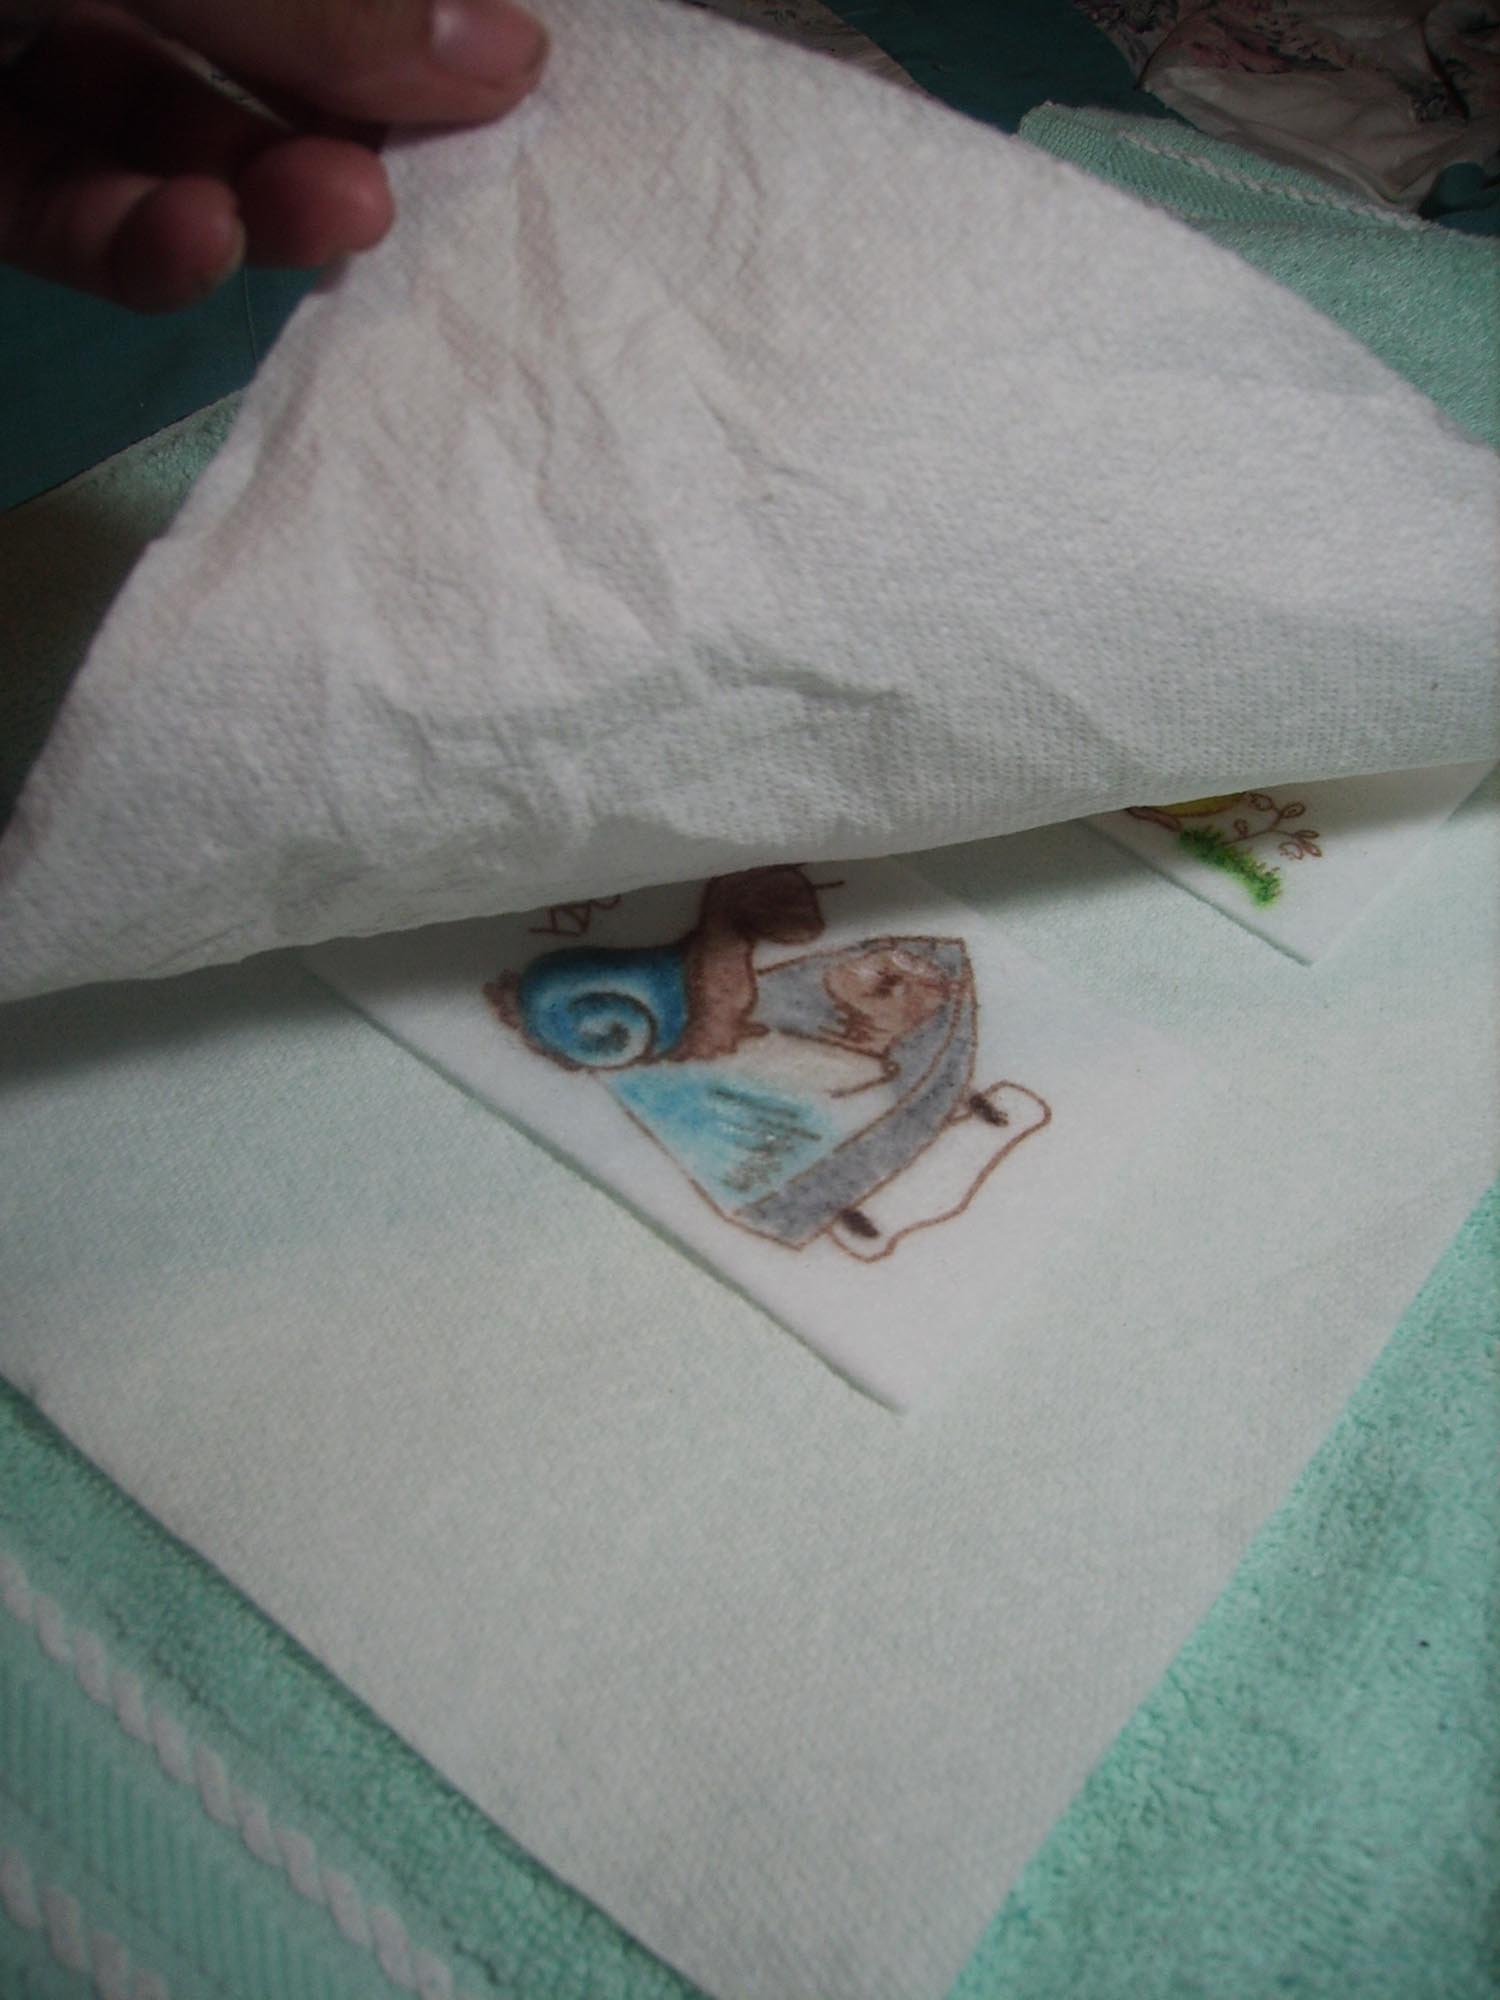
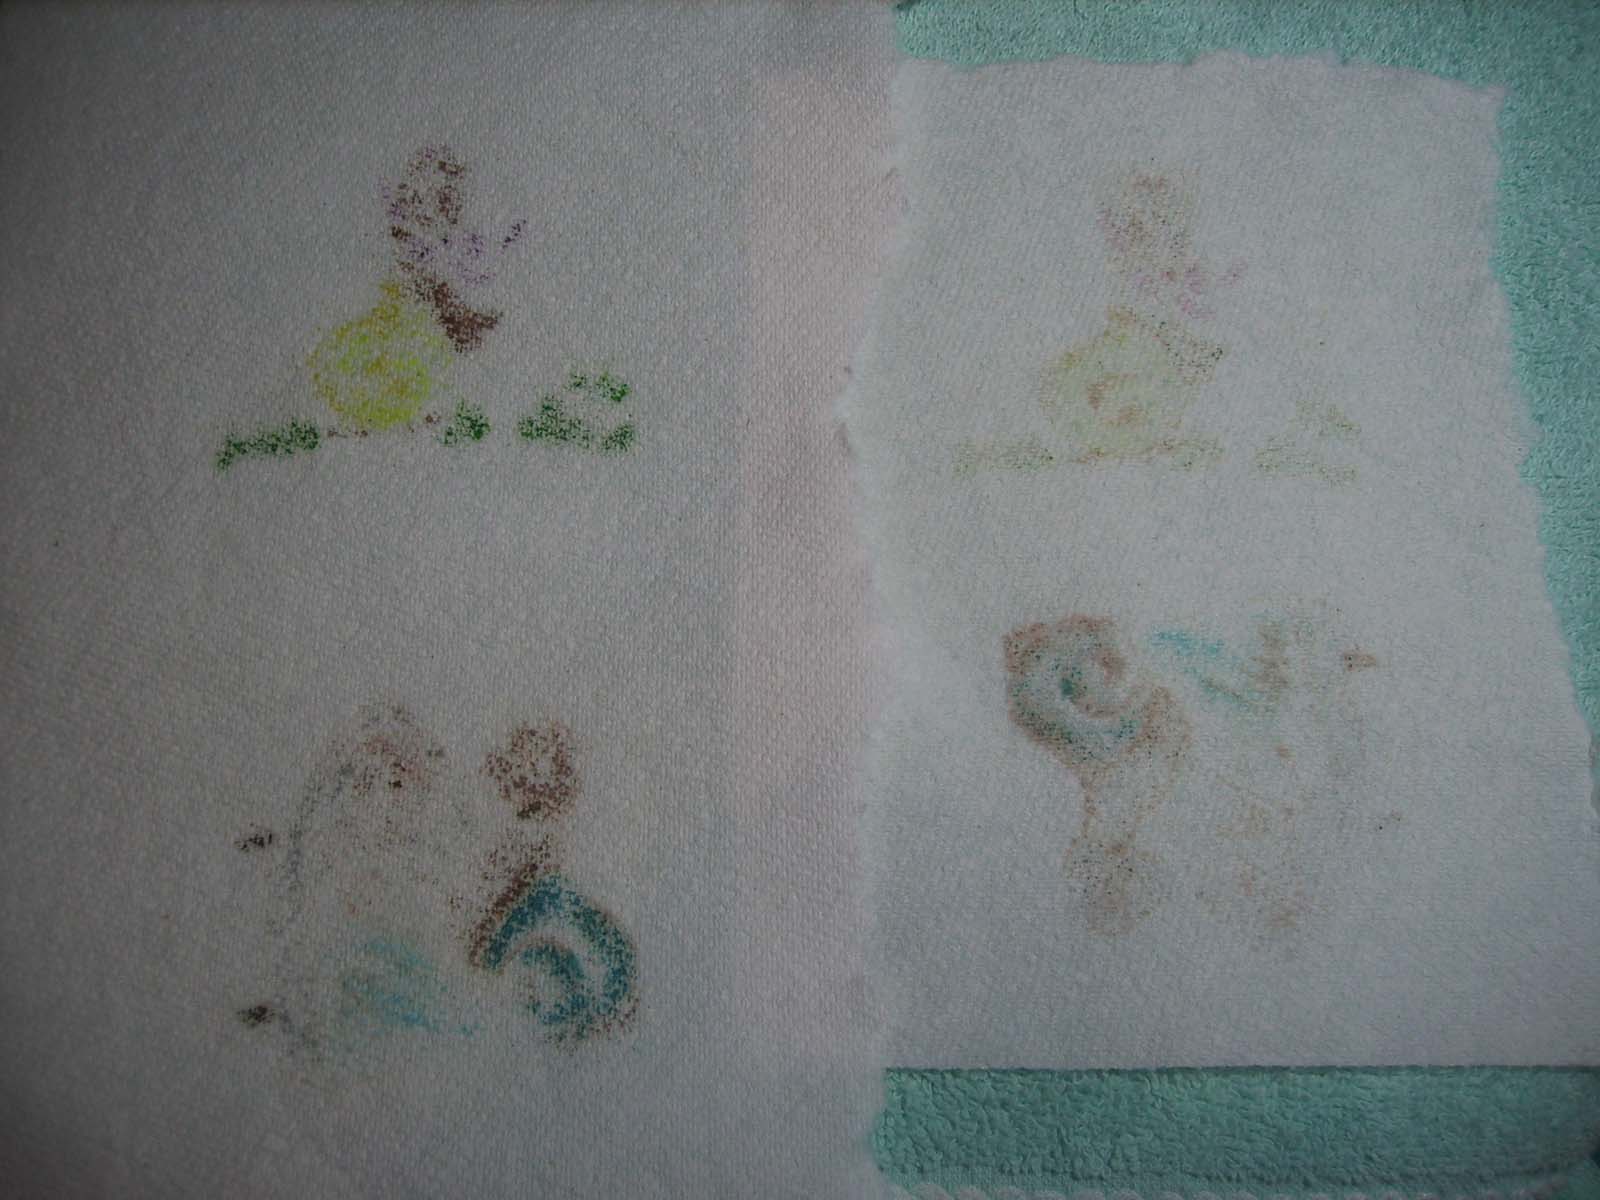
Find My Iron On Transfer Tutorial (Click Here)
Find Flickr Group Hoop Love Vintage Transfers (Click Here)
Find Yahoo!Group Hand Embroidery (Click Here)
Find Hand Embroidery Group Blog (Click Here)
Find Hand Embroidery Group Summer Creativity Challenge (Click Here)
Find Stitchy Britches Blog (Click Here)
Find Sue of Berkshire Cottage (Click Here)
Find Helen of Show Your Workings (Japanese Knot Bag Tutorial) (Click Here)


 Stumble It!

