Tag Archives: tinting with crayon

Embroidery Tools – Crayons – “Tinting Fabric with Crayons”- Technique Tutorial

After receiving several questions regarding information about “tinting fabric with crayon”, maybe it best to separate the technique and showcase some resources here in it’s own post.

I first learned about tinting fabric with crayon over at http://www.Craftster.org. There are people there discussing the durability of the crayon and the fabric. They are also chatting about the overall technique. My one exclusive tutorial that I always credit is Tracey’s tinting with crayon tutorial found at Giggleface Studios. I link to her because I use “her” ironing method for all my tinting with crayon.

Here are resources that I have used to learn to tint fabric with crayon. There are only two.

—————–

Find Giggleface Studios tutorial for tinting with crayons (Click Here)

The entire link above is: http://www.gigglefacestudios.com/giggleface_studios/2008/06/tinted-linen-2-torial.html

—————–

Find Craftster forum with tinting with crayons information (Click Here)

The entire link above is:

http://www.craftster.org/forum/index.php?topic=245721.0

—————–

I have done several projects that involve tinting fabric with crayon. I have posted here on this blog about tinting with crayon on canvas and felt. To find all my posts, with step by step photos, please do the following:

1. Please look at the right hand column of this blog.

2. Locate the “Categories Cloud”, the “Categories” drop down menu and the “Search” option there in the right hand column .

3. Click on “Tint with Crayon” in the ‘Categories Cloud’, Find “Tint with Crayon” in the ‘Categories’ drop down menu, or type “Tint with Crayon” into the search option and click “Find” there in the right hand column.

4. All my posts that I have tagged with “Tint with Crayon” will load on your screen. You can see all the steps that I have taken, with clear photos…because I LOVE the photo tutorial….right there in one place. 😉

—————–

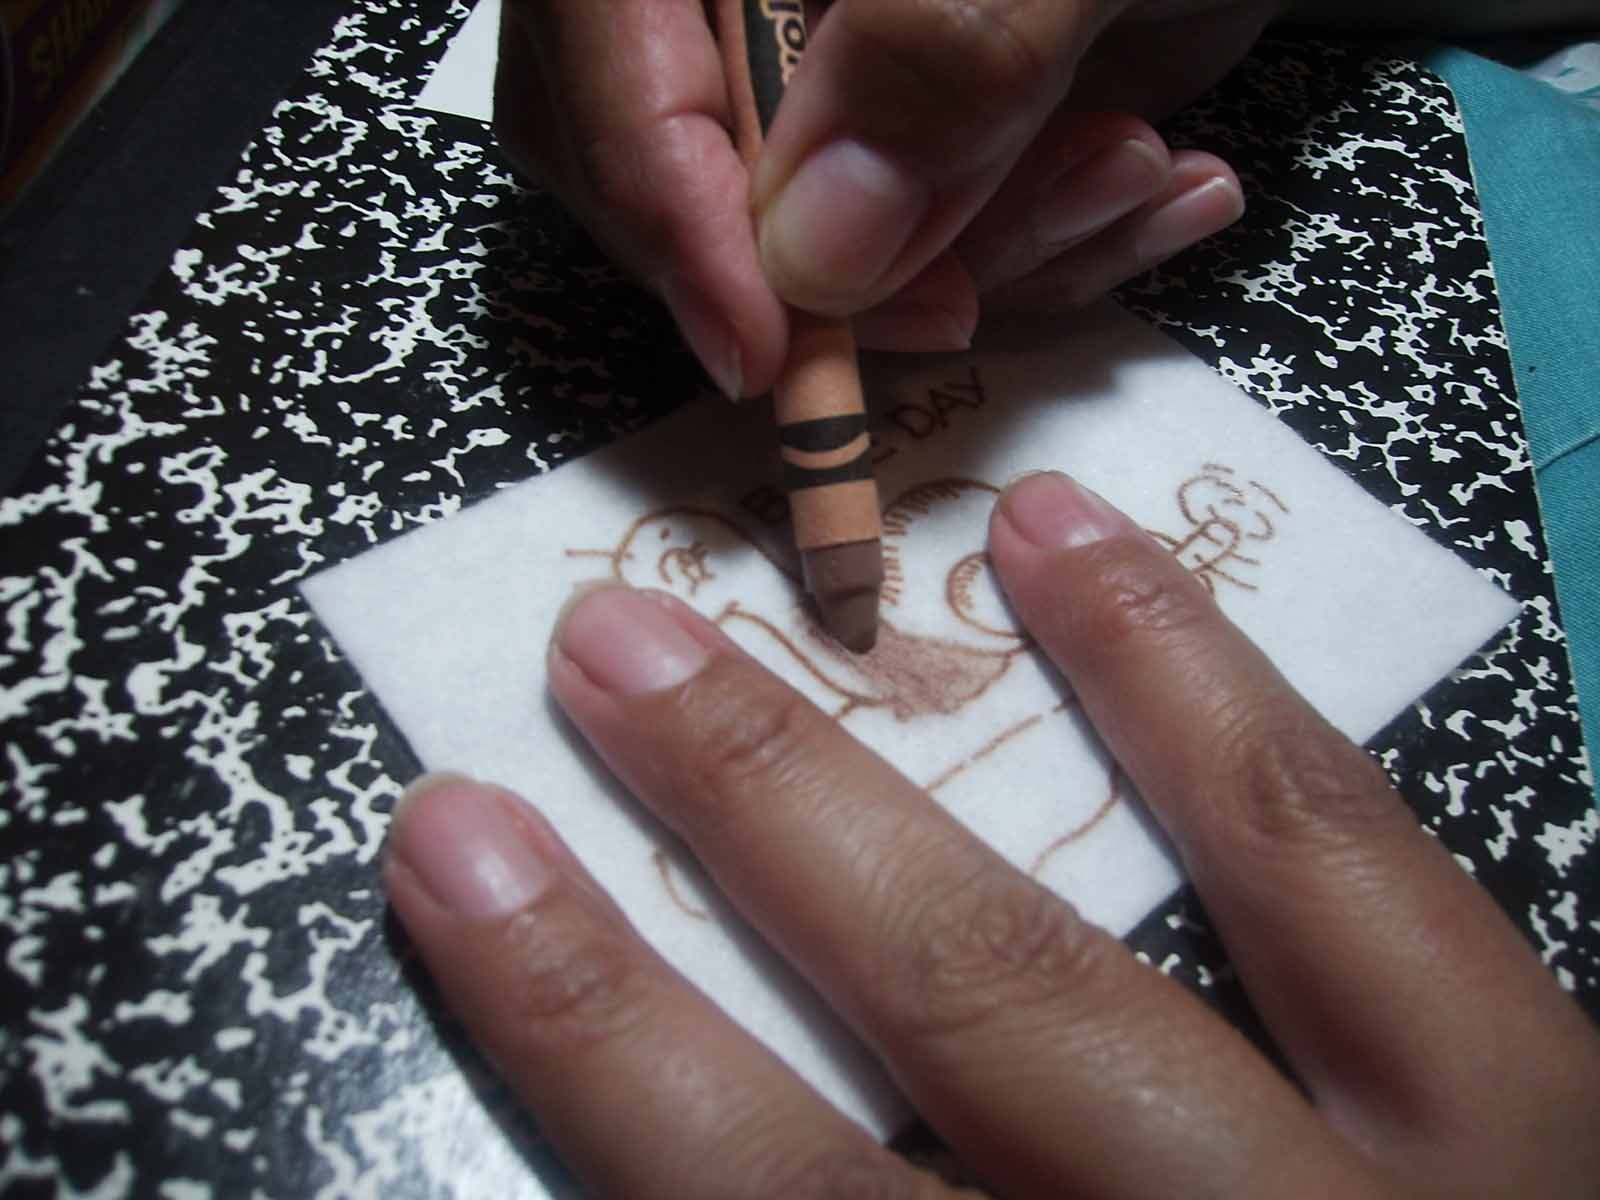
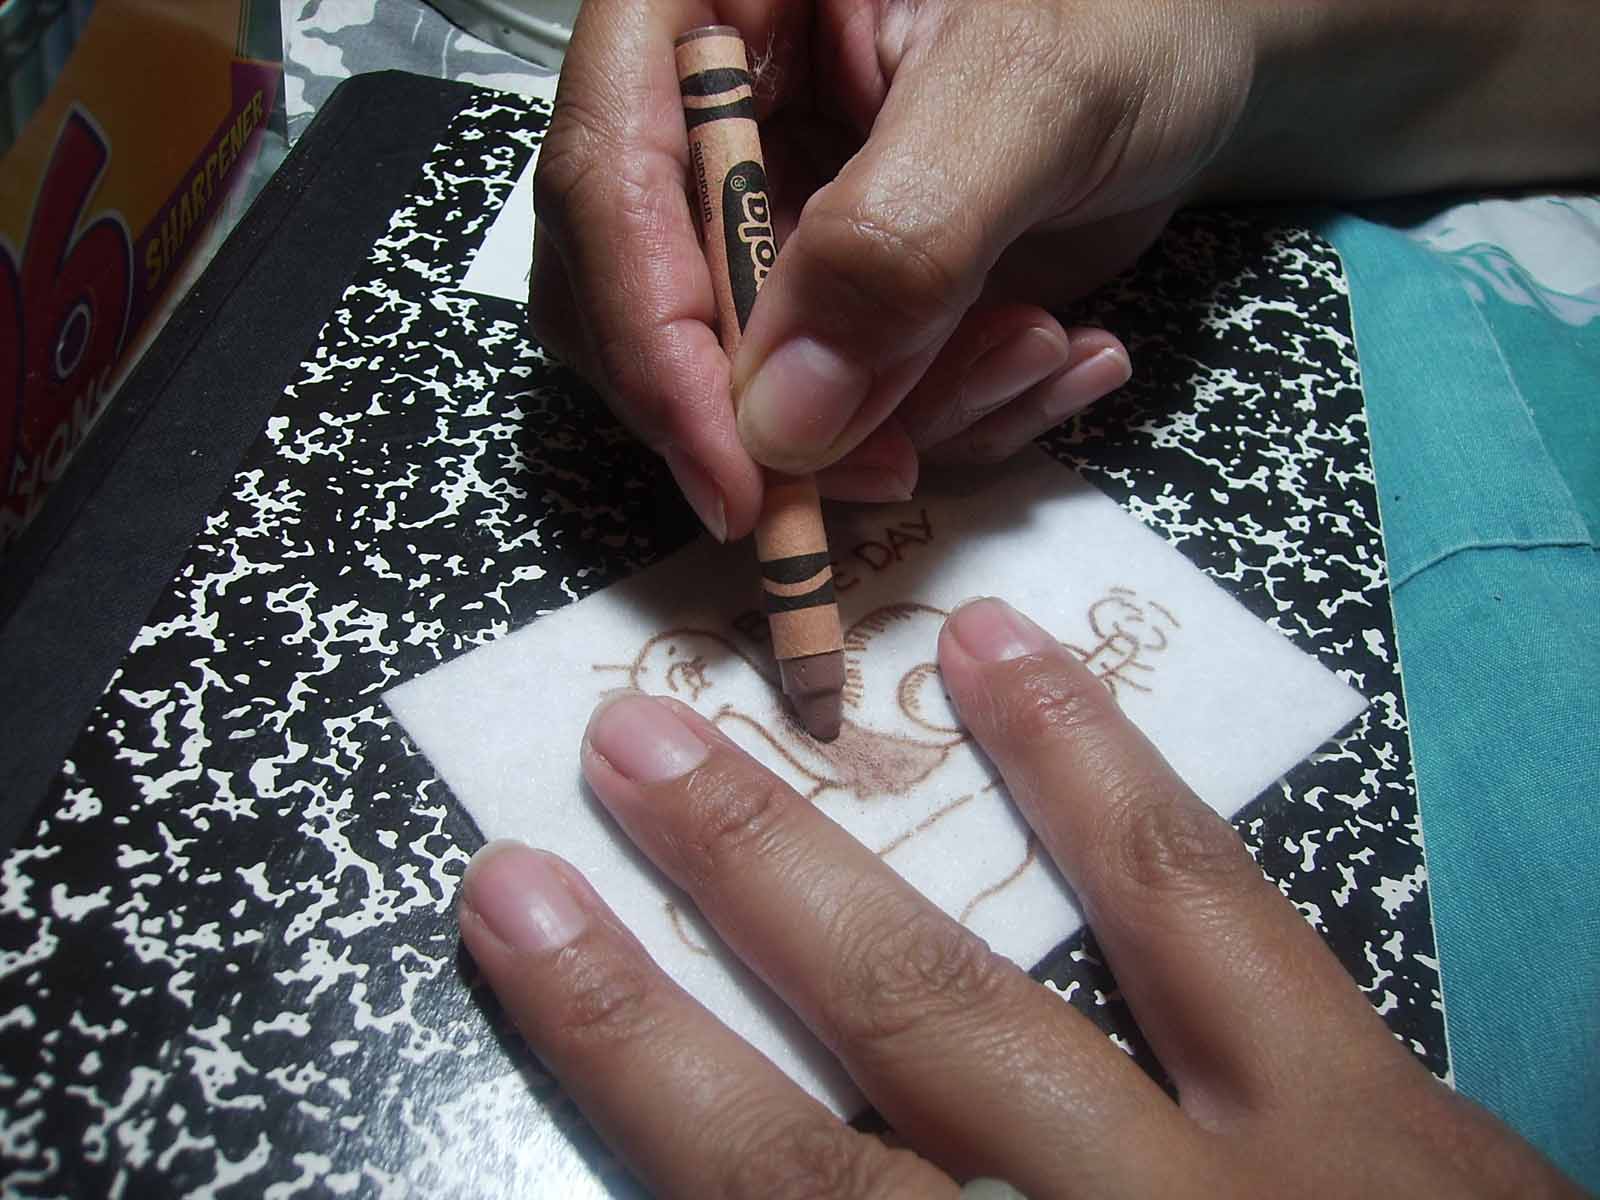
I realized when starting my ‘snail’ coloring, that I hold the fabric while I color with the color crayon. Here you can see that my one hand holds the fabric taut while I use the other hand to direct the crayon. I touch the crayon down to the fabric and make quick “check mark” like strokes. I DO NOT rub the crayon back and forth. I color in ONE DIRECTION and use QUICK SHORT STROKES to get the crayon to stay on the fabric. If the felt ‘fluffs up’ I just mash it back with short quick strokes of the crayon until it is heavily coated with waxy colored crayon and sticks to itself in a shiny sheen.

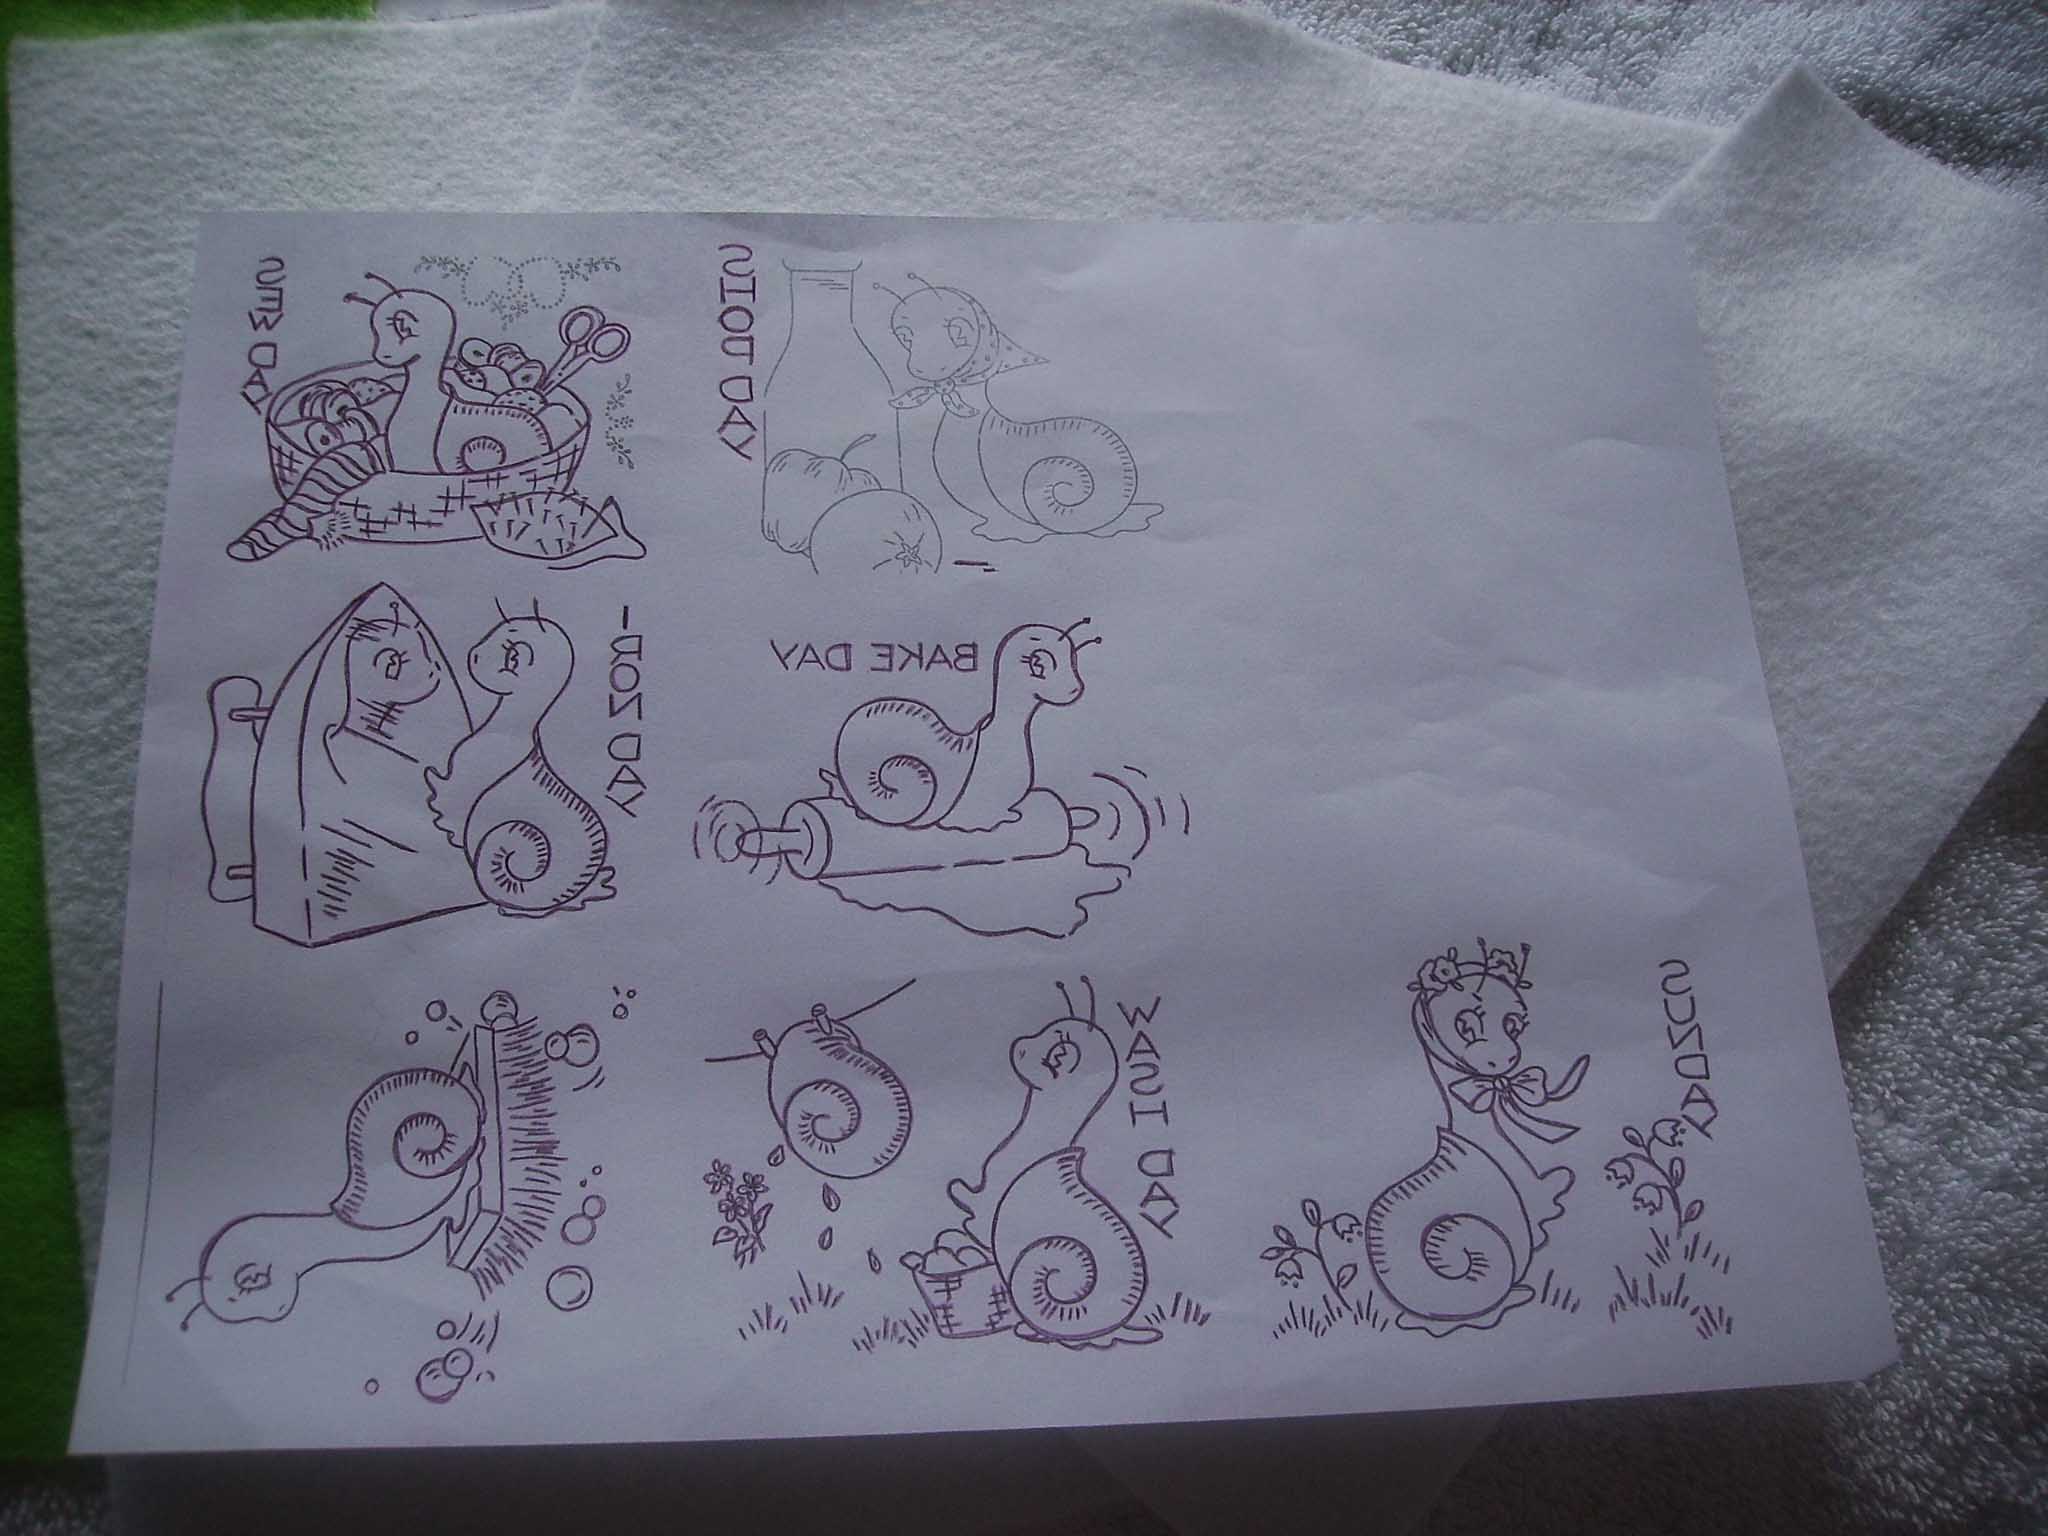
The ironed on details DO get distorted. I don’t worry about it. I know that I can go back and re-iron the transfer back in the exact place after this process is over. I usually finish the tinting with crayon technique, then return with the SAME transfer, position it in place again, and lightly re-iron the transfer over the top of the crayon to gain back some details. Most transfers are good for 3-5 prints.

I hope this helps.

Your life needs fun. Go ahead, have some fun!

2 Comments

Filed under embroidery, Tint with Crayon, tutorial

Embroidery Project – Small Snail Purse/Bag with Vintage Snail Embroidery, Vintage Transfer Part 1

What happens when I get distracted and an idea burns it’s way through my creative soul? Answer: I cannot rest until I at least solve the puzzle of ‘how’ it ‘could’ come to fruition! I am going to let you into my thought processes while tackling design.

The Small Snail Purse…a puzzle in the making.

portrait snail bag pags

*I’ll tell you how I ended up finding these cute little snails if you promise not to get lost clicking all the links until AFTER reading this entire post. 😉 I know…I’ve been lost in this path too. Stay with me until the end, then go exploring. Be prepared to be at your computer for a while!)*

There is a great Flickr Group, Hoop Love Vintage Transfers, which boasts, yes, you guessed it, Vintage Embroidery Transfers. I happened upon them while designing my Flowers for the Summer Creativity Challenge over at Yahoo Group Hand-Embroidery. I followed the links at those sites to their Group Blog and ended up over at a blog called Stitchy Britches. Oh, how I got lost over there clicking on all kinds of things and ended up over at Hoop Love Vintage Transfers.

Amongst many other vintage embroidery patterns, there were these. Days of the Week Snails. I think they may be Aunt Martha’s Iron On Transfers, but I am really not sure. Now, I had no intentions of touching these patterns. Really, I didn’t. But…

5 the snails and the fabric material

I kept looking at this piece of fabric I bought on a whim…way before even discovering the pattern collection. I’ve been staring at it wondering what it is that I could do with it. Well…doesn’t the design look like…uh…snail shells?!

2 snail like material4 snail like material 33 snail like material 2

Together: Snails. Snail shells. A perfect match! Now, what to do to make this somehow pull together?

1 snail transfers

At the same time this “light bulb” went off about the snail like fabric, I had been reading blogs via my Google Reader. Sue, of Berkshire Cottage is on my blog reader and an entry caught my eye. It is about Sue’s adorable Japanese Knot Bag. I had to follow links from her blog to finally get to a pdf file with the pattern by Helen at Show Your Workings. I think the bag is really cute! And…who doesn’t NEED another bag, right?

I got to thinking…the snails…the bag…they would work well together!

Well, I am just so set to present most of the projects here on my blog in a way that ANYONE can attempt them. I am determined to use affordable fabrics to prove that anyone, even in these times of economic crisis, can find some mental health enjoyment in embroidery and creativity. And what better, than good old economy felt! I’ve already worked with it for several projects and it hasn’t failed me yet. (The snail fabric, by the way is 1 Fat Quarter that I bought at my Ben Franklin Crafts for $2.99 less a 10% discount.)

Here, I’ve dug out some matching blue, pink and green felt.

6 felt sheets to match the material

And for the snails themselves, why not good old bright white to transfer to and use a little ‘photo’s’ of snails across my little bag?! I reduced the size of the snails to the “wallet” option with my printer wizard. They are 2.5″x3″. I love to work in miniature. It’s handy, it’s inexpensive, it fits everywhere and you don’t run out of room quickly!

7 snails on the white felt

The problem so far: Here is the pattern. The felt turned wide, is not tall enough for the entire pattern, turned tall is not wide enough for the entire pattern. What to do?

8 the pattern size9 problem felt not tall enough10 problem felt not wide enough

Well, no one said we HAVE to make it out of ONE ENTIRE complete fabric, right? I mean, there are millions of Quilters out there that cut huge sheets of fabric up into tiny pieces to sew them back together again to form bigger sheets of fabric, so why not a little adaption of the sort for the felt and this purse pattern?

Solution: Here is the green, turned wide. Why not add a blue, say, for ‘sky’ on top of the green to accommodate the handles of the bag? We will have to piece and sew the felt together to create a new larger sheet of felt. Then, we can place the entire pattern on the new felt sheet. (That comes later, we are just in the “Idea” mode right now remember.)

11 solution felt wide side12 felt wide side blue above green13 blue top green bottom

Here, we see the green and blue of the ‘bag body’. Let’s add some of the pink in for a maximum contrast accent. Maybe the pink can be a ‘frame’ or border around the little snail ‘photos’. You can see the little snail on the white fabric, bordered by the bright pink. Several of the snails should fit around the little bag like little snapshots of them, the green giving the illusion of grass, the blue giving the illusion of sky.

14 accent with pink15 snails on white bordered with pink

Here it is all together with the snail like fabric for the lining. Can you see it? Think it will work?

16 all snail ideas together

I really enjoy this process of creation. I have a lot of fun gathering the parts and letting the ideas flow like this.

I can finally rest my mind a bit and while setting this up also go back to my Summer Challenge Flowers. I usually have many projects running at once. It’s a good thing these are snails and won’t be moving very quickly. They won’t mind the wait.

Your life needs fun. Go ahead, have some fun!

———–Helpful Information———

Find Flickr Group Hoop Love Vintage Transfers (Click Here)

Find Yahoo!Group Hand Embroidery (Click Here)

Find Hand Embroidery Group Blog (Click Here)

Find Hand Embroidery Group Summer Creativity Challenge (Click Here)

Find Stitchy Britches Blog (Click Here)

Find Sue of Berkshire Cottage (Click Here)

Find Helen of Show Your Workings (Japanese Knot Bag Tutorial) (Click Here)

11 Comments

Filed under Bags/Purses, embroidery, felt, Tint with Crayon