Tag Archives: tinting with crayon

Tutorial-Washing and Blocking Embroidery; Felt Tinted with Crayon 3 of 4

This third part of this is where we allow the felt fabric to undergo a washing. It is a gentle hand washing process. All the steps of the experiment are documented. Hopefully, it will clear up any questions or differences that may produce differing results.

Part 3 (Washing the Felt Fabric)

—————————————-

I follow the same wash and block technique that I learned when washing sheared wool. This method is also one to use when washing and blocking any wool knitted item to keep it from felting or shrinking unmanageably.

1. Run cold water in a clean sink. Plug the sink and let the cold water start to fill the basin.

2. Add a gentle cleaner. I use “Basic H“, sold by Shaklee. (I used to sell the stuff.) I believe that Amway makes something similar with it’s L.O.C. I believe that either of these two are gentler than even Woolite. In the past, I had learned that Woolite really isn’t that ‘gentle’ on embroidery/stitching fibers as it is on wearable clothing that it is made for. Maybe that is untrue. I don’t know. I’ve never experimented with it. When I learned to clean wool, right off the sheep, we used dish detergent to strip off the oils of the wool. Dish detergent is a pretty harsh cleaner. I wouldn’t recommend using it for your embroidery/stitchery. If you have any other cleaner you can recommend, please do so in the comment section as well. 😉

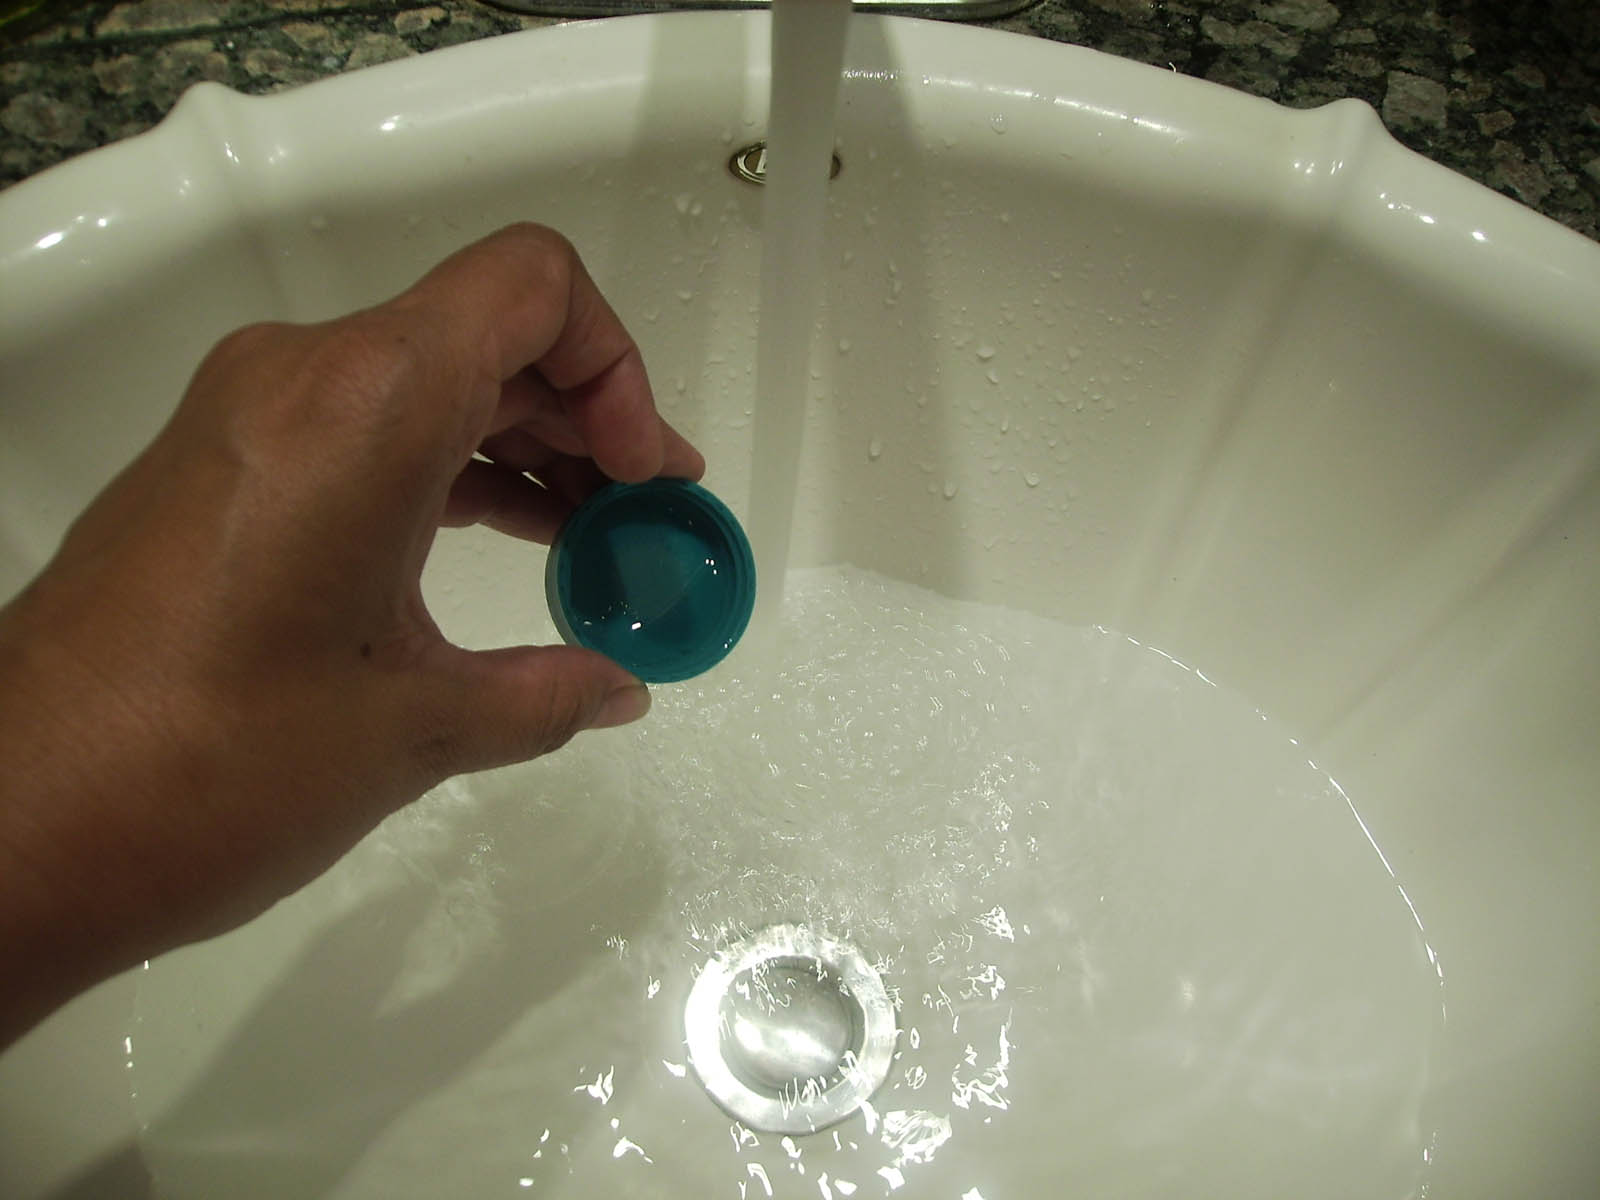
3. Here I add just a smidgen (literally) of Shaklee’s Basic H into the running cold water.

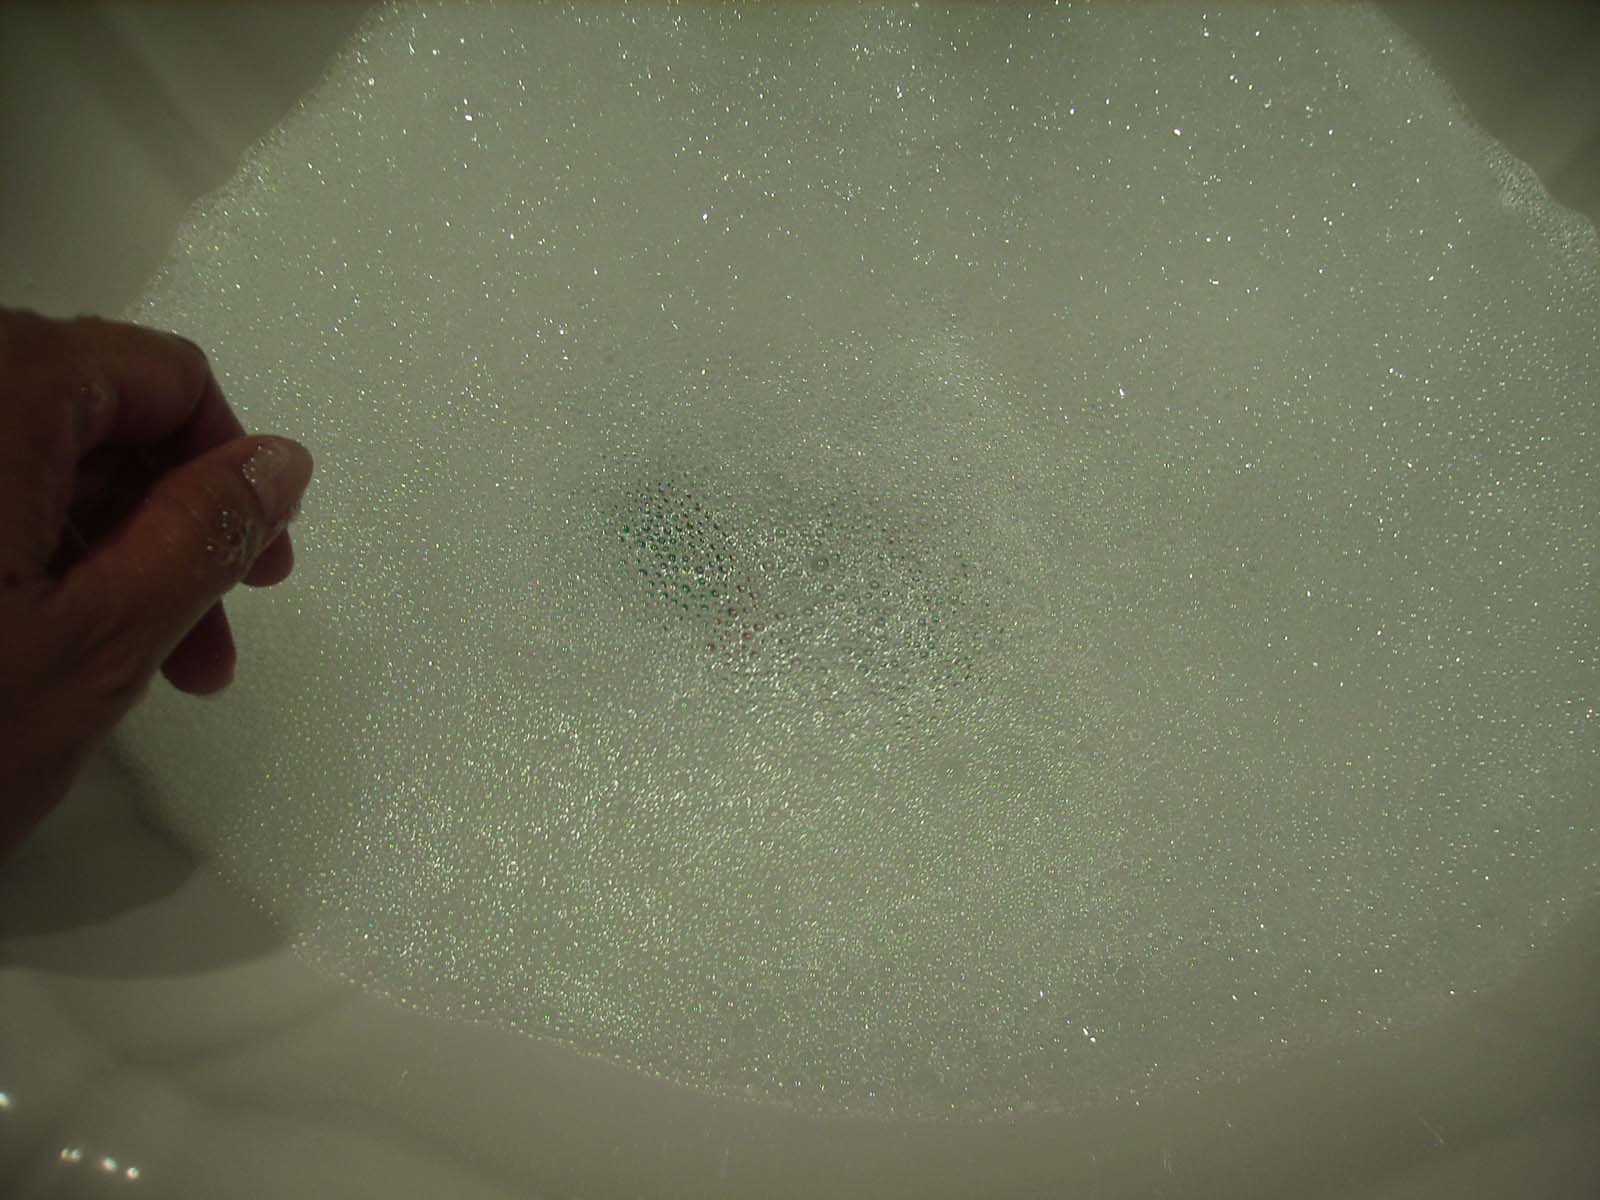
4. Let the bubbles build.

5. Turn the running water off and hold your piece above the water and gently let it sit on the surface. Don’t push it in. Just let it sit there and slowly soak up the water.

6. Watch it slowly absorb water and sink a little at a time. Until it is totally submersed in the soapy water.

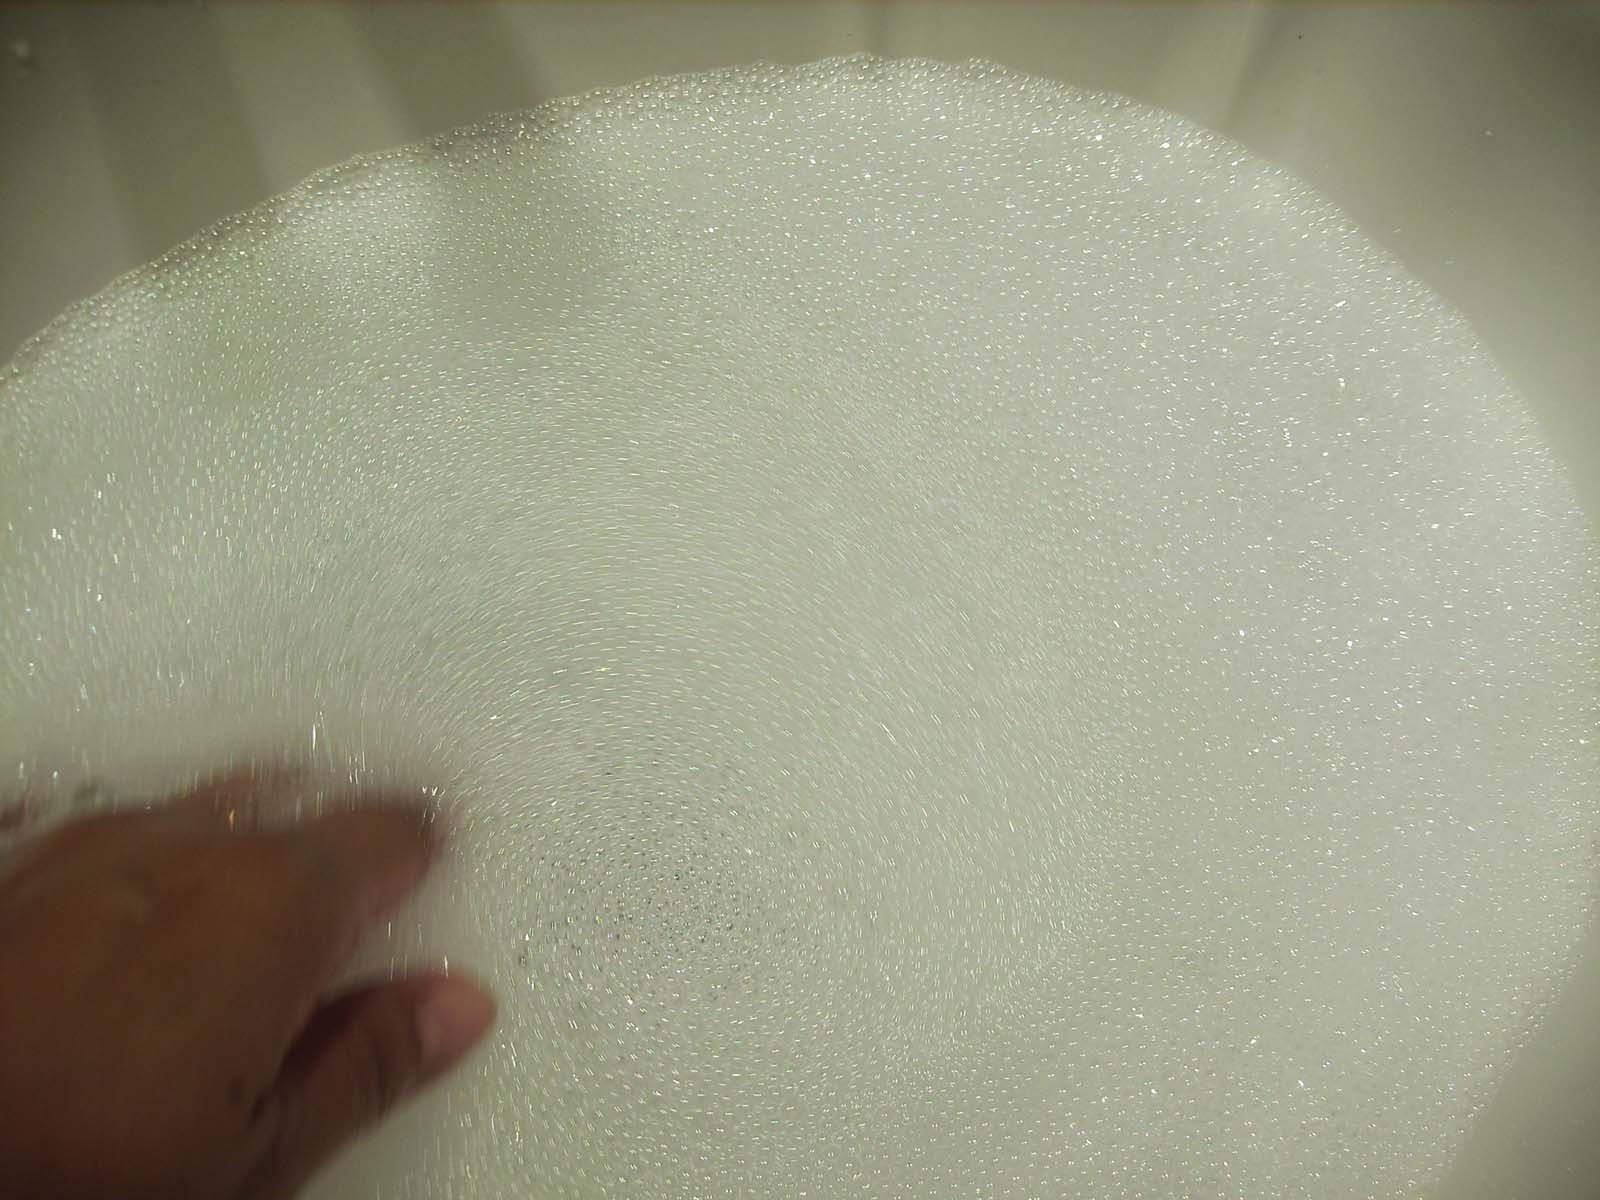
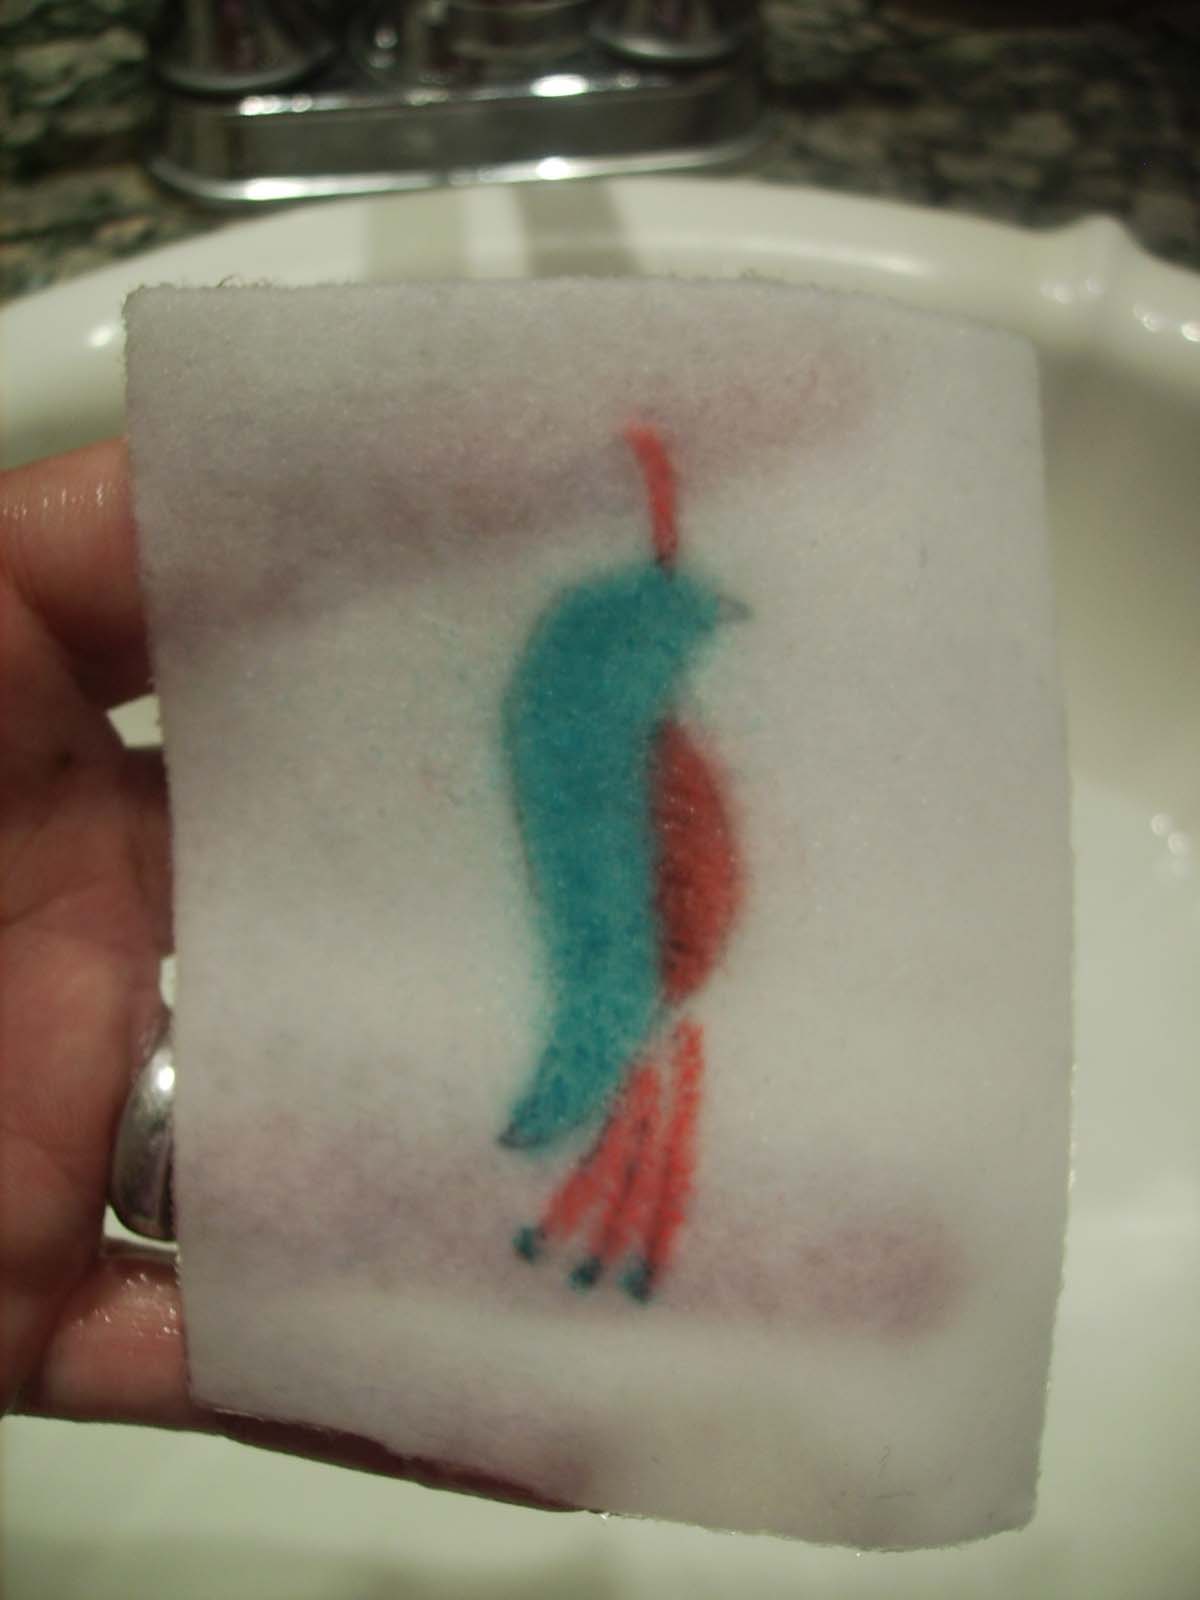
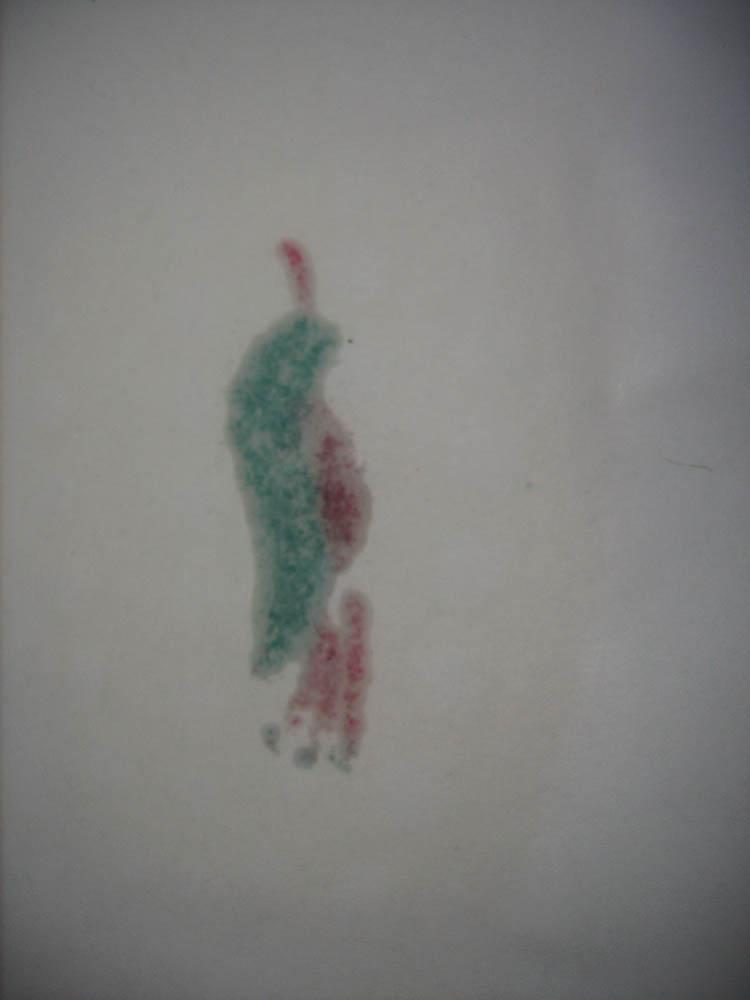
(Let’s check it to see if the color is still there) Gently move the bubble out of the way and see if the piece has sunk to the bottom.

7. Sometimes I swirl the water around, very gently.

8. I do NOT swish the piece around. I only move the water around gently.

9. After a short time, maybe 1 or 2 minutes, give or take a ‘swish or two’, take it out from the bottom of the bubbly water and take a peek at it. If the background area appears clean to you, then it is ‘done’. Let it fall back into the water gently and move on to the next part.

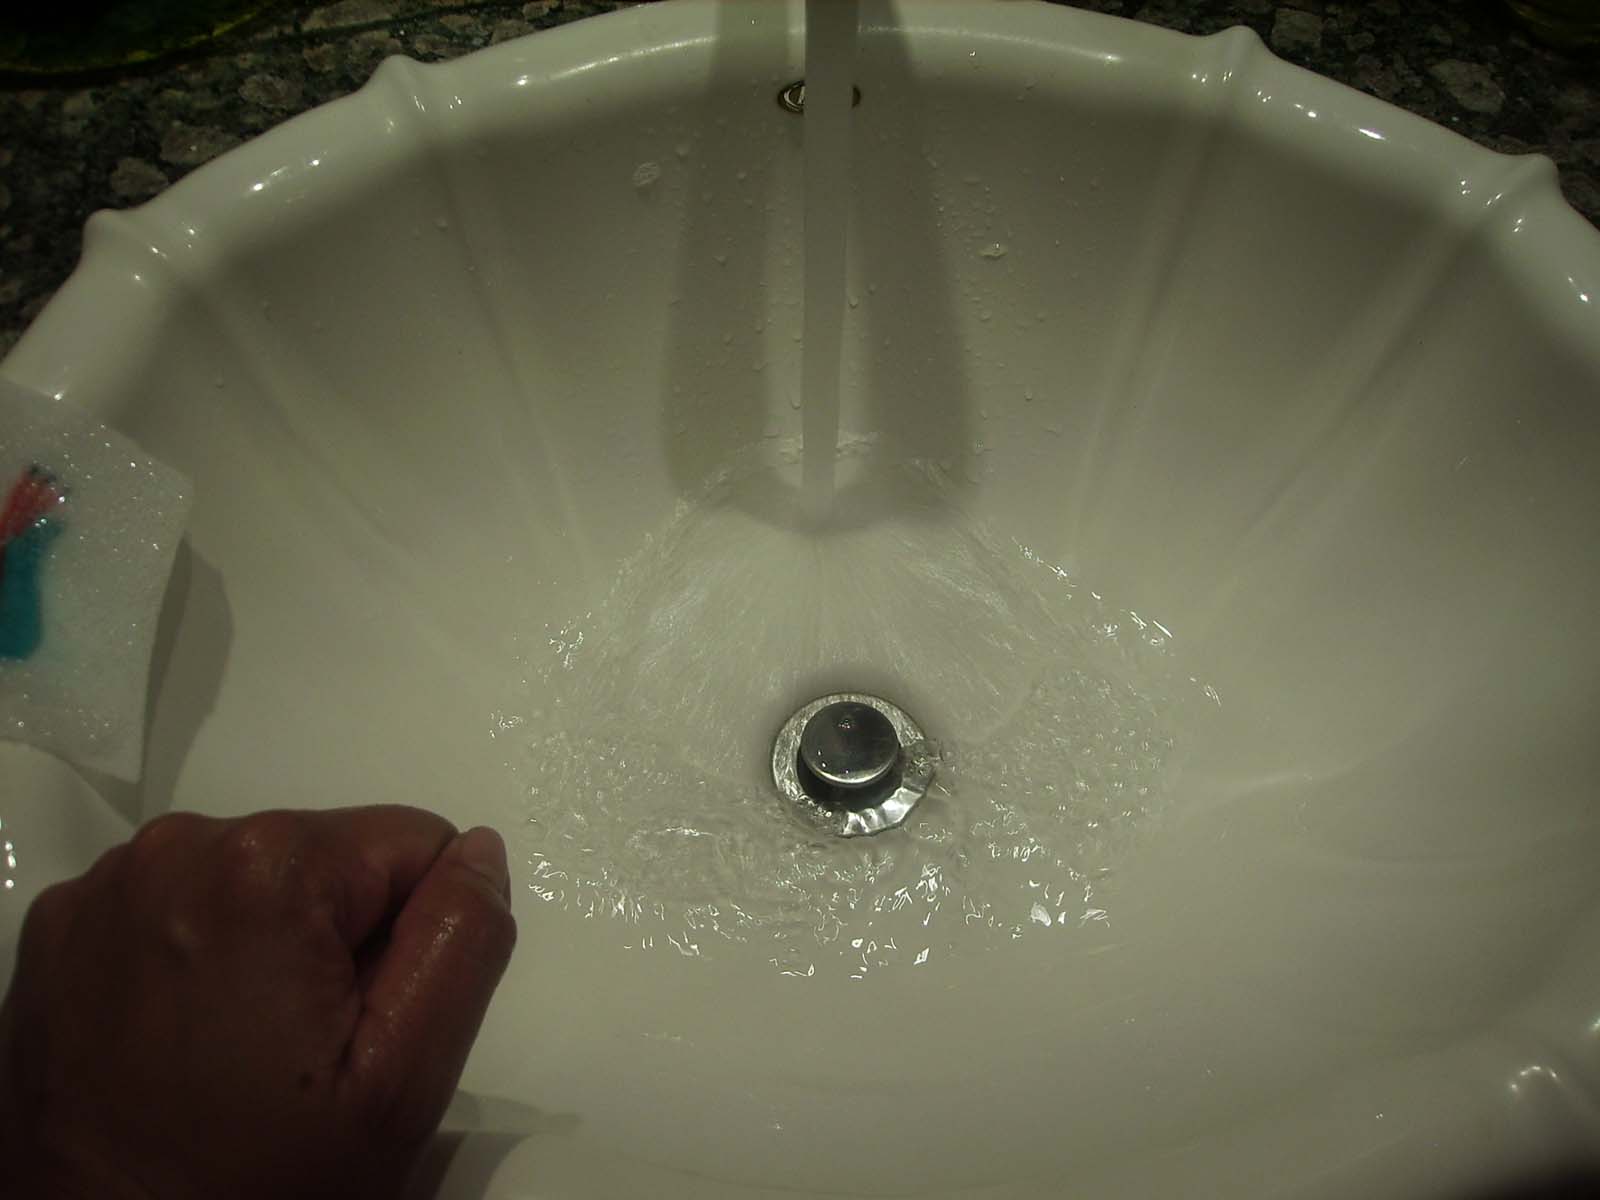
10. Depress the plunger and let the bubbly water out of the basin.

(Notice the little piece still there in the bubbles)

11. Gently lift or slide it out of the way…

12. While running clean cold water in the basic while the plunger is up and the drain is opened. Run this until the bubbles are all out of the basin.

13. Press the plunger again to fill the sink.

14. Run new, fresh, cold water into the basic.

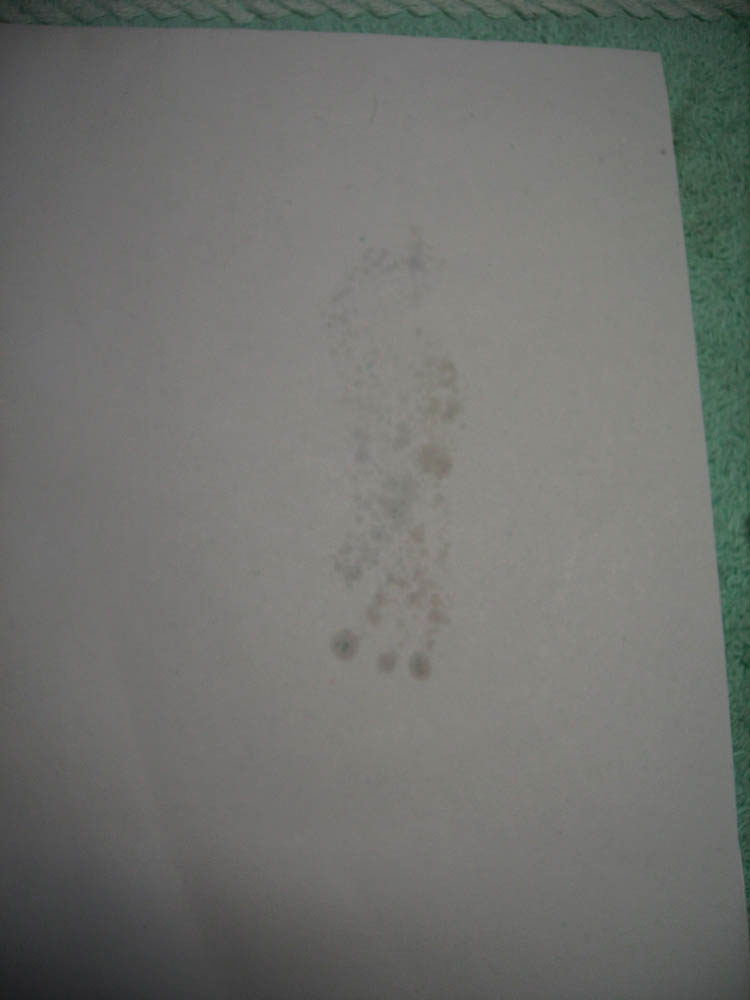
15. Once filled, gently lay the piece on the surface of the water and wait for it to once again sink to the bottom of the basin.

(Eventually it will sink)

16. Let it sit in the rinse bath for a minute or 2, then gently lift it out of the rinse water. Now you are ready to ‘block’ it dry! 😉

Next:

Blocking Felt (4 of 4) is found here or on the Tutorial Page here

1 of 4 is here, Iron on the Transfer Design or on the Tutorial Page here

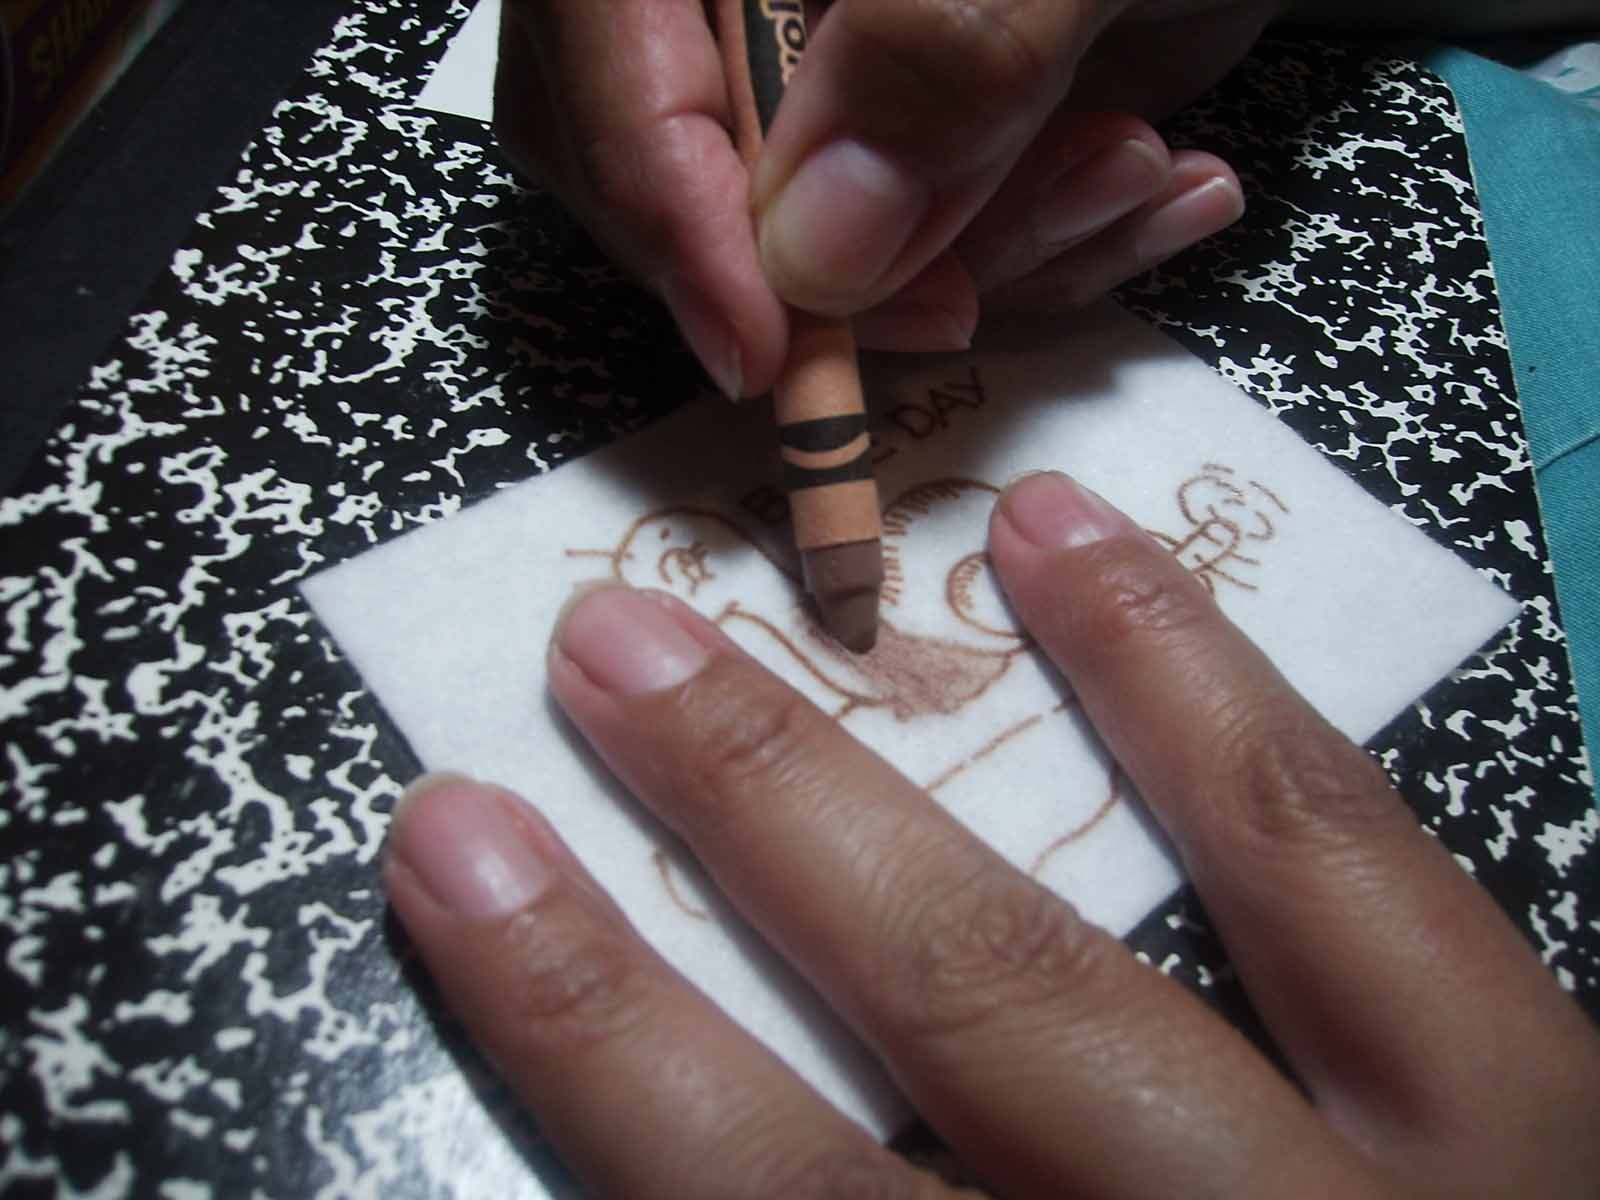
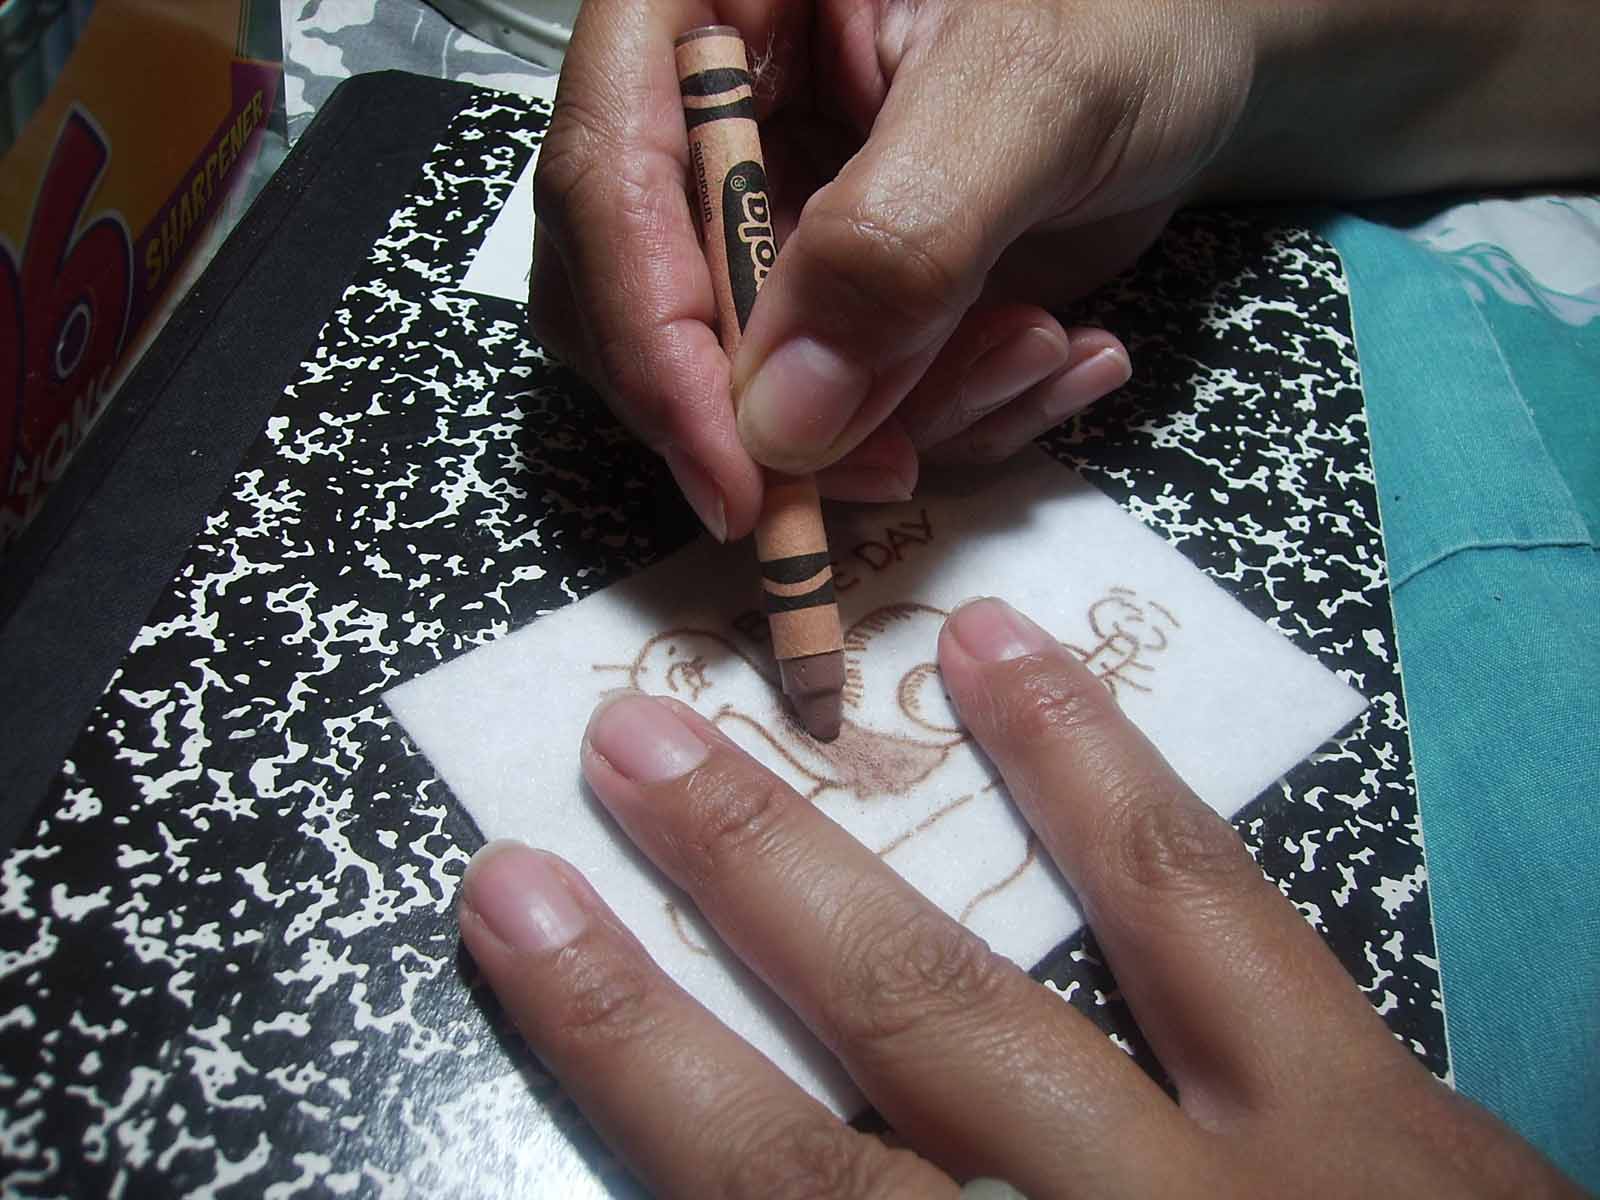
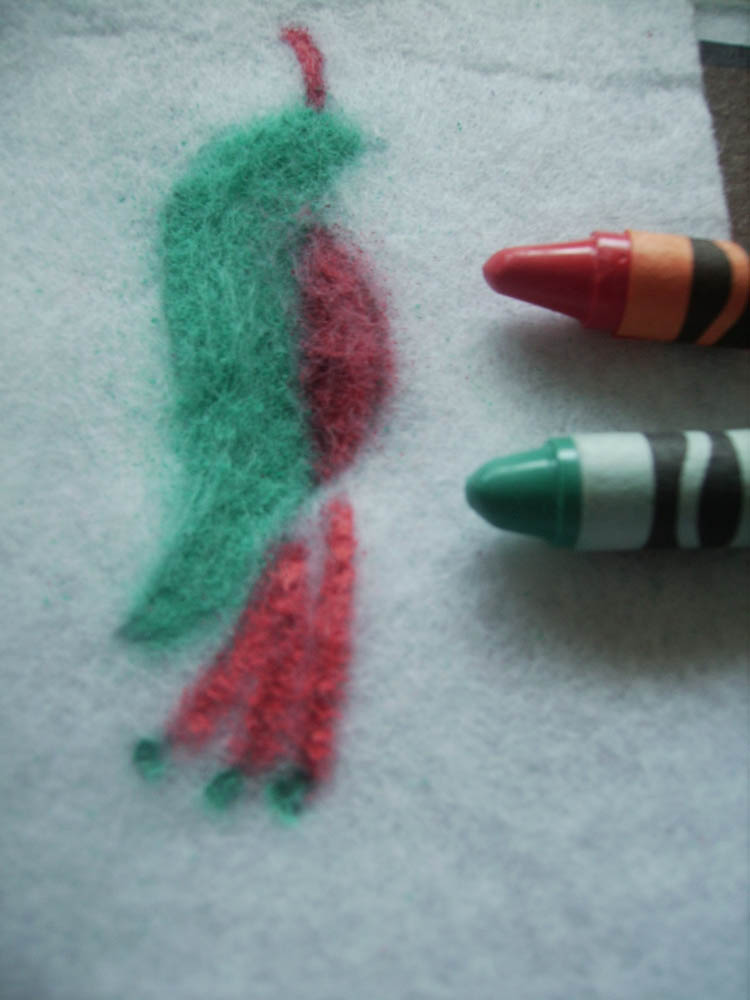
2 of 4 is here, Coloring the Felt Fabric and Melting the Wax to Tint the Felt or on the Tutorial Page here

This post is 3 of 4

4 Comments

Filed under Block and Wash Embroidery, embroidery, felt, Tint with Crayon, tutorial

Tutorial-Washing and Blocking Embroidery; Felt Tinted with Crayon 2 of 4

This second part of this is basically a repeat of the “tinting fabric with crayon” tutorial. I added it here so that you, the reader, would know the exact process prior to washing and blocking. All the steps of the experiment are documented. Hopefully, it will clear up any questions or differences that may produce differing results.

Part 2 (Coloring the Felt Fabric and Melting the Wax to Tint the Felt)

—————————————-

So far, I’ve used Crayola Crayons. Get your crayons and choose a few colors.

Here you can see that the tips of the crayons are still pretty new and relatively sharp and pointy.

I realized previously, when coloring, (see the snail coloring photos below), that I hold the fabric while I color with the crayon. Here you can see that my one hand holds the fabric taut while I use the other hand to direct the crayon. I touch the crayon down to the fabric and make quick “check mark” like strokes. I DO NOT rub the crayon back and forth. I color in ONE DIRECTION and use QUICK SHORT STROKES to get the crayon to stay on the fabric. If the felt ‘fluffs up’ I just mash it back with short quick strokes of the crayon until it is heavily coated with waxy colored crayon and sticks to itself in a shiny sheen.

Here you can see that the bird is darkly colored and that the crayons no longer have a sharp tip. I’ve really mashed the color into the felt pretty well.

Heat your iron to cotton setting to get it warming. Next, sandwich the felt piece between two blotters. Here the blotter is printing paper straight from my printer. I have experimented with paper towels and found that they work just a well for felt so far.

Place the iron on the blotter and let it sit there. I usually take 3-4 photos of the iron while the wax melts, maybe that is 30 seconds or so. You will smell the hot wax as it melts.

Here you can see the first blotter with a lot of color and wax. After removing the first blotter repeat the blotter sandwich and hot iron until you no longer see wax residue on the blotter.

Here is the ironed, tinted image.

Next:

Washing Felt  (3 of 4) found here or on the Tutorial Page here

1 of 4 is here, Iron on the Transfer Design or on the Tutorial Page here

This post is 2 of 4

2 Comments

Filed under Block and Wash Embroidery, embroidery, felt, Tint with Crayon, tutorial

Tutorial-Washing and Blocking Embroidery; Felt Tinted with Crayon 1 of 4

I’ve received several messages that reported some trouble with the crayon washing out of (acrylic) felt when used with the ‘tinting fabric with crayon’ technique. I decided to post this tutorial after investigating the durability of the crayon colors in the felt I have been using.

The first part of this is basically a repeat of the “Hot Iron Transfer Pencil/Pen” tutorial. I added it here so that you, the reader, would know the exact process prior to washing and blocking. All the steps of the experiment are documented. Hopefully, it will clear up any questions or differences that may produce differing results.

Part 1 (Iron on the Transfer Design)

—————————————-

Using acrylic felt, the inexpensive little rectangles sold at craft stores or stores like Wal-Mart, transfer the design to the felt.

Here is a Iron On Transfer for a Bird from Jenny Hart’s Sublime Stitching Craft Pad. Cut out the transfer and the felt fabric you are wanting the design to transfer to.

Position the transfer on the felt fabric. Once you decide where it is going, lift the transfer and touch the hot iron (cotton setting) to the felt for just a second. This will heat the fabric just slightly. Sometimes, this helps the pencil/pen to transfer darker. Only touch the iron for a short second. The felt may melt. Place the transfer back in place.

Cover any exposed fabric (see the edges above) with a light cotton or muslin to protect the felt fabric from melting onto the hot iron. Then set the iron down on the protective fabric. I usually let it sit there for maybe 30 seconds or so. (It’s long enough for me to take 3 or 4 pictures of the iron…lol) I don’t normally move the iron around. Sometimes, moving the iron around can cause the image to blur.

Leaving the iron on the area, pull up a section of the transfer to “peek” at the progress. If you can see the image on the felt fabric, all is good and you can lift the iron completely.

Here the image has transfered to the felt fabric. The lines are dark enough to guide coloring and stitching.

Next:

Color the image with crayons. Found here or Tutorial Page here

1 Comment

Filed under Block and Wash Embroidery, embroidery, felt, Tint with Crayon, tutorial

Embroidery Project – Small Snail Purse/Bag with Vintage Snail Embroidery, “Sew Day” Snail Embroidery Part 7

If you are new to the Snail Trail, “The Snails” are part of a master plan found in Part 1. ;)

*Find Small Snail Purse/Bag with Vintage Snail Embroidery Part 1 (Click Here)

—————————————————————————-

“Sew Day”

Here’s the 4th of 6 snails for the purse that started in part 1 of the Small Snail Purse/Bag. The bright greens are Anchor threads.

Here are some close ups of the sewing basket and all the goodies in it. This snail really is a lot of fun to stitch. The little pieces of fabric in the basket allow for creative textiles to be placed in there. Although, I am curious…why would a Snail need a sock?

And of course, placed on the bright pink that will eventually border it, the colors seem quite different against the contrast!

The “Snail Trail” is almost done. Two more to go and the purse panels can be put together.

And…I just HAD to post this! I didn’t get a post in yesterday because I didn’t really do any embroidery. 😦 I was out at Chinaman’s hat…snorkeling all day. 😉 We caught 4 little butterfly fish for the tank! And our little Jack Russell, Mr. MacKenzie, actually did some swimming!

Your life needs fun. Go ahead, have some fun!

———–Helpful Information———

Find Small Snail Purse/Bag with Vintage Snail Embroidery Part 1 (Click Here)

Find Small Snail Purse/Bag with Vintage Snail Embroidery Part 2 (Click Here)

Find Small Snail Purse/Bag with Vintage Snail Embroidery Part 3 (Click Here)

Find Small Snail Purse/Bag with Vintage Snail Embroidery Part 4 (Click Here)

Find Small Snail Purse/Bag with Vintage Snail Embroidery Part 5 (Click Here)

Find Small Snail Purse/Bag with Vintage Snail Embroidery Part 6 (Click Here)

Find Small Snail Purse/Bag with Vintage Snail Embroidery Part 7 (Click Here)

Find Small Snail Purse/Bag with Vintage Snail Embroidery Part 8 (Click Here)

Find Small Snail Purse/Bag with Vintage Snail Embroidery Part 9 (Click Here)

Find Small Snail Purse/Bag with Vintage Snail Embroidery Part 10 (Click Here)

Find Small Snail Purse/Bag with Vintage Snail Embroidery Part 11 (Click Here)

Find Sue of Berkshire Cottage (Click Here)

Find Helen of Show Your Workings (Japanese Knot Bag Tutorial) (Click Here)

Find My “Tinting Fabric with Crayon” Tutorial (Click Here)

Find My Iron On Transfer Tutorial (Click Here)

Find Flickr Group Hoop Love Vintage Transfers (Click Here)

Find Yahoo!Group Hand Embroidery (Click Here)

Find Hand Embroidery Group Blog (Click Here)

Find Hand Embroidery Group Summer Creativity Challenge (Click Here)

Find Stitchy Britches Blog (Click Here)

4 Comments

Filed under Bags/Purses, embroidery, felt, Tint with Crayon

Embroidery Project – Small Snail Purse/Bag with Vintage Snail Embroidery, “Bake Day” Snail Embroidery Part 6

If you are new to the Snail Trail, “The Snails” are part of a master plan found in Part 1. ;)

*Find Small Snail Purse/Bag with Vintage Snail Embroidery Part 1 (Click Here)

—————————————————————————-

“Bake Day”

This little creature has a bluish-purple shell. The bright threads are Anchor threads. Using one of the blue/purple and one of the yellow, the shell is outlined in stem stitch. There are no specialty threads in this piece…after all he is baking…we wouldn’t want any ‘bling’ is the dough right?

Here is a closer look at the front end. Stitch with stem stitch, back stitch, split back stitch, French knot, satin stitch, and straight stitch.

And a closer look at the ‘back’ end.

Here is the “Bake Day” snail, white on white, and a great view of the bright pink border that will be it’s future ‘frame’ color!

The “Snail Trail” is getting longer and the little snail gang is growing!

Your life needs fun. Go ahead, have some fun!

———–Helpful Information———

Find Small Snail Purse/Bag with Vintage Snail Embroidery Part 1 (Click Here)

Find Small Snail Purse/Bag with Vintage Snail Embroidery Part 2 (Click Here)

Find Small Snail Purse/Bag with Vintage Snail Embroidery Part 3 (Click Here)

Find Small Snail Purse/Bag with Vintage Snail Embroidery Part 4 (Click Here)

Find Small Snail Purse/Bag with Vintage Snail Embroidery Part 5 (Click Here)

Find My “Tinting Fabric with Crayon” Tutorial (Click Here)

Find My Iron On Transfer Tutorial (Click Here)

Find Flickr Group Hoop Love Vintage Transfers (Click Here)

Find Yahoo!Group Hand Embroidery (Click Here)

Find Hand Embroidery Group Blog (Click Here)

Find Hand Embroidery Group Summer Creativity Challenge (Click Here)

Find Stitchy Britches Blog (Click Here)

Find Sue of Berkshire Cottage (Click Here)

Find Helen of Show Your Workings (Japanese Knot Bag Tutorial) (Click Here)

7 Comments

Filed under Bags/Purses, embroidery, felt, Tint with Crayon