This second part of this is basically a repeat of the “tinting fabric with crayon” tutorial. I added it here so that you, the reader, would know the exact process prior to washing and blocking. All the steps of the experiment are documented. Hopefully, it will clear up any questions or differences that may produce differing results.
Part 2 (Coloring the Felt Fabric and Melting the Wax to Tint the Felt)
—————————————-
So far, I’ve used Crayola Crayons. Get your crayons and choose a few colors.

Here you can see that the tips of the crayons are still pretty new and relatively sharp and pointy.

I realized previously, when coloring, (see the snail coloring photos below), that I hold the fabric while I color with the crayon. Here you can see that my one hand holds the fabric taut while I use the other hand to direct the crayon. I touch the crayon down to the fabric and make quick “check mark” like strokes. I DO NOT rub the crayon back and forth. I color in ONE DIRECTION and use QUICK SHORT STROKES to get the crayon to stay on the fabric. If the felt ‘fluffs up’ I just mash it back with short quick strokes of the crayon until it is heavily coated with waxy colored crayon and sticks to itself in a shiny sheen.


Here you can see that the bird is darkly colored and that the crayons no longer have a sharp tip. I’ve really mashed the color into the felt pretty well.

Heat your iron to cotton setting to get it warming. Next, sandwich the felt piece between two blotters. Here the blotter is printing paper straight from my printer. I have experimented with paper towels and found that they work just a well for felt so far.

Place the iron on the blotter and let it sit there. I usually take 3-4 photos of the iron while the wax melts, maybe that is 30 seconds or so. You will smell the hot wax as it melts.

Here you can see the first blotter with a lot of color and wax. After removing the first blotter repeat the blotter sandwich and hot iron until you no longer see wax residue on the blotter.


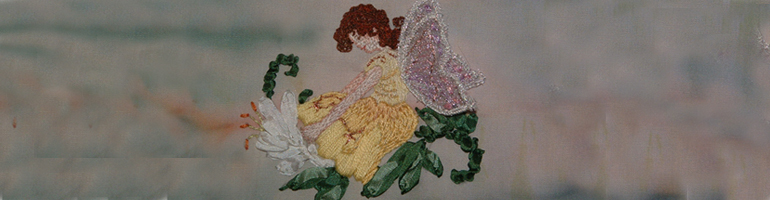
Here is the ironed, tinted image.

Next:
Washing Felt (3 of 4) found here or on the Tutorial Page here
1 of 4 is here, Iron on the Transfer Design or on the Tutorial Page here
This post is 2 of 4


 Stumble It!


Pingback: Tutorial-Washing and Blocking Embroidery; Felt Tinted with Crayon 1 of 4 « Curiosities 808
Pingback: Tutorial-Washing and Blocking Embroidery; Felt Tinted with Crayon 1 of 4 | Curiosities808