
After several questions regarding the hot iron transfer pen and pencil, maybe it best to separate the tool usage and showcase it here in it’s own post.
Here is a tutorial about creating Iron On Transfers. This is how I have created hot iron transfers.
1. Have a pattern image.
These pattern images have been PRINTED IN REVERSE. There is an option when you go to “print” to ‘flip’ the image. Explore your printing options. This step helps a lot. You can simply use the pen or pencil and draw right on your printed image.

These pattern images have NOT been printed in reverse, so you must use a light source to copy the image to the reverse side with the hot iron transfer pen or pencil.

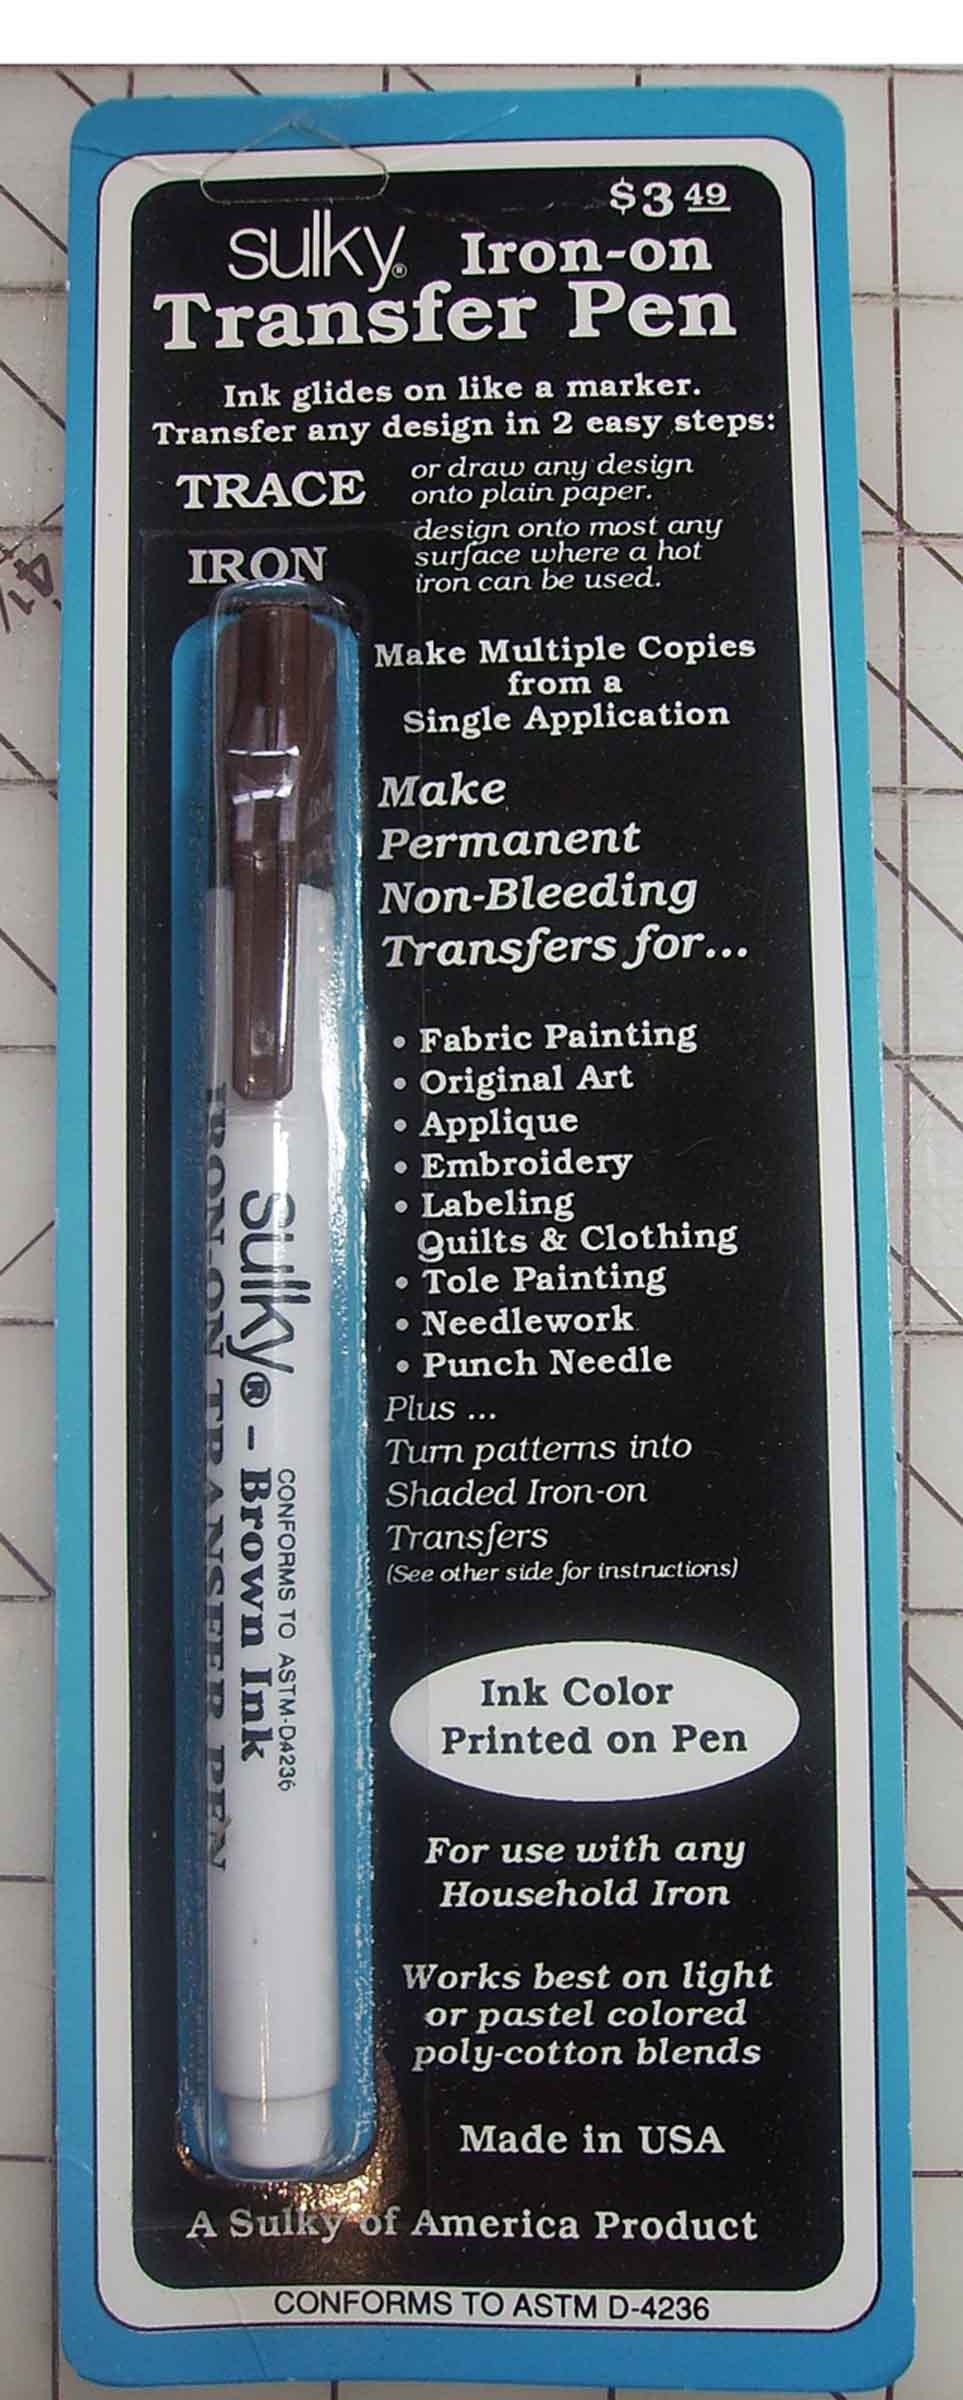
2. Get a hot iron transfer pencil or pen.
This is a red, hot iron transfer pencil. The one I found here in my Mom’s sewing kit is a Tri-chem Liquid Embroidery hot iron transfer pencil.

This is a brown Sulky hot iron transfer pen. I bought this from http://www.Joggles.com. (See Pen-Click Here) (Great shipping, great products, great service. Two thumbs up for them!)
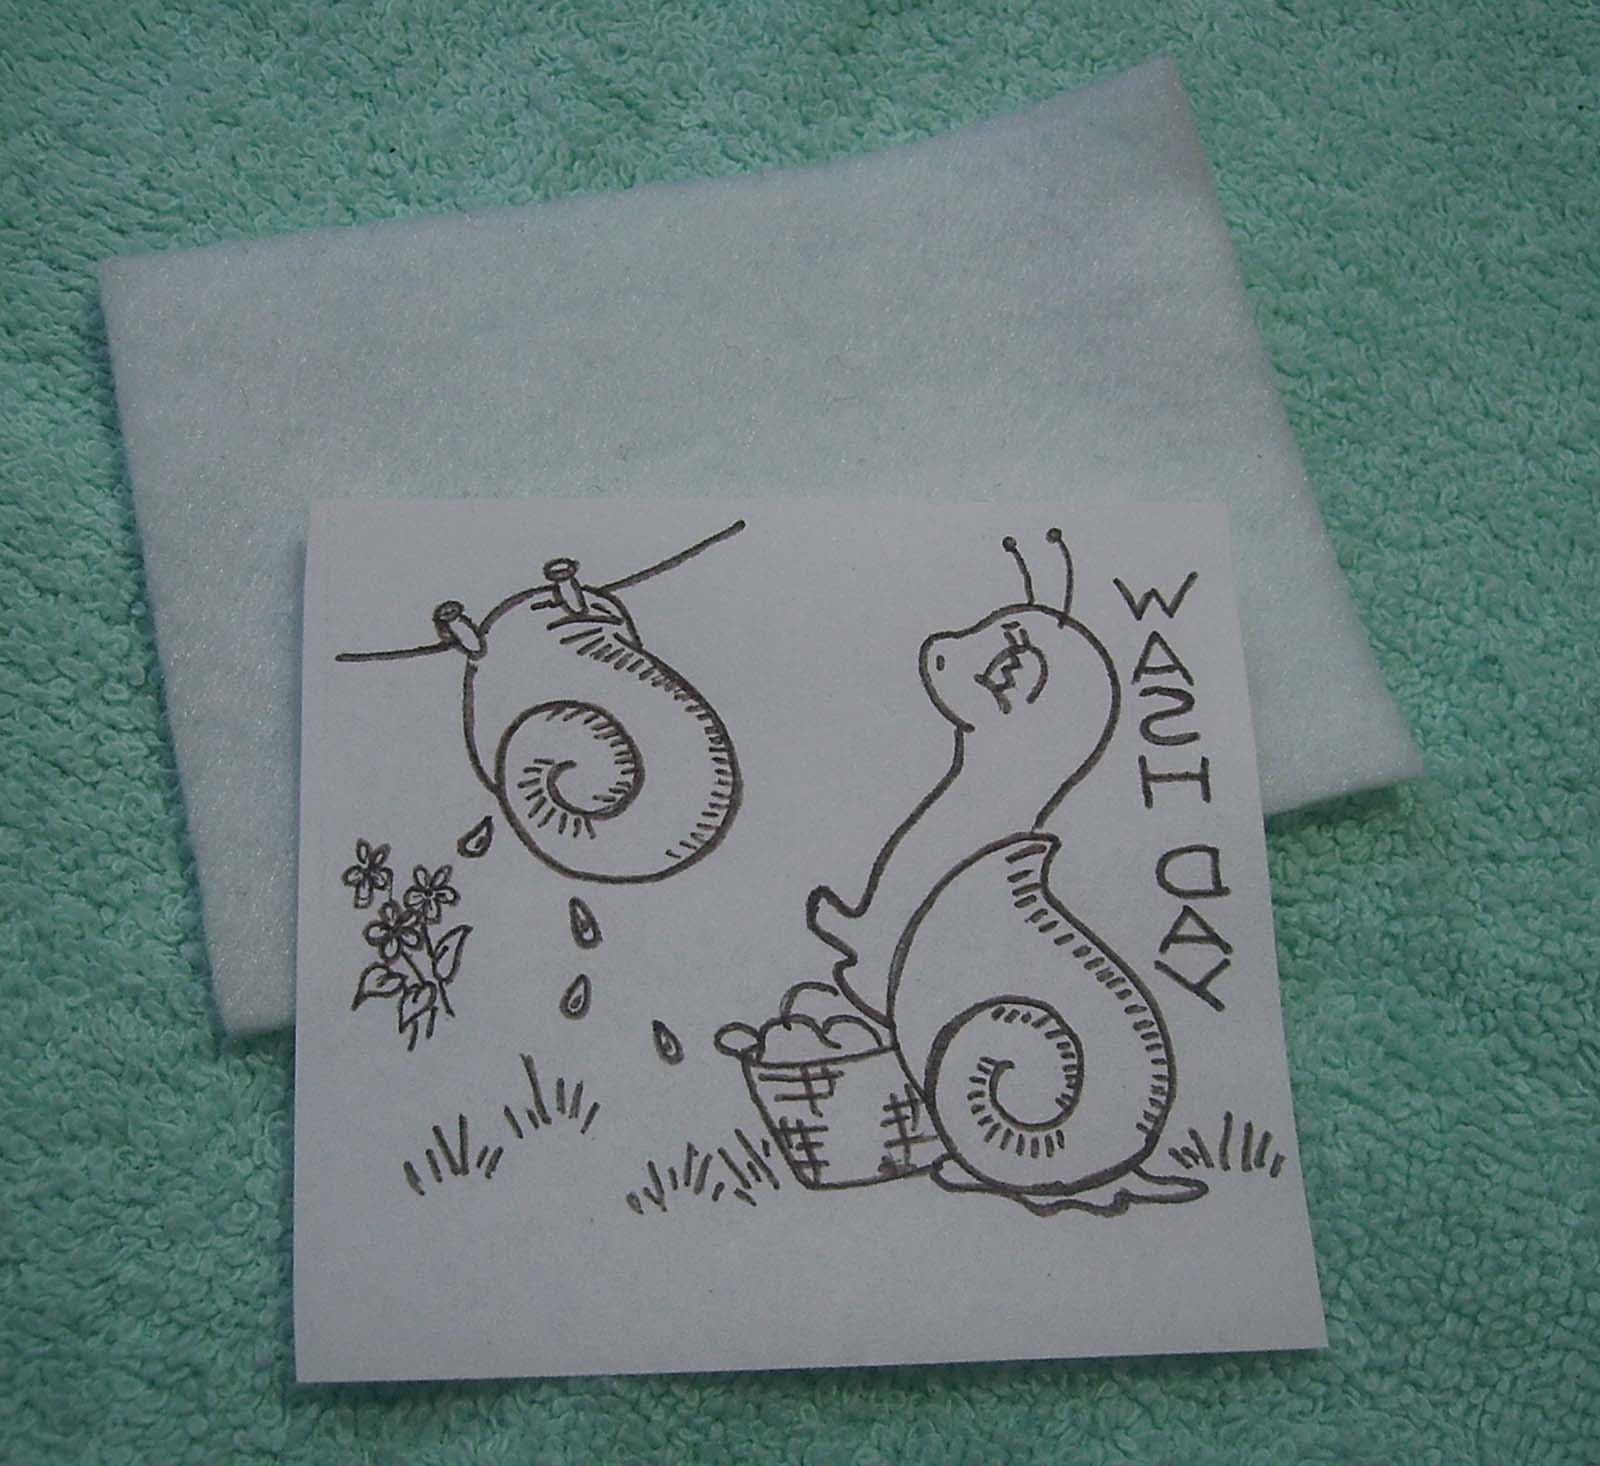
3. Trace your design with your hot iron transfer pencil or pen.
Here the flowers were traced on the REVERSE SIDE of the pattern image with the red hot iron transfer pencil.

Here the snails were traced with the brown Sulky hot iron transfer pen on the printed side, because the image was PRINTED IN REVERSE.
4. Place the pattern image, hot iron pencil or pen SIDE DOWN onto your fabric.


5. Press with hot iron. (Set to cotton usally)
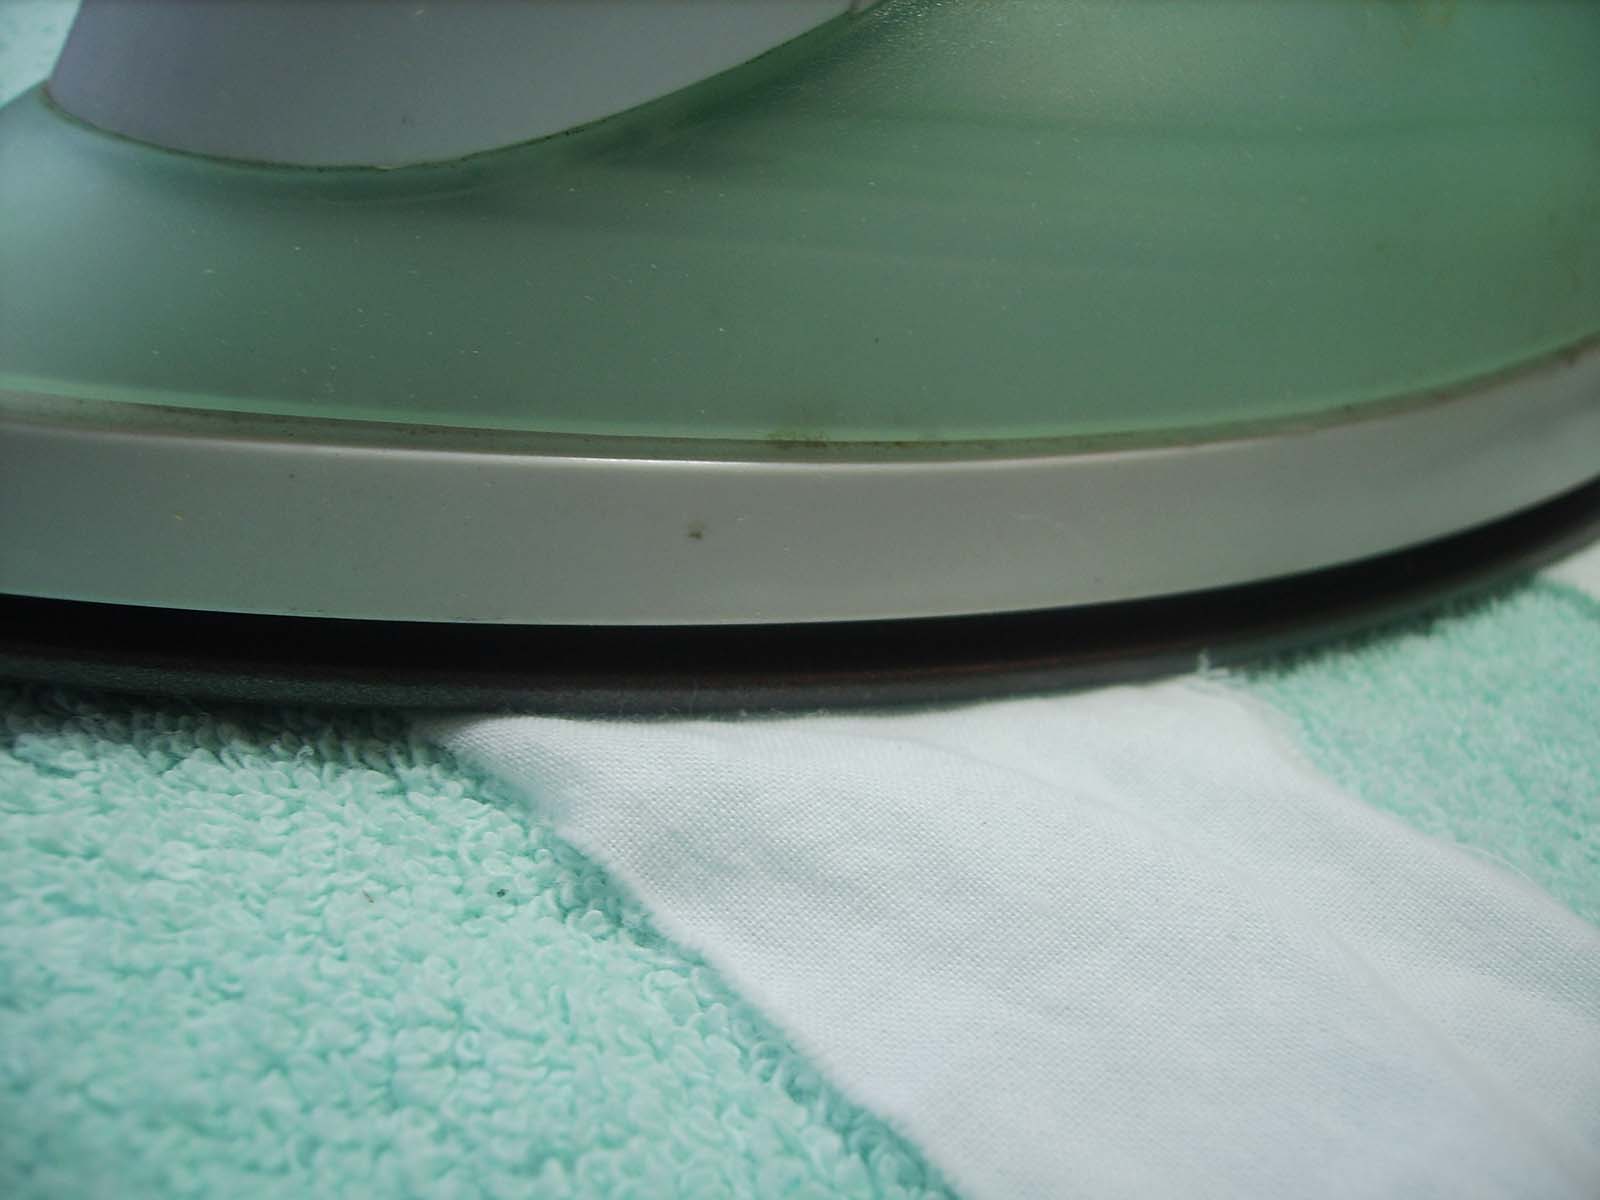
6. Leave iron placed on the transfer. Peek under a corner to see if the transfer is done.
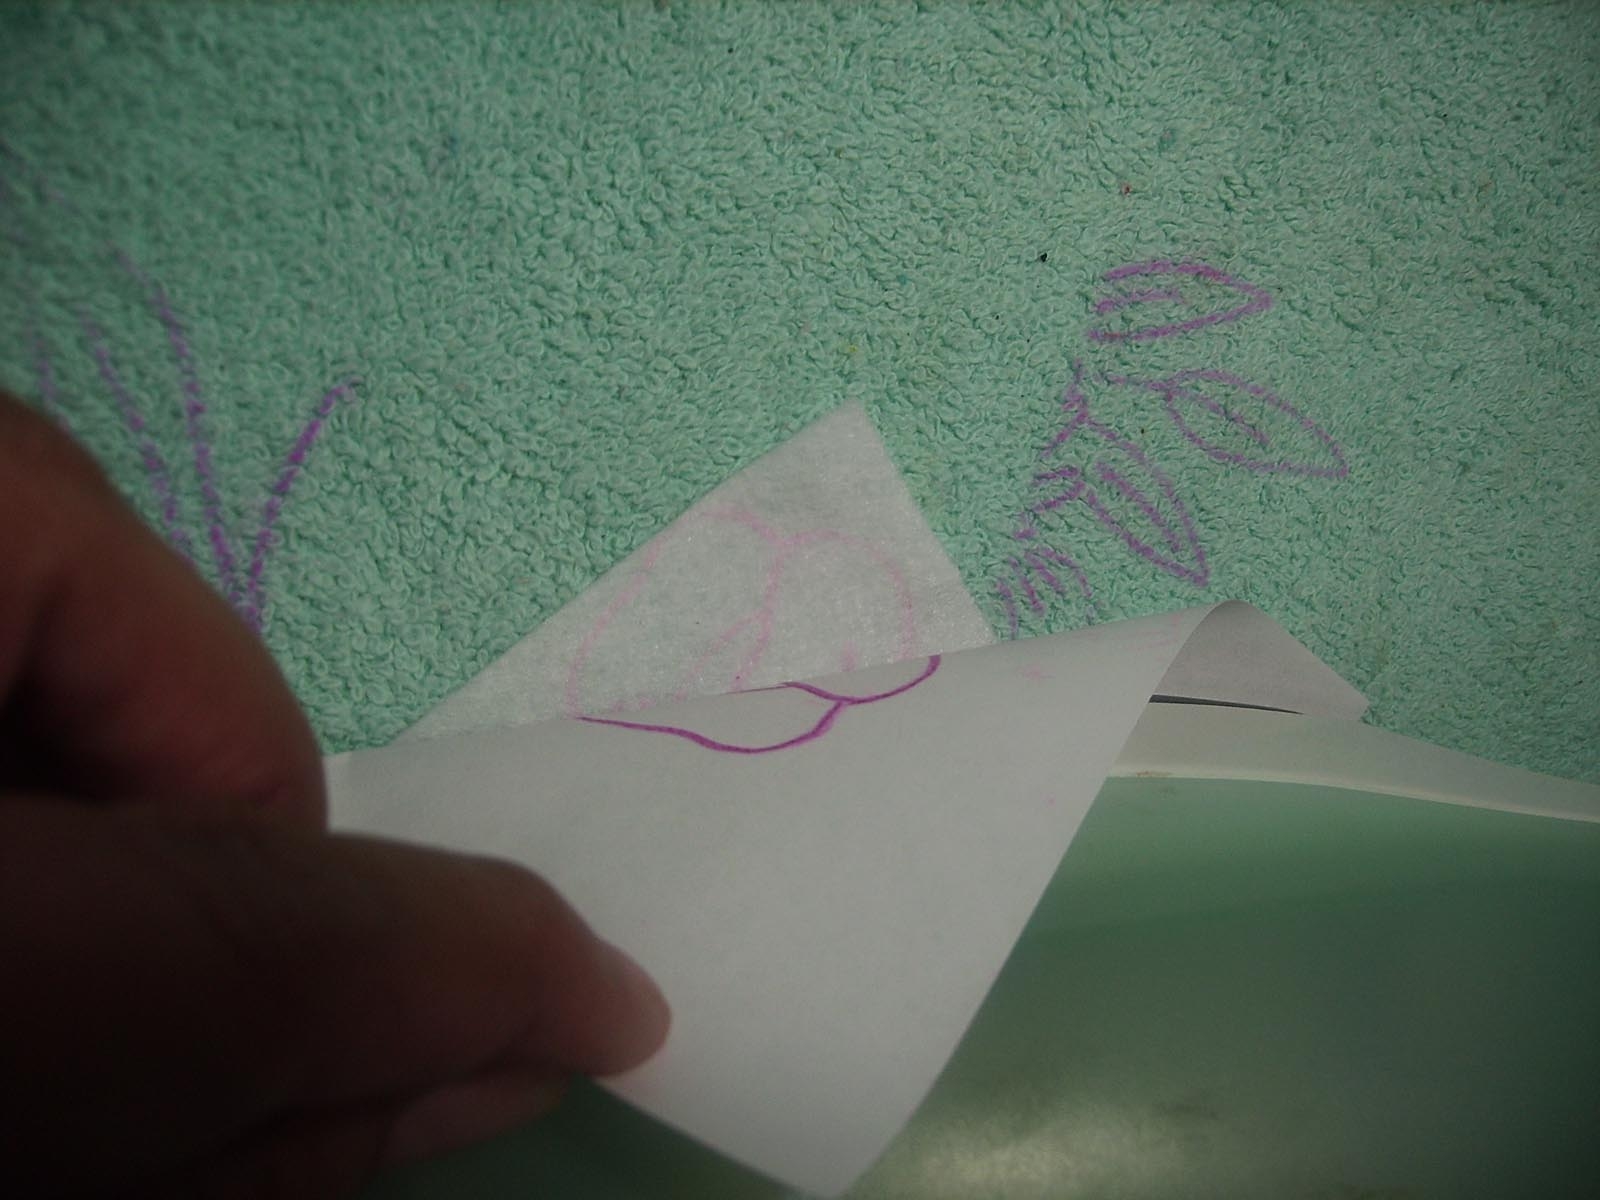
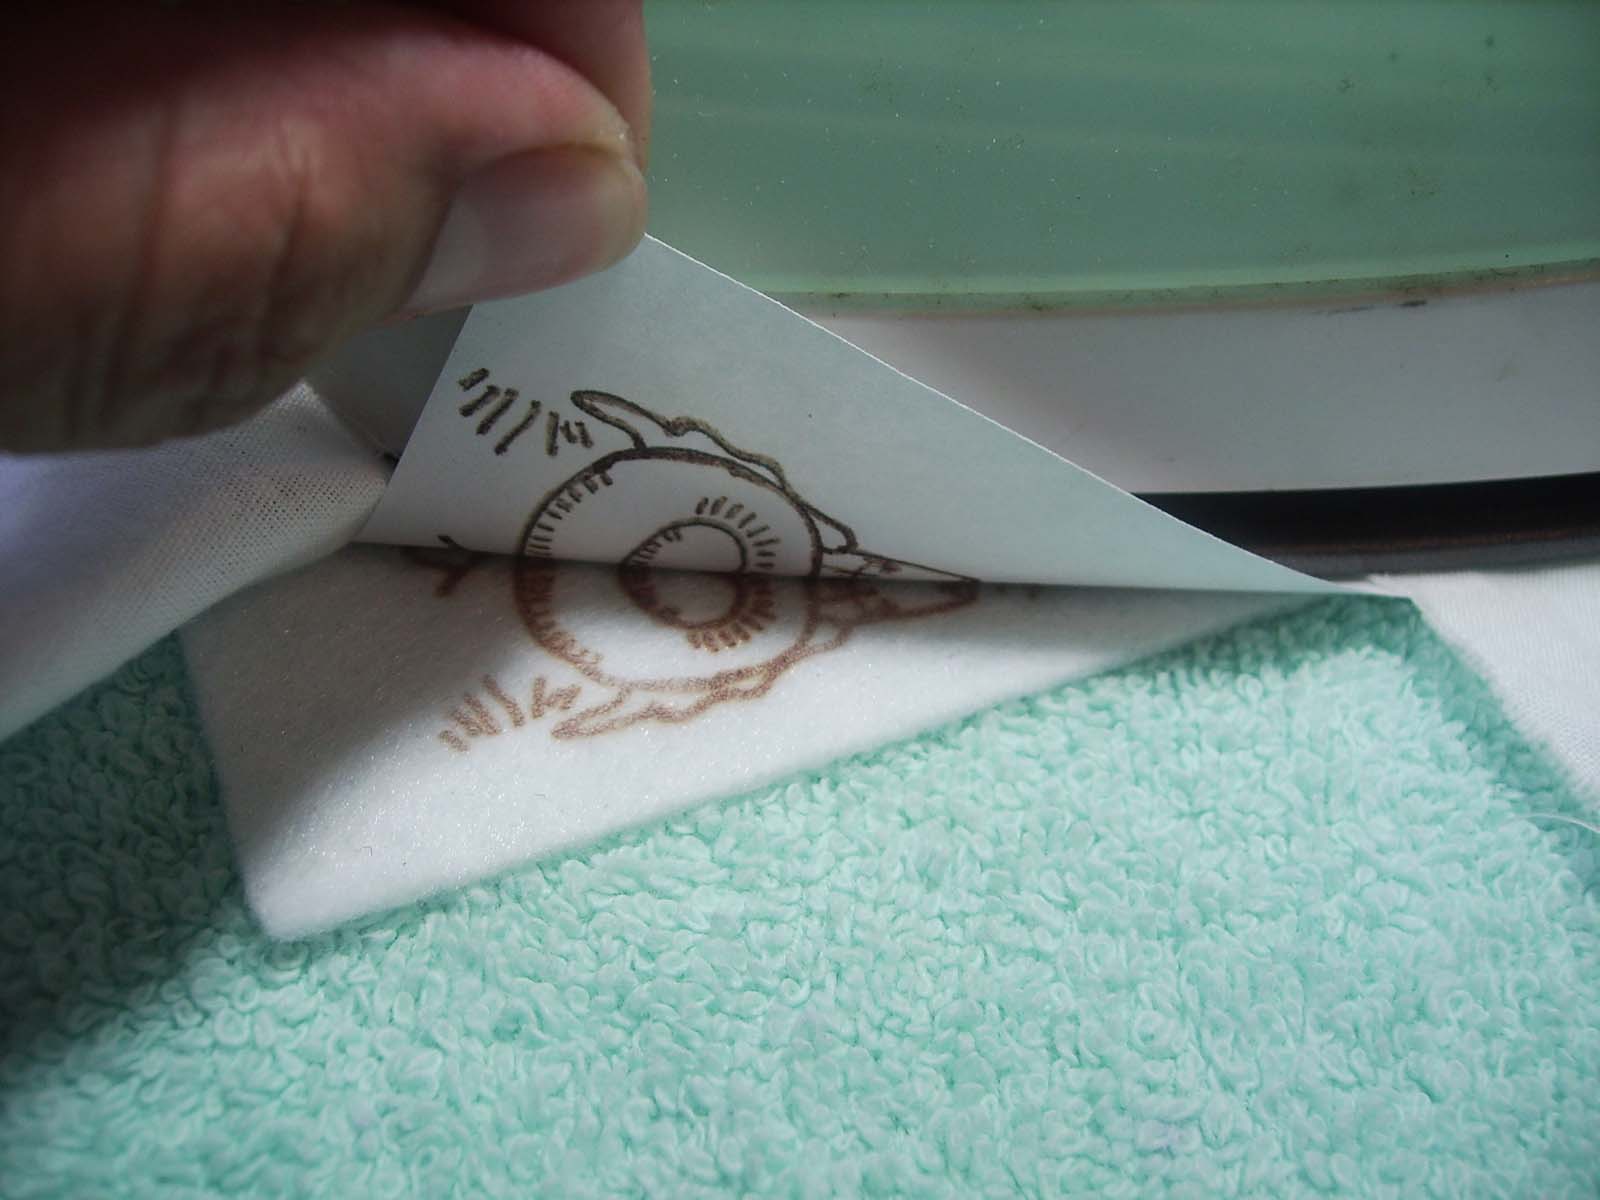
7. The transfer is done. You’ve created a Hot Iron Transfer for embroidery…or for just about anything!


After seeing the wonderful transfer made by the Sulky hot iron on pen, I may never use a hot iron transfer pencil again. I am sure they each have their pros and cons all dependent on what type of project you are wanting to create.
I hope this helps.
Your life needs fun. Go ahead, have some fun!


 Stumble It!


What are you tracing the design onto to make the transfer?
Love the pen! I have used the pencil in frustration. It would never become dark enough and the project would take twice as long due to straining to see the image. Thanks so much for posting about the pen.
Elaine
thanks for posting this. I’ve wondered what a transfer pencil/pen was and how to use them. Can you do more than one transfer per inking?
Judi S
Alicia, I sound like a broken record, But you have done it again! LOL I will have to check out Joanns next time i am in town. 😀
Pingback: Make your own iron-on transfers · Needlework News @ CraftGossip
Whoo hooo! I was featured at The CraftGossip Blog Network, Needlework News. Here is the full link: http://needlework.craftgossip.com/make-your-own-iron-on-transfers/2008/07/13/
😉
Happy smiles,
alicia in Hawaii
In the picture there’s a little piece of fabric always with the copied image. What is that for? You are trying to iron on the terry cloth right?
Does the ink wash off once you are done embroidering?