Separate from the post showcasing the final felt bookmarks with grossgrain ribbon backings, is this tutorial covering the procedure I followed to adhere the grossgrain to the felt bookmarks.
I hope you find it helpful. Please let me know if you try it and it works for you! I’m always hoping for comments.
Part 1, to begin ————————————-
Get some “Stitch Witch”. I think it is Stitch Witchery, adhesive, but, as you can see, my WalMart calls it Stitch Witch. 😉

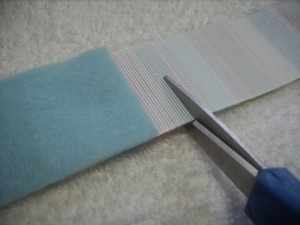
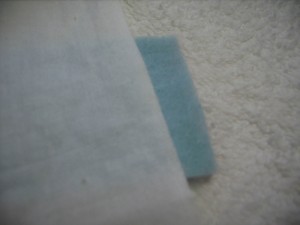
Cut the Stitch Witch to match the width of the felt bookmarks. In this case the bookmarks are 1.5 in. wide and I used a rotary cutter and a cutting mat to trim to size.

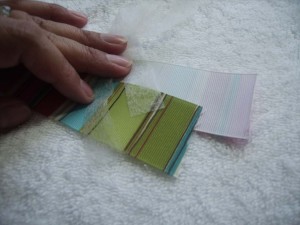
Gather all the materials. I have the stitched felt bookmarks, the Stitch Witch strips, and the grossgrain ribbon. I’ve heated the iron and have the ironing pad ready. Also get a thin sheet of material (muslin) to use as a cover sheet to protect your finished bookmark from any hot iron or glue residue.
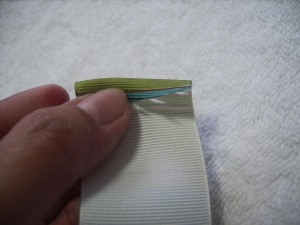
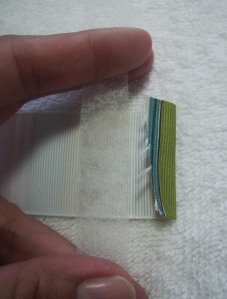
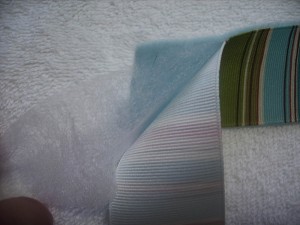
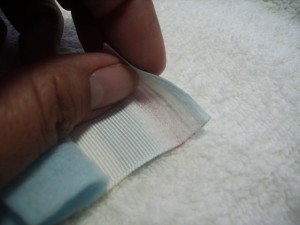
Let’s look at the end of the grossgrain ribbon. You will need some scrap Stitch Witch to finish the ends.
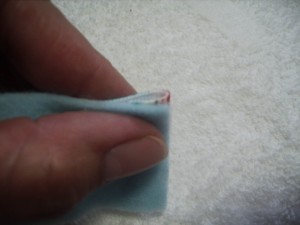
To finish the end, fold under.
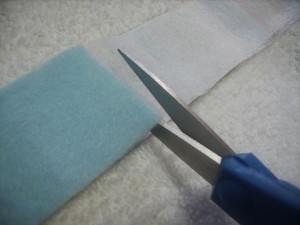
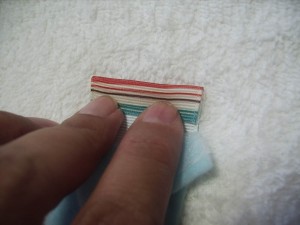
Cut a small scrap piece of Stitch Witch to adhere folded end under.
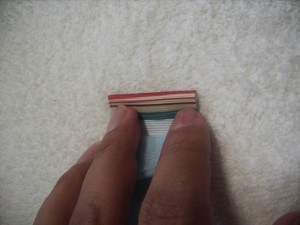
Hold the Stitch Witch in the fold, get ready to seal with heat from iron.
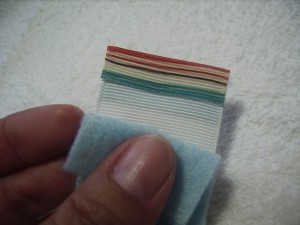
Iron to melt Stitch Witch, sealing the raw end.
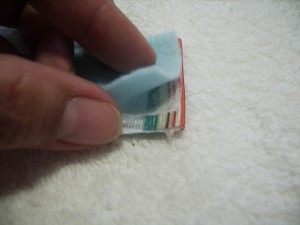
Part 2, make the sandwich of one end—
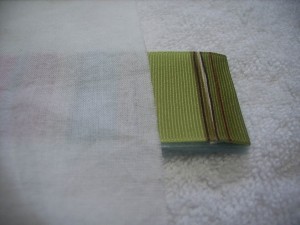
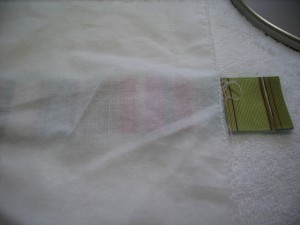
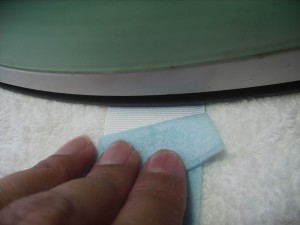
Layer the parts. The felt bookmark, the Stitch Witch strip, and the grossgrain ribbon should line up.

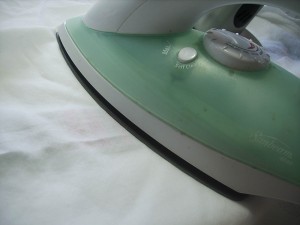
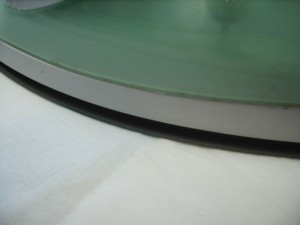
Cover the bookmark sandwich to protect the fabric from marks made by the iron and from any glue stickies that may come from the Stitch Witch.
Press with a hot iron. Only press on the ONE END of the bookmark. You only want the END to sandwich together!
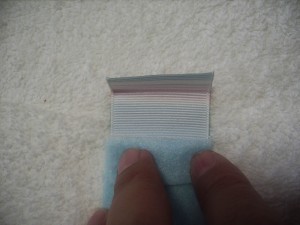
The end is the only part sandwiched together. The rest of the bookmark should be free.

Part 3, make the sandwich in the middle—
Now, realign the sandwich parts to make sure the middle section is straight and lined up the way you want it.

Cover with the protective cloth again to get ready to iron.
Now press with the iron on the MIDDLE section. Do NOT iron the entire bookmark. Leave the other END free.
Check the middle section. It should be sandwiched together and the END should be free.
Part 4, fix the raw edge for the end cap—
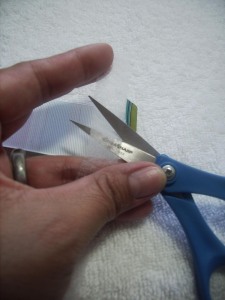
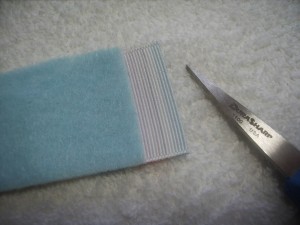
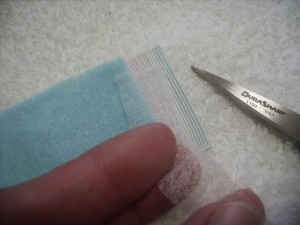
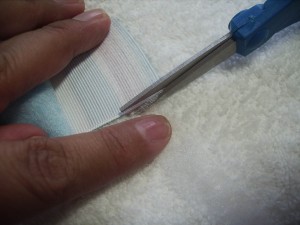
The end has lots of material extending from it that needs trimming. Trim the Stitch Witch even to the felt bookmark.

Next, trim the ribbon. Leave enough at the end so that you can turn it under and slip some Stitch Witch under it.
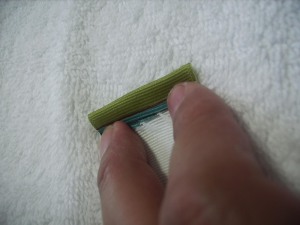
Fold it down to match the finished edges.
Hold it in place, get ready to iron it so that it will crease.
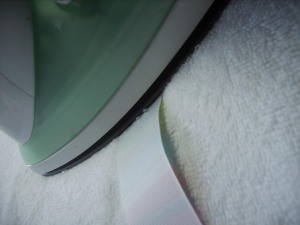
Press with hot iron to form a crease.
Now, cut a scrap piece of Stitch Witch to fit in the folded crease.
Now sandwhich the Stitch Witch inside the crease to and get ready to press with the hot iron.
Now press with hot iron.

Raw end is sealed.
Part 5, Finish the bookmark sandwich—
Now, line up the finished ends.
Cover with a protective fabric.
Press with hot iron.
And…
You are done!
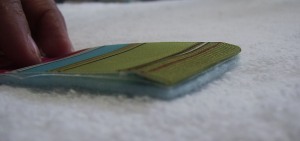
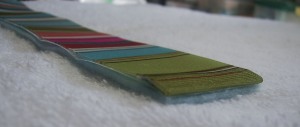
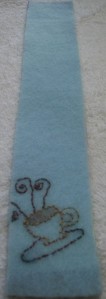
The grossgrain ribbon is secured on the back of your felt bookmark and all the raw edges are neat and finished.
Enjoy!

You life needs fun. Go ahead, have some fun!
Find Embroidered Felt Bookmarks Part 1-(Click Here)
Find Embroidered Felt Bookmarks Part 2-(Click Here)
Find Embroidered Felt Bookmarks Part 3-(Click Here)
Find Embroidered Felt Bookmarks Part 4-(Click Here)
Find Embroidered Felt Bookmarks Part 5-(Click Here)


 Stumble It!

